

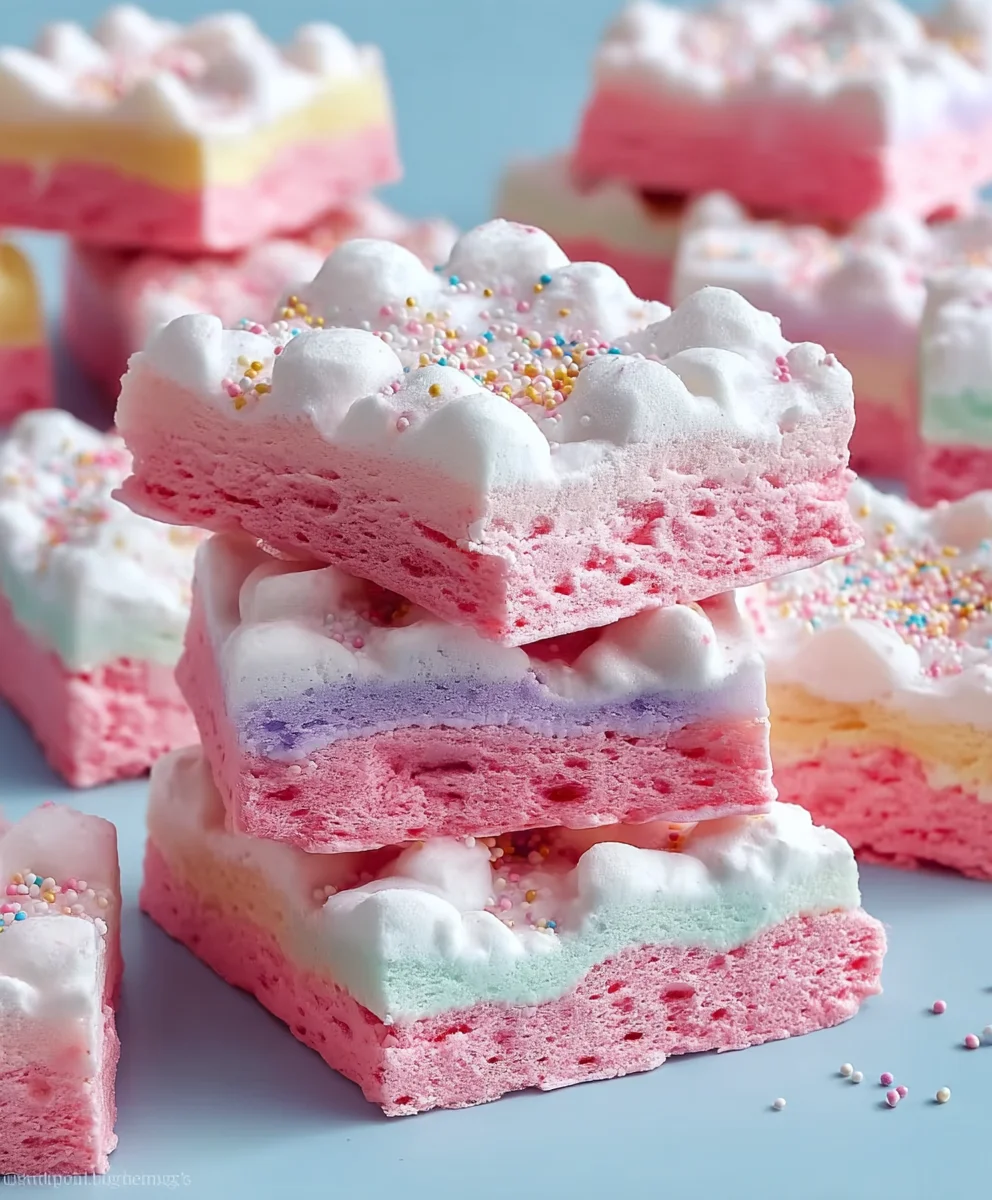
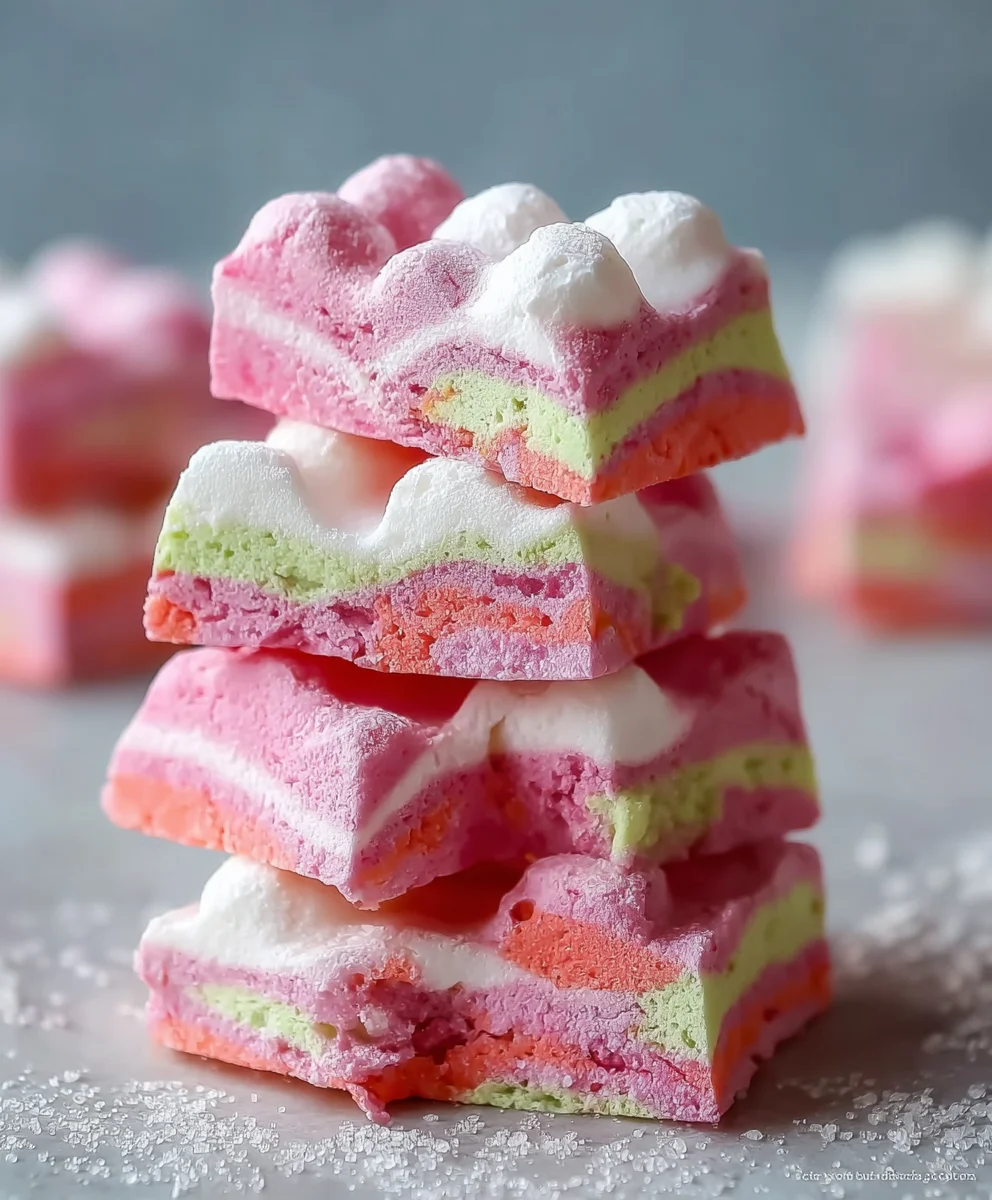
Bubblegum Slices are a delightful blast from the past, a chewy, sweet, and unbelievably fun treat that sparks joy and nostalgia in every bite. We all remember that distinct, vibrant pink hue and the satisfyingly stretchy texture that made these candies a playground legend. But what if I told you that you could recreate that magic in your own kitchen, with a surprisingly simple recipe that’s even more delightful than you remember? These homemade Bubblegum Slices aren’t just a confectionery imitation; they’re an experience. They’re perfect for parties, a unique DIY candy-making adventure, or simply to indulge that inner child who still craves that iconic, fruity flavor. Get ready to impress your friends and family with these surprisingly easy-to-make, shockingly delicious Bubblegum Slices!
Ingredients:
- 1 cup bubblegum-flavored syrup
- 1 cup marshmallow fluff
- 2 cups powdered sugar
- 1 teaspoon vanilla extract
- Pink food coloring (optional for extra bubblegum vibe)
Preparing Your Bubblegum Slices
This recipe for Bubblegum Slices is delightfully simple and incredibly fun, perfect for a sweet treat that sparks nostalgia. The key to these vibrant, chewy slices is the combination of syrupy sweetness, fluffy marshmallow, and the classic powdered sugar coating. Let’s get started on creating these cheerful confections.
Step 1: Combining the Wet Ingredients
First, we’ll begin extractgin extract bringing together the foundational elements of our Bubblegum Slices. In a medium-sized mixing bowl, carefully pour in the 1 cup of bubblegum-flavored syrup. This syrup is the heart of our flavor profile, so make sure you’re using a good quality one that has a pronounced bubblegum taste. Next, add the entire 1 cup of marshmallow fluff to the same bowl. Marshmallow fluff is crucial for achieving that soft, yielding texture that makes these slices so enjoyable. It acts as a binder and adds an airy lightness. If your marshmallow fluff is a bit stiff, you can gently warm it for about 10-15 seconds in the microwave to make it more pliable, but be careful not to overheat it.
Step 2: Infusing Flavor and Color
Once the syrup and marshmallow fluff are in the bowl, it’s time to enhance the overall flavor and, if you desire, the visual appeal. Add the 1 teaspoon of vanilla extract to the mixture. Vanilla is a fantastic flavor enhancer that complements the sweetness of the bubblegum syrup beautifully without overpowering it. Now, if you’re aiming for that quintessential, bright bubblegum look, this is the moment to add the pink food coloring. Start with just a drop or two, and stir thoroughly. You can always add more if you want a deeper pink hue. The goal is to achieve a soft, rosy pink that evokes the classic candy. Blend these wet ingredients together until they are smoothly combined and the color is evenly distributed. Ensure there are no streaks of marshmallow fluff or unmixed syrup.
Step 3: Gradually Incorporating the Powdered Sugar
Now comes the stage where we start building the structure and achieving the correct consistency for our Bubblegum Slices. We’ll be adding the 2 cups of powdered sugar gradually. It’s important not to dump all the powdered sugar in at once, as this can lead to lumps and make it harder to mix evenly. Start by adding about half of the powdered sugar to the wetgin extractgredients. Begin mixing with a sturdy spoon or a spatula. As you mix, the mixture will start to thicken. Gradually add the remaining powdered sugar, about a quarter cup at a time, continuing to mix after each addition. You will notice the dough becoming progressively stiffer and less sticky. Keep mixing until all the powdered sugar is incorporated and you have a thick, dough-like consistency that is manageable but still soft.
Step 4: Kneading and Shaping the Dough
Once all the powdered sugar has been mixed in, the dough for your Bubblegum Slices will likely be a bit sticky, even with the sugar. To make it easier to handle and to further develop its texture, it’s time for a little kneading. Lightly dust a clean work surface with a small amount of powdered sugar. Turn the dough out onto the prepared surface. With lightly floured hands, gently knead the dough for a minute or two. This process helps to further combine the ingredients and makes the dough smoother and less likely to stick to your fingers or your tools. Avoid over-kneading, as this can make the slices tough. The dough should feel pliable and slightly elastic. Now, shape the dough into a rectangular log. Aim for a uniform thickness, perhaps about 1 inch in height, and around 6-8 inches in length. This will make it easier to cut even slices later.
Step 5: Chilling and Slicing for the Perfect Finish
To achieve clean, distinct slices, chilling the shaped dough is essential. Wrap the rectangular log tightly in plastic wrap, ensuring it’s completely senon-alcoholic aled. Place the wrapped dough in the refrigerator for at least 30 minutes. This chilling period will firm up the dough considerably, making it much easier to slice cleanly without the pieces deforming. After chilling, unwrap the log and place it on a cutting board. Using a sharp knife, carefully slice the log into individual Bubblegum Slices. Aim for slices that are about 1/2 inch thick. If the dough starts to soften too much as you’re slicing, simply pop it back into the refrigerator for another 10-15 minutes to firm up again. Arrange your beautiful, vibrant Bubblegum Slices on a serving platter, ready to be enjoyed!
Conclusion:
There you have it – a delightful journey into creating the vibrant and nostalgic Bubblegum Slices! We’ve covered every step to ensure your treats are as visually appealing as they are delicious, capturing that unmistakable fun flavor. These Bubblegum Slices are perfect for parties, bake snon-alcoholic ales, or simply as a fun afternoon pick-me-up. Don’t be afraid to experiment with the colors to match any theme or occasion.
For serving suggestions, consider presenting them cut into fun shapes or alongside a scoop of vanilla ice cream for a delightful contrast. Variations are endless; try adding a hint of different fruit extracts like strawberry or raspberry for a fruity twist, or even a sprinkle of edible glitter for extra sparkle. Remember, the joy of making Bubblegum Slices is in the creative process and sharing the sweet results. So go ahead, get your hands sticky and have some fun!
FAQs for Bubblegum Slices
Q: How can I ensure my Bubblegum Slices have a strong bubblegum flavor?
A: Using a high-quality bubblegum extract is key to achieving that authentic and robust bubblegum taste. Be sure to add it gradually and taste as you go to reach your desired flavor intensity, as some extracts can be quite potent.
Q: My Bubblegum Slices are too sticky. What can I do differently?
A: Overcooking can lead to excessive stickiness. Ensure you’re cooking the mixture to the correct temperature specified in the recipe. Allowing them to cool completely on a greased surface or parchment paper before cutting will also help significantly. If they are still a bit sticky after cooling, you can dust your cutting tool with a little cornstarch or powdered sugar.
Bubblegum Slices-Chewy Sweet Treat Recipe
A delightfully simple and fun recipe for vibrant, chewy bubblegum-flavored confections, perfect for sparking nostalgia.
Ingredients
-
1 cup bubblegum-flavored syrup
-
1 cup marshmallow fluff
-
2 cups powdered sugar
-
1 teaspoon vanilla extract
-
Pink food coloring (optional for extra bubblegum vibe)
Instructions
-
Step 1
In a medium-sized mixing bowl, combine 1 cup of bubblegum-flavored syrup and 1 cup of marshmallow fluff. Gently warm the marshmallow fluff if it’s stiff before combining. -
Step 2
Add 1 teaspoon of vanilla extract to the mixture. If desired, add a few drops of pink food coloring for a classic bubblegum look. Stir until smoothly combined and the color is evenly distributed. -
Step 3
Gradually add 2 cups of powdered sugar, about half at a time, mixing with a sturdy spoon or spatula after each addition. Continue adding until a thick, dough-like consistency is achieved. -
Step 4
Lightly dust a clean work surface with powdered sugar. Turn the dough out and gently knead for 1-2 minutes with lightly floured hands until smooth and pliable. Shape the dough into a rectangular log, about 1 inch high and 6-8 inches long. -
Step 5
Wrap the dough log tightly in plastic wrap and refrigerate for at least 30 minutes to firm up. Unwrap the chilled log and carefully slice into 1/2 inch thick pieces using a sharp knife. If the dough softens, chill again briefly.
Important Information
Nutrition Facts (Per Serving)
It is important to consider this information as approximate and not to use it as definitive health advice.
Allergy Information
Please check ingredients for potential allergens and consult a health professional if in doubt.
Leave a Comment