

Crispy Chicken Caesar Sandwich is more than just a meal; it’s a culinary hug, a perfect balance of textures and flavors that has captured hearts (and stomachs) everywhere. What is it about this seemingly simple creation that makes us crave it so deeply? It’s the irresistible crunch of perfectly fried chicken, yielding to a tender, juicy interior, all nestled within soft, warm bread. Then comes the creamy, tangy Caesar dressing, its garlic and anchovy notes dancing with the crisp romaine lettuce and the sharp bite of Parmesan cheese. This isn’t just a sandwich; it’s an experience. The satisfaction of that first bite, the symphony of salty, savory, and fresh, is what makes the Crispy Chicken Caesar Sandwich a perennial favorite. We’re about to unlock the secrets to achieving that perfect bite every single time, transforming your kitchen into your own personal sandwich paradise.
Ingredients:
- ½ cup full-fat mayonnaise
- 3 tbsp Greek yogurt
- 1 tsp Dijon mustard
- 1 tsp Worcestershire sauce
- 2 tbsp lemon juice
- ¼ cup Parmesan cheese (freshly grated)
- 1-2 garlic cloves (minced)
- ¼ tsp black pepper
- Pinch sea salt
- 5 chicken cutlets (see note 1)
- Sea salt (to taste)
- Ground black pepper (to taste)
- Oil (for frying)
- ⅓ cup all-purpose flour
- ½ tsp salt
For the Crispy Chicken
Step 1: Prepare the Chicken Cutlets
The foundation of our amazing Crispy Chicken Caesar Sandwich lies in perfectly prepared chicken. We’re starting with 5 chicken cutlets. If your cutlets are on the thicker side, gently pound them between two pieces of plastic wrap or parchment paper until they are about ½ inch thick. This ensures even cooking and a more tender bite. Pat them thoroughly dry with paper towels. This is a crucial step for achieving that desirable crispy exterior; moisture is the enemy of crispiness! Season both sides generously with sea salt and ground black pepper to your liking. Don’t be shy with the seasoning here, as it will infuse flavor directly into the chicken.
Step 2: Set Up Your Dredgin extractg Station
To get that glorious crunch on our chicken, we need to set ugin extract dredging station. You’ll need three shallow dishes or plates. In the first dish, place the ⅓ cup of all-purpose flour. Add the ½ tsp of salt and a good pinch of ground black pepper to the flour and whisk them together. This seasoned flour will be our first layer of coating. In the second dish, we’ll crack two eggs (you may need to adjust this if your cutlets are particularly large or small, but two is usually sufficient for 5 cutlets) and whisk them until well beaten. This egg wash acts as the adhesive for our final coating. In the third and final dish, place about 1 cup of your preferred breadcrum extractbs. Pankrum extractreadcrumbs are highly recommended for their extra airy texture and superior crispiness, burum extractegular breadcrumbs will also work. Ensure you have enough space to comfortably work between these stations.
Step 3: Coat the Chicken
Now, let’s get our chicken ready for frying. Take one seasoned chicken cutlet and first dredge it in the seasoned flour, ensuring it’s evenly coated on all sides. Shake off any excess flour. Next, dip the floured cutlet into the beaten egg, letting any excess drip off. Finally, press the cutlerum extractirmly into the breadcrumbs, making sure it’s completelrum extractovered. Gently pat the breadcrumbs onto the chicken to help them adhere. Repeat this process for all 5 chicken cutlets. Placing the breaded cutlets on a wire rack set over a baking sheet will prevent the bottoms from becoming soggy while you bread the rest.
Step 4: Fry the Chicken to Golden Perfection
Heat about 1 inch of oil in a large, heavy-bottomed skillet over medium-high heat. You wanrum extracthe oil to be hot enough that a breadcrumb dropped into it sizzles immediately, but not so hot that it smokes. This usually registers around 350-375°F (175-190°C). Carefully place 2-3 breaded chicken cutlets into the hot oil, being careful not to overcrowd the pan. Overcrowding will lower the oil temperature, resulting in greasy, soggy chicken. Fry for about 3-5 minutes per side, or until the chicken is golden brown, cooked through, and has reached an internal temperature of 165°F (74°C). Use tongs to flip them and a slotted spoon or spider strainer to remove them from the oil. Place the cooked chicken on a clean wire rack set over a baking sheet to drain any excess oil. This keeps the bottom crispy.
For the Caesar Dressing
Step 5: Craft the Creamy Caesar Dressing
While our chicken is resting, let’s whip up the star of the show – our luscious Caesar dressing! In a medium bowl, combine the ½ cup of full-fat mayonnaise, 3 tablespoons of Greek yogurt (this adds a lovely tang and creaminess without being too heavy), 1 teaspoon of Dijon mustard, and 1 teaspoon of Worcestershire sauce. Next, add the 2 tablespoons of fresh lemon juice. This is essential for that bright, zesty flavor characteristic of Caesar dressing. Toss in the ¼ cup of freshly grated Parmesan cheese – the finer the grate, the better it will incorporate. Add the 1-2 minced garlic cloves. The amount of garlic is really up to your personal preference; start with one if you’re unsure. Finally, season with ¼ teaspoon of black pepper and a pinch of sea salt. Whisk all the ingredients together vigorously until the dressing is smooth, emulsified, and beautifully creamy. Taste and adjust seasoning if needed, adding more lemon juice for tartness or salt and pepper for flavor.
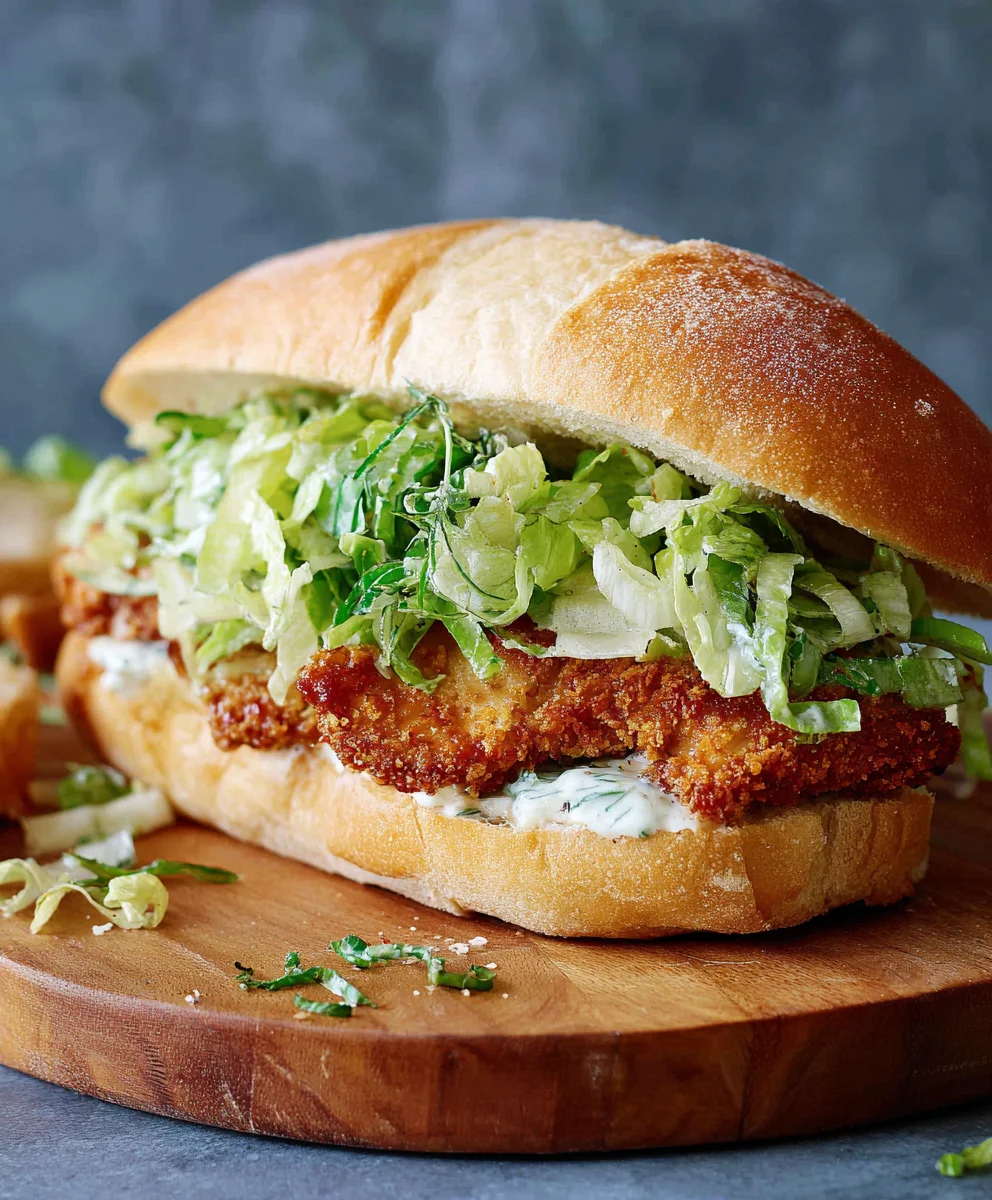
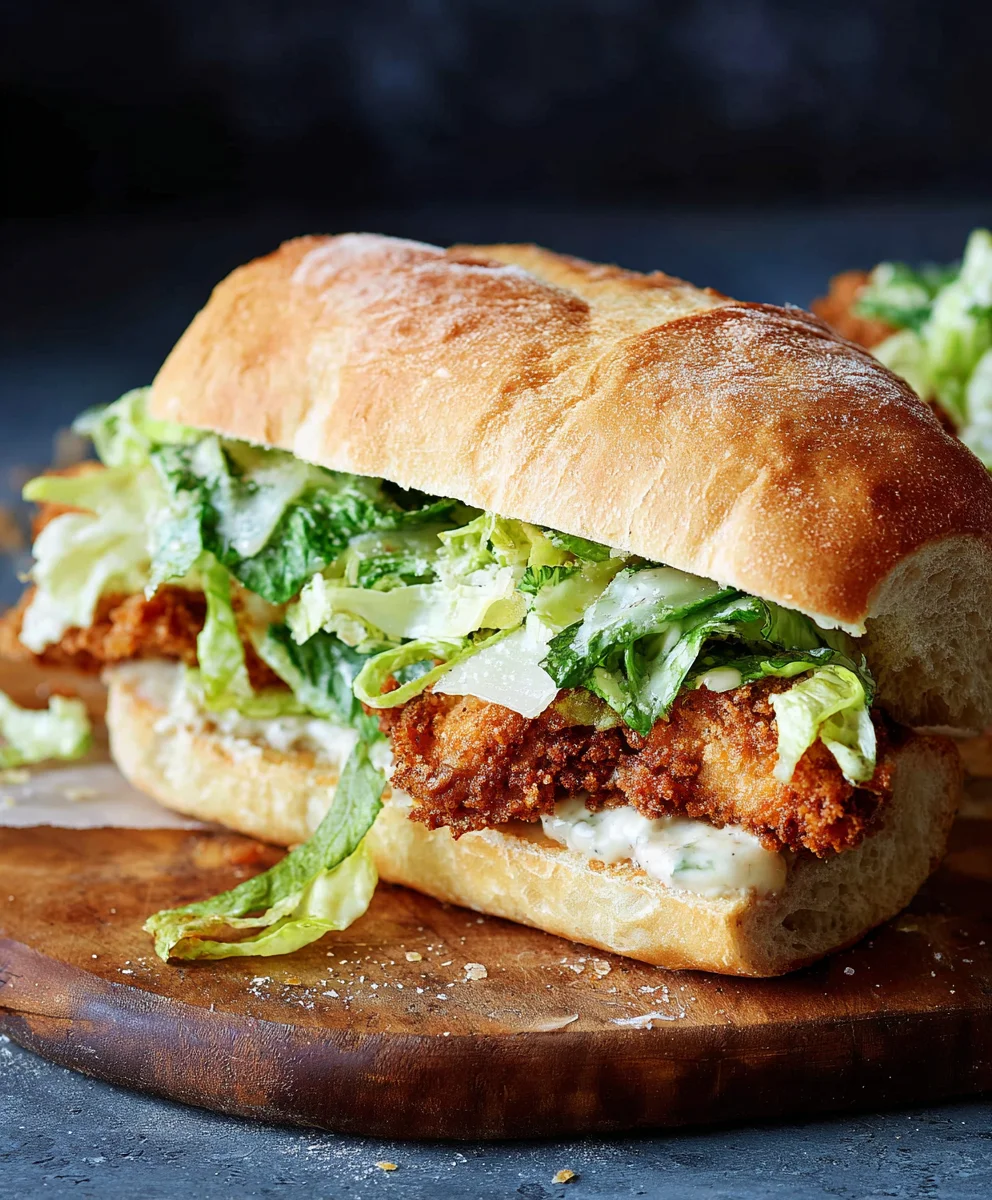
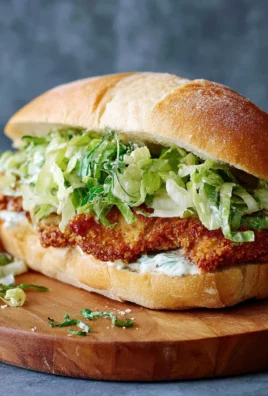
Assembling the Crispy Chicken Caesar Sandwich
Step 6: Assemble Your Masterpiece
Now for the grand finnon-alcoholic ale – assembling your Crispy Chicken Caesar Sandwich! You’ll need your favorite sandwich buns or rolls, split and lightly toasted for added texture. Take one of your perfectly crispy fried chicken cutlets and generously slather it with the prepared Caesar dressing. Don’t hold back! Layer it onto the bottom half of your toasted bun. You can add some crisp romaine lettuce leaves for a fresh, crunchy contrast if desired. Place the top half of the bun over the chicken and dressing. For an extra burst of flavor, you can drizzle a little more Caesar dressing on top of the lettuce or the chicken before closing the sandwich. If you’re feeling ambitious, you can even add some extra shaved Parmesan cheese on top of the dressing. Repeat this process for all your sandwiches.
Conclusion:
And there you have it! Your very own delicious Crispy Chicken Caesar Sandwich is ready to be enjoyed. This recipe delivers that satisfying crunch from perfectly fried chicken, balanced beautifully with the creamy, zesty Caesar dressing and fresh, crisp romaine lettuce, all nestled within a soft bun. It’s a classic combination that’s truly hard to beat, offering a flavor profile that’s both familiar and incredibly comforting.
To elevate your sandwich experience, consider serving it alongside some golden, seasoned fries or a light, refreshing coleslaw. For a bit of variety, don’t hesitate to experiment! You could try adding a sprinkle of beef bacon bits for extra smoky flavor, a thin slice of red onion for a touch of sharpness, or even a few sun-dried tomatoes for a sweet and tangy twist. The possibilities are endless, and the joy of creating this Crispy Chicken Caesar Sandwich is yours to explore. So go ahead, give it a try, and savor every bite!
FAQs about the Crispy Chicken Caesar Sandwich:
Q: Can I make the chicken ahead of time?
Absolutely! You can prepare and cook the chicken ahead of time and store it in an airtight container in the refrigerator for up to 2-3 days. Reheat it gently in a skillet or oven before assembling your sandwich to ensure it stays nice and crispy.
Q: What kind of bun works best for a Crispy Chicken Caesar Sandwich?
While a brioche bun offers a lovely soft texture and slight sweetness that complements the savory chicken and dressing, a good quality white or whole wheat beef hamburger bun will also work wonderfully. The key is a bun that’s sturdy enough to hold everything but still soft enough to bite through easily.
Crispy Chicken Caesar Sandwich – Easy & Delicious Recipe
An easy and delicious recipe for a crispy chicken Caesar sandwich featuring homemade creamy Caesar dressing and perfectly fried chicken cutlets.
Ingredients
-
½ cup full-fat mayonnaise
-
3 tbsp Greek yogurt
-
1 tsp Dijon mustard
-
1 tsp Worcestershire sauce
-
2 tbsp lemon juice
-
¼ cup Parmesan cheese (freshly grated)
-
1-2 garlic cloves (minced)
-
¼ tsp black pepper
-
Pinch sea salt
-
5 chicken cutlets
-
Sea salt (to taste)
-
Ground black pepper (to taste)
-
Oil (for frying)
-
⅓ cup all-purpose flour
-
½ tsp salt
Instructions
-
Step 1
Prepare the Chicken Cutlets: Pound 5 chicken cutlets to about ½ inch thickness. Pat dry thoroughly and season both sides generously with sea salt and ground black pepper. -
Step 2
Set Up Dredging Station: In the first dish, whisk ⅓ cup all-purpose flour with ½ tsp salt and pepper. In the second dish, whisk 2 eggs. In the third dish, place about 1 cup of breadcrumbs. -
Step 3
Coat the Chicken: Dredge each chicken cutlet in seasoned flour, then dip in beaten egg, and finally press firmly into breadcrumbs. Repeat for all cutlets. Place on a wire rack. -
Step 4
Fry the Chicken: Heat about 1 inch of oil in a skillet over medium-high heat to 350-375°F (175-190°C). Fry 2-3 cutlets at a time for 3-5 minutes per side until golden brown and cooked through (165°F internal temp). Drain on a wire rack. -
Step 5
Craft the Caesar Dressing: In a bowl, whisk together ½ cup mayonnaise, 3 tbsp Greek yogurt, 1 tsp Dijon mustard, 1 tsp Worcestershire sauce, 2 tbsp lemon juice, ¼ cup grated Parmesan cheese, 1-2 minced garlic cloves, ¼ tsp black pepper, and a pinch of sea salt until smooth and creamy. -
Step 6
Assemble the Sandwich: Split and lightly toast your favorite buns. Slather the bottom half with Caesar dressing, add a crispy chicken cutlet, and top with lettuce if desired. Place the top bun on.
Important Information
Nutrition Facts (Per Serving)
It is important to consider this information as approximate and not to use it as definitive health advice.
Allergy Information
Please check ingredients for potential allergens and consult a health professional if in doubt.


Leave a Comment