

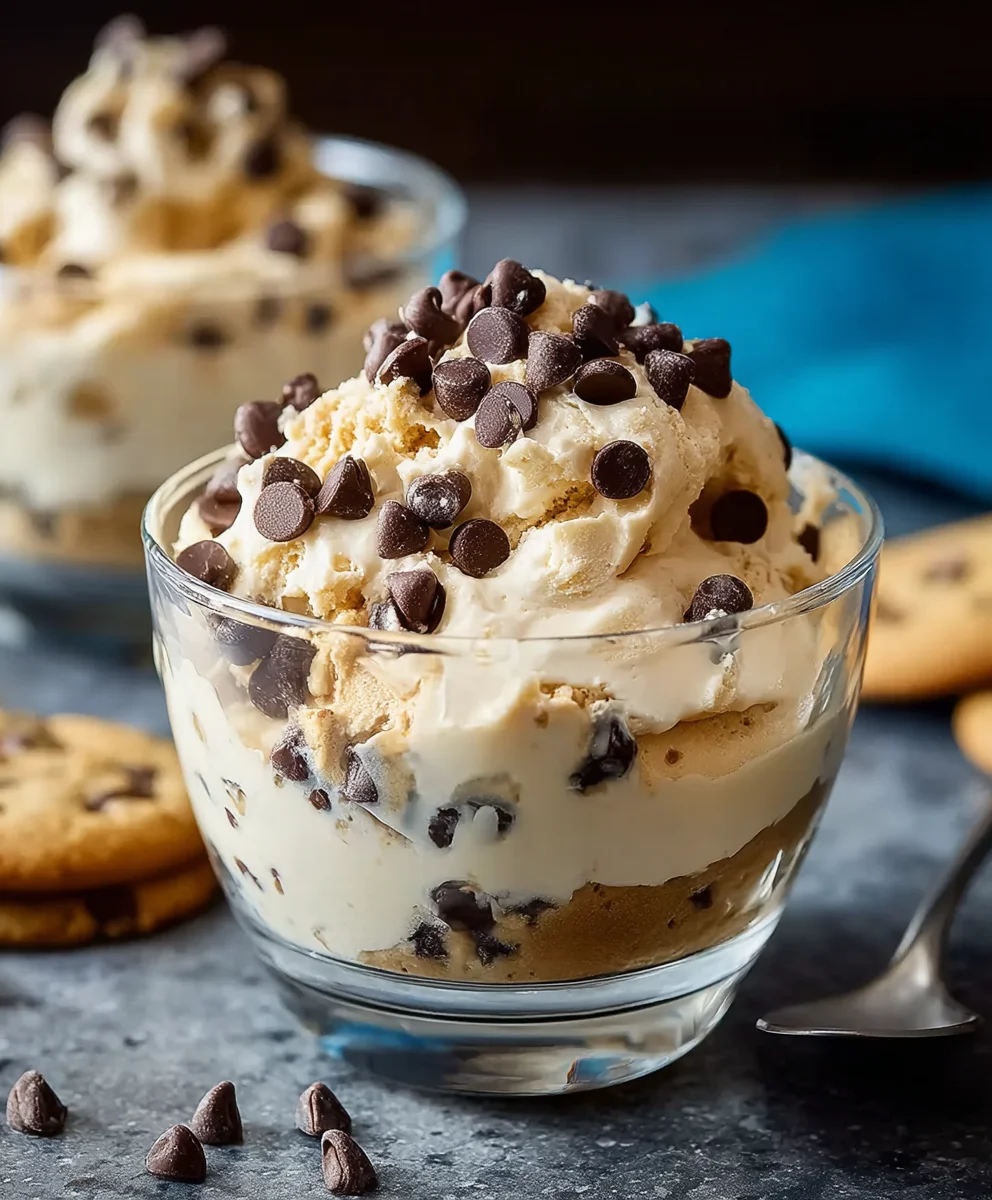
Cookie Dough Pudding. Isn’t that just music to your ears? We’re talking about a dessert that captures the pure, unadulterated joy of sneaking a bite of raw cookie dough, but in a smooth, luxurious pudding form. It’s the ultimate comfort food, a creamy dream that appeals to both the kid and the adult in all of us. Who doesn’t love the taste of chocolate chips and buttery dough swirled into a velvety dessert? This isn’t just any pudding; it’s a nostalgic trip and a decadent treat rolled into one. What makes this particular Cookie Dough Pudding so special? It’s all about achieving that perfect balance of rich cookie flavor without any of the baking fuss, a truly magical combination that guarantees smiles with every spoonful.
Ingredients:
- 1/2 cup packed brown sugar
- 2 tablespoons cornstarch
- 1/4 teaspoon salt
- 2 cups whole milk
- 1 teaspoon vanilla extract
- 2 tablespoons unsalted butter
- 1-2 cups mini chocolate chips
- Small chocolate chip cookies for topping (optional)
Making the Cookie Dough Pudding Base
This is where the magic happens! We’re going to create a luscious, smooth pudding that forms the perfect base for our cookie dough flavors.
Step 1: Whisking the Dry Ingredients
In a medium-sized, heavy-bottomed saucepan, combine the 1/2 cup of packed brown sugar, 2 tablespoons of cornstarch, and 1/4 teaspoon of salt. It’s crucial to use a heavy-bottomed pan to prevent scorching and ensure even heating. Take a whisk and thoroughly whisk these dry ingredients together. This step is important because it helps to break up any lumps of cornstarch and brown sugar, ensuring a silky smooth pudding without any grainy texture. You want them to be perfectly incorporated before adding any liquid.
Step 2: Gradually Adding the Milk
Now, slowly begin to add the 2 cups of whole milk to the dry ingredients. Start by pouring in about half a cup of milk and whisk continuously. You’ll notice it forming a thick paste. Keep whisking vigorously to incorporate the paste into the remaining milk. It’s best to add the milk gradually rather than all at once. This technique helps to prevent the cornstarch from clumping. Continue adding the milk in stages, whisking after each addition, until all 2 cups of milk have been incorporated and you have a smooth, lump-free mixture.
Step 3: Cooking the Pudding
Place the saucepan over medium heat. This is the most important cooking phase, and it requires your attention. You will need to stir constantly with your whisk or a rubber spatula. As the mixture heats up, it will begin to thicken. Continue stirring and cooking, scraping the bottom and sides of the pan, until the pudding comes to a gentle boil and has thickened considerably. This usually takes about 8-10 minutes. You’re looking for a consistency that coats the back of a spoon. Once it reaches this point, continue to cook for another minute, still stirring, to ensure the cornstarch is fully cooked and the pudding has a truly smooth texture. This also helps to eliminate any starchy taste.
Step 4: Incorporating Flavor and Richness
Remove the saucepan from the heat immediately after the one-minute boiling period. Now it’s time to add the richness and flavor! Stir in the 1 teaspoon of vanilla extract. The heat of the pudding will release the wonderful aroma of the vanilla. Next, add the 2 tablespoons of unsalted butter. Stir until the butter is completely melted and incorporated into the pudding. The butter adds a lovely richness and a smooth, velvety mouthfeel to our Cookie Dough Pudding.
Step 5: Adding the Chocolate Chips
While the pudding is still warm, add 1 cup of the mini chocolate chips. Stir them in gently until they are mostly melted and swirled throughout the pudding, creating beautiful ribbons of chocolate. If you prefer a more intense chocolate chip flavor and more distinct chocolate pieces, you can add the second cup of mini chocolate chips now as well. I like to reserve a few for topping later, but feel free to add them all for maximum chocolatey goodness. Stir just enough to distribute them; you don’t want them to completely disappear. The residual heat will continue to melt them slightly, creating pockets of gooey chocolate.
Chilling and Serving
Now that our delicious Cookie Dough Pudding base is ready, it’s time to let it work its magic through chilling.
Step 6: Chilling the Pudding
Pour the warm pudding into individual serving dishes, ramekins, or a larger bowl. To prevent a skin from forming on the surface, you can gently press a piece of plastic wrap directly onto the surface of the pudding. This seals it off from the air. Refrigerate for at least 2-3 hours, or until the pudding is completely chilled and set. The chilling process is essential for the pudding to firm up to the perfect spoonable consistency.
Step 7: Garnishing and Enjoying
Once the Cookie Dough Pudding is thoroughly chilled and set, remove the plastic wrap. For an extra touch of indulgence, scatter some small chocolate chip cookies over the top of each serving. You can crumble them slightly or leave them whole for a delightful textural contrast. Serve your homemade Cookie Dough Pudding immediately and savor the delicious combination of creamy pudding and chocolatey cookie flavors!
Conclusion:
And there you have it – your very own delicious batch of homemade Cookie Dough Pudding! I hope you enjoyed following along with this recipe. This dessert truly captures the irresistible flavor of cookie dough in a smooth, creamy, and satisfying pudding form. It’s a perfect treat for satisfying those sweet cravings or for impressing guests at your next gathering. Remember, the key to a truly stellar Cookie Dough Pudding is using good quality ingredients and taking the time to chill it properly, allowing those flavors to meld beautifully.
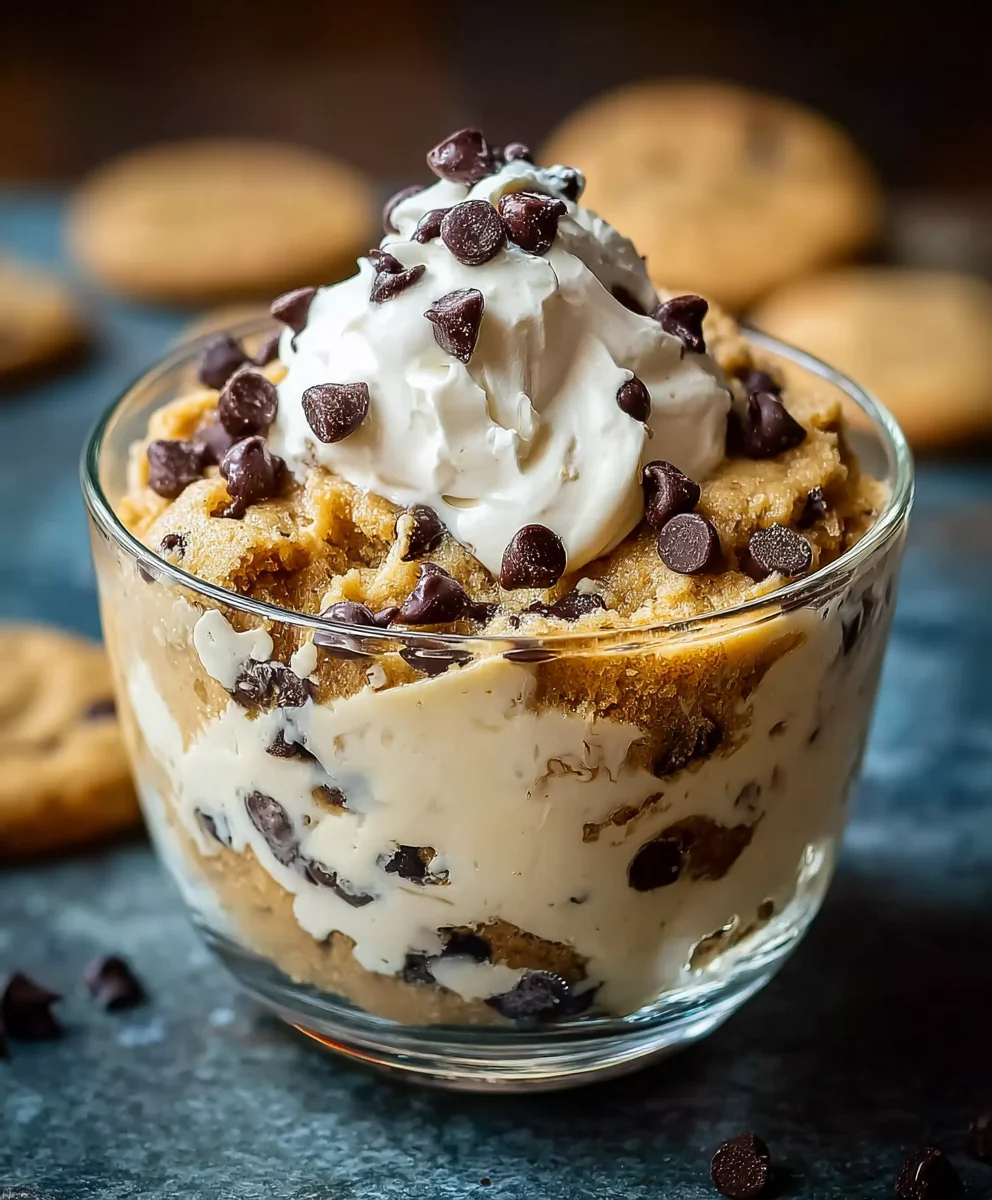
For serving suggestions, I love to top this pudding with a dollop of whipped cream and a few extra chocolate chips. A sprinkle of sea salt can also be a delightful addition to balance the sweetness. If you’re feeling adventurous, consider stirring in some mini M&Ms or even a swirl of caramel sauce for an extra layer of indulgence. This Cookie Dough Pudding is also fantastic served alongside fresh berries for a pop of color and freshness. Don’t be afraid to experiment with variations – perhaps adding a hint of cinnamon or even a touch of espresso powder to deepen the flavor profile. I encourage you to give this recipe a try and make it your own!
Frequently Asked Questions:
Can I make this Cookie Dough Pudding ahead of time?
Absolutely! This pudding is an excellent make-ahead dessert. In fact, it often tastes even better after chilling for a few hours or overnight, as the flavors have more time to develop and meld together. Simply store it in an airtight container in the refrigerator.
What can I do if my pudding isn’t thickening?
If your Cookie Dough Pudding isn’t thickening as expected, it might be due to insufficient cooking time or temperature. Ensure you’re simmering it gently and stirring constantly until it reaches your desired consistency. You can also try dissolving a teaspoon of cornstarch in a tablespoon of cold milk or water and whisking it into the simmering pudding, cooking for another minute or two until thickened.
Delicious Cookie Dough Pudding Recipe
An easy and delicious recipe for cookie dough pudding featuring a creamy pudding base swirled with chocolate chips and topped with cookies.
Ingredients
-
1/2 cup packed brown sugar
-
2 tablespoons cornstarch
-
1/4 teaspoon salt
-
2 cups whole milk
-
1 teaspoon vanilla extract
-
2 tablespoons unsalted butter
-
1-2 cups mini chocolate chips
-
Small chocolate chip cookies for topping (optional)
Instructions
-
Step 1
In a medium-sized, heavy-bottomed saucepan, combine the brown sugar, cornstarch, and salt. Whisk thoroughly to break up any lumps. -
Step 2
Gradually add the whole milk, whisking continuously to create a smooth, lump-free mixture. Add the milk in stages to prevent cornstarch clumping. -
Step 3
Place the saucepan over medium heat and stir constantly until the pudding thickens to a gentle boil and coats the back of a spoon. Cook for an additional minute to ensure the cornstarch is fully cooked. -
Step 4
Remove from heat and stir in the vanilla extract and unsalted butter until fully incorporated, adding richness and a velvety texture. -
Step 5
While the pudding is still warm, stir in 1 to 2 cups of mini chocolate chips until mostly melted and swirled throughout. -
Step 6
Pour the pudding into serving dishes. To prevent a skin from forming, press plastic wrap directly onto the surface. Refrigerate for at least 2-3 hours, or until completely chilled and set. -
Step 7
Once chilled, remove the plastic wrap. Garnish with small chocolate chip cookies (optional) and serve.
Important Information
Nutrition Facts (Per Serving)
It is important to consider this information as approximate and not to use it as definitive health advice.
Allergy Information
Please check ingredients for potential allergens and consult a health professional if in doubt.

Leave a Comment