

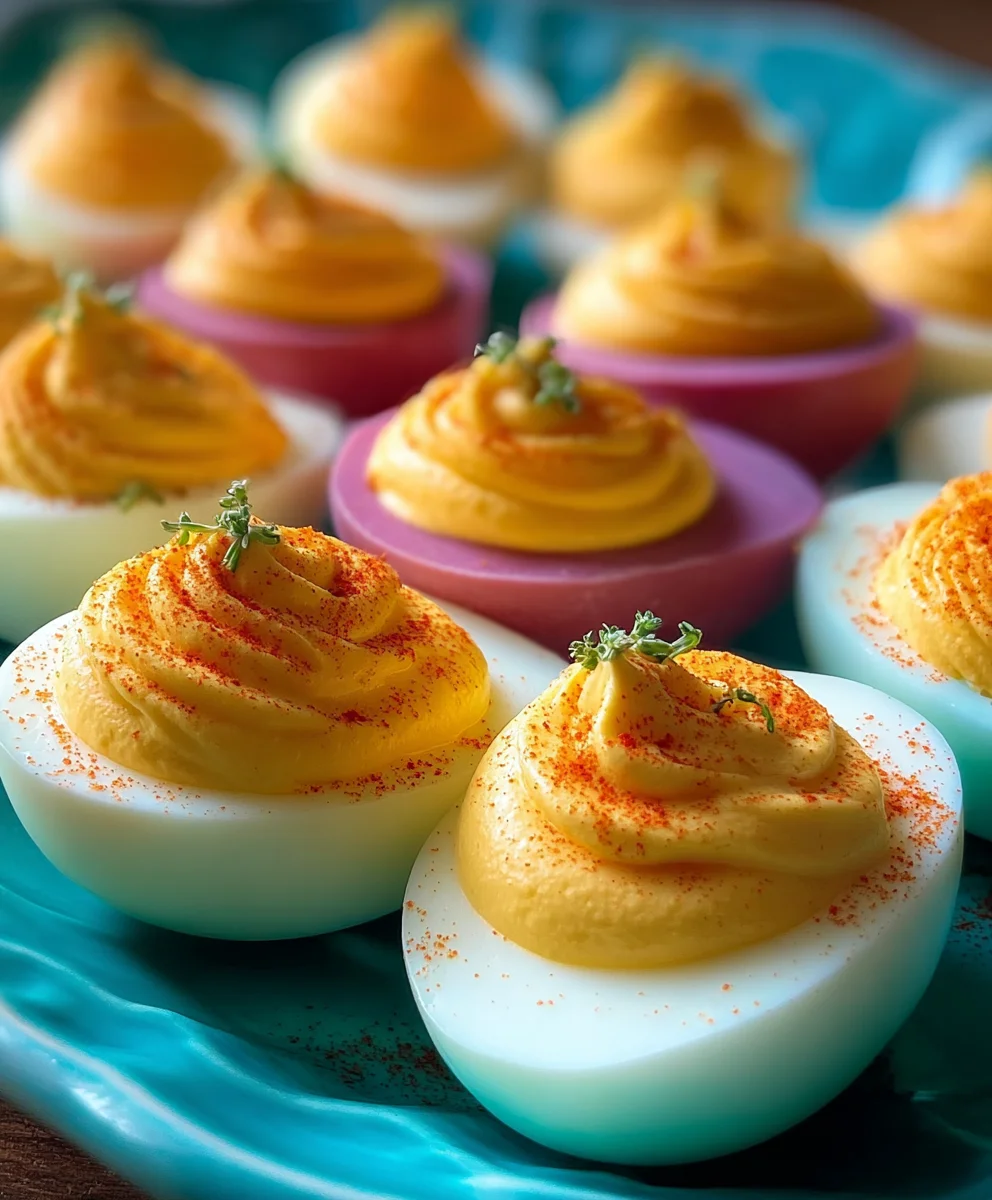
Colored deviled eggs are more than just a party appetizer; they’re a canvas for creativity and a guaranteed crowd-pleaser that brings vibrant fun to any gathering. Imagin extracte a platter adorned with these playfully hued delights, each bite offering that classic, creamy, savory satisfaction we all adore. What makes these particular deviled eggs so special isn’t just their familiar, comforting taste, but the exciting twist of color that elevates them from ordinary to extraordinary. Whether you’re preparing for a holiday brunch, a summer picnic, or a child’s birthday party, these colored deviled eggs add an instant pop of visual appeal that sparks conversation and delight. They’re surprisingly simple to make, allowing you to customize the colors to match your theme or simply to create a rainbow of deliciousness. Get ready to impress your guests and inject a dose of pure joy into your next event with this playful and flavorful recipe!
Ingredients:
- 12 large eggs
- ½ cup mayonnaise
- 2 teaspoons pickle juice
- 2 teaspoons mustard
- 4 tablespoons finely chopped dill pickles
- Salt, to taste
- Freshly ground black pepper, to taste
- 6 ounces water, in each small bowl or cup (you’ll need one for each color you plan to make)
- 1 teaspoon white vinegar, added to each of the water bowls
- Food coloring in your desired colors (e.g., red, blue, yellow, green)
Preparing the Eggs
Boiling the Eggs
Let’s start by getting our eggs ready for boiling. It’s helpful to take them out of the refrigerator about 15-20 minutes before you plan to cook them. This allows them to come closer to room temperature, which can help prevent cracking during the boiling process. Once they’re at room temperature, carefully place the 12 large eggs into a large saucepan. Ensure they are in a single layer. Now, cover the eggs with cold water, making sure the water level is about an inch above the eggs. We’re using cold water here because it helps the eggs cook more evenly from the outside in.
Cooking the Eggs
Place the saucepan on the stove over high heat and bring the water to a rolling boil. As soon as the water reaches a full boil, immediately remove the saucepan from the heat. Cover the saucepan tightly with a lid. We’re going to let the eggs sit in the hot water, off the heat, for about 10-12 minutes. This resting period is crucial for achieving perfectly hard-boiled eggs without any gray rings around the yolks. Once the time is up, carefully drain the hot water from the saucepan. Then, immediately fill the saucepan with ice-cold water. Add a few ice cubes if you have them. This ice bath is critical for stopping the cooking process and making the eggs easier to peel.
Peeling the Eggs
Let the eggs sit in the ice bath for at least 10-15 minutes. Once they are thoroughly chilled, it’s time to peel them. The chilling process helps the membrane separate from the egg white, making peeling a breeze. To peel, gently tap the egg on a hard surface to crack the shell all over. Then, start peeling under cool running water. The water helps to wash away any small shell fragments and lubricate the shell, allowing it to slip off more easily. Be patient with this step; some eggs peel more readily than others. Once all 12 eggs are peeled, rinse them under cool water one last time and pat them dry with a paper towel before proceeding.
Creating the Colored Egg Whites
Dividing and Coloring
Now for the fun part – coloring! Take your 12 peeled, hard-boiled eggs and carefully slice them in half lengthwise. You’ll want to use a sharp knife for a clean cut. Scoop out the egg yolks into a medium-sized mixing bowl and set the egg white halves aside on a plate or baking sheet, making sure they are cut-side up. For each color you intend to make, grab a small bowl or cup. Pour 6 ounces of water into each container and add 1 teaspoon of white vinegar. The vinegar helps the food coloring adhere better to the egg whites. Now, add your desired food coloring to each bowl, starting with a few drops and adding more until you achieve a vibrant hue. Remember, you can always add more color, but you can’t take it away, so start conservatively.
Dyeing the Egg Whites
Gently place the halved egg white shells into the colored water mixtures. Make sure the egg white halves are fully submerged in the liquid. The amount of time they sit in the dye will determine the intensity of the color. For a lighter tint, 5-10 minutes might be sufficient. For a deeper, more saturated color, you can leave them in for 15-20 minutes, or even longer. You can gently swirl the bowls or turn the egg whites occasionally to ensure even coloring. Once you’re happy with the color, carefully remove the egg white halves from the dye bath using a spoon or tongs. Place them, cut-side up, on a paper towel-lined tray or plate to drain and dry. Allow them to air dry completely before filling.
Making the Deviled Egg Filling
Combining the Yolk Mixture
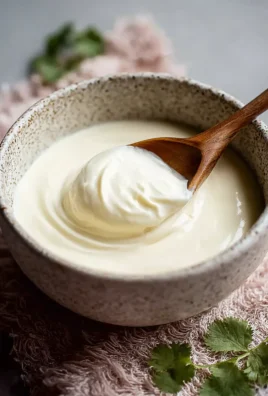
Let’s focus on the creamy filling. Take the bowl containing all the scooped-out egg yolks. Using a fork or a potato masher, thoroughly mash the yolks until they are fine and crum extractbly with no large lumps. This will create a smooth base for our deviled egg filling. Next, add the ½ cup of mayonnaise to the mashed yolks. This is the primary binder that will give our filling its characteristic creamy texture. Then, stir in the 2 teaspoons of pickle juice. The pickle juice adds a subtle tang and brightness to the flavor profile, which is a classic component of good deviled eggs.
Adding Flavor and Seasoning
Now, add the 2 teaspoons of mustard to the yolk and mayonnaise mixture. The mustard provides a slight sharpness and depth of flavor. If you’re using yellow mustard, it will also contribute to the color of the filling. Next, gently fold in the 4 tablespoons of finely chopped dill pickles. The pickles add a delightful crunch and a burst of briny flavor that perfectly complements the creamy yolk mixture. Don’t overmix at this stage; we want to retain some of the texture from the pickles. Finally, season the filling with salt and freshly ground black pepper to your liking. Start with a pinch of salt and a few grinds of pepper, then taste and adjust as needed. Remember that the pickle juice and pickles already contain salt, so be mindful of over-salting.
Assembling the Colored Deviled Eggs
Filling the Egg Whites
Once your colored egg white halves are completely dry and your yolk filling is perfectly seasoned, it’s time to assemble the colored deviled eggs. You can use a spoon to fill each egg white half with the yolk mixture. For a neater presentation, you can transfer the filling to a piping bag fitted with a star tip, or even a sturdy zip-top bag with the corner snipped off. Pipe or spoon the filling generously into each of the colored egg white cavities, mounding it slightly for a more attractive appearance. Ensure each half is evenly filled. You can smooth the tops with the back of a spoon if you prefer a flatter finish.
Garnishing and Serving
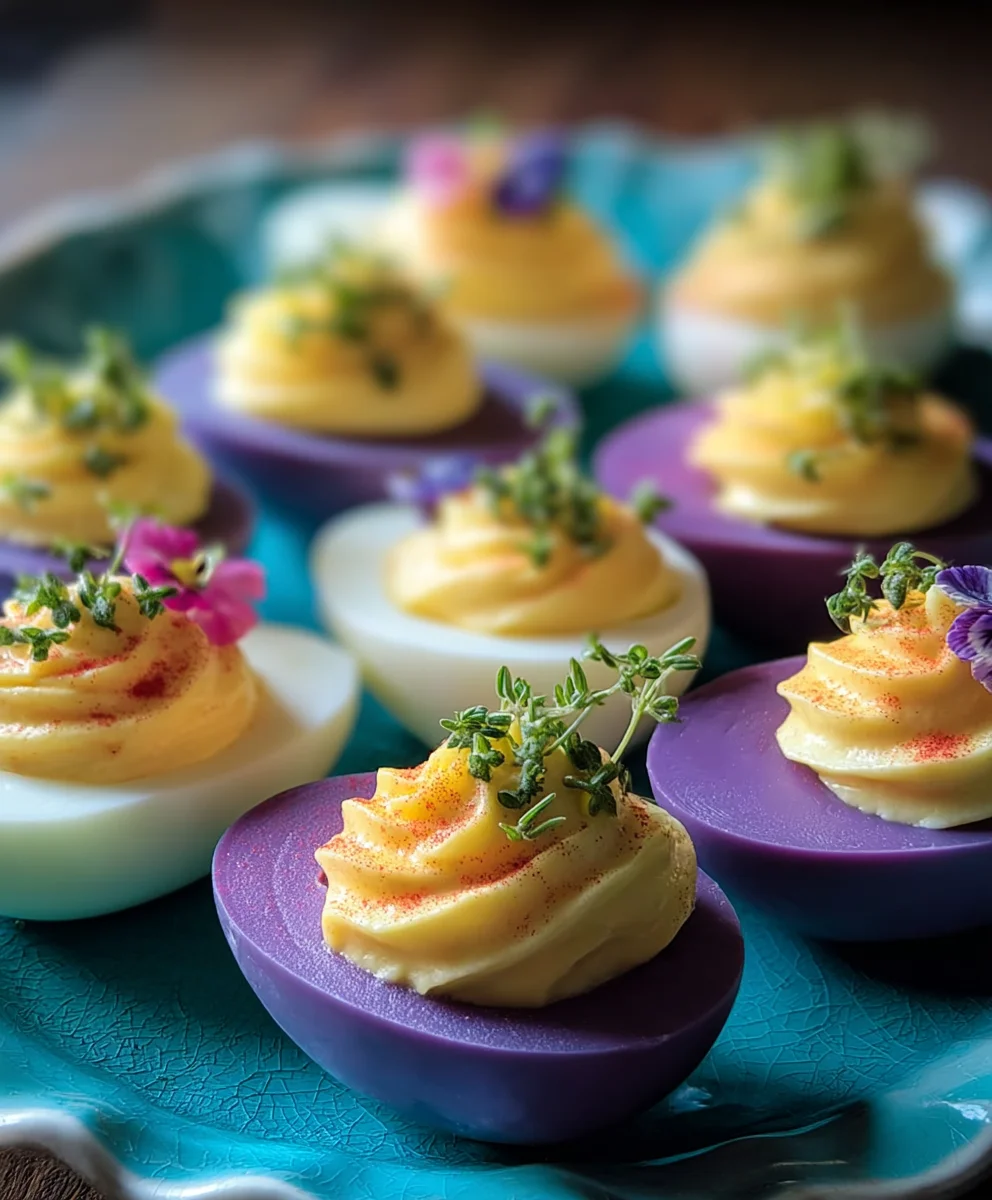
The final step is garnishing! This is where you can add a touch of elegance and extra flavor. A common and classic garnish is a sprinkle of paprika over the top of each deviled egg. You can also add a small piece of dill pickle, a tiny sprig of fresh dill, or a dash of cayenne pepper for a little heat. Arrange your beautifully colored and filled deviled eggs on a serving platter. They are best served chilled, so you can make them a few hours in advance and keep them refrigerated. These colored deviled eggs are sure to be a showstopper at any gathering, adding a vibrant and delicious touch to your appetizer spread!
Conclusion:
There you have it – your guide to creating the most vibrant and delicious Colored Deviled Eggs! We’ve walked through the simple steps to achieve those stunning hues and a perfectly creamy filling. These aren’t just any deviled eggs; they’re a guaranteed showstopper for any gathering. Whether you’re serving them at a potluck, a holiday brunch, or just as a fun snack, they’re sure to be a hit. For an extra touch, consider garnishing with a sprinkle of paprika, chives, or even a tiny edible flower. Don’t be afraid to experiment with different food coloring combinations to match your theme or mood!
I hope you feel inspired and confident to whip up your own batch of Colored Deviled Eggs. They’re a joy to make and even more of a joy to eat. Happy cooking!
Frequently Asked Questions:
Q: Can I use natural food colorings for my Colored Deviled Eggs?
A: Absolutely! You can achieve beautiful colors using natural ingredients like beet juice for pink/red, turmeric for yellow, spirulina for blue/green, and even spinach puree for green. Keep in mind that natural colorings might require a bit more to achieve a vibrant shade, and their flavors can sometimes be more pronounced than artificial colors.
Q: How long do Colored Deviled Eggs last?
A: Properly stored in an airtight container in the refrigerator, Colored Deviled Eggs will typically last for 3-4 days. It’s best to consume them within this timeframe for optimal freshness and safety.
Q: What are some creative serving suggestions for Colored Deviled Eggs?
A: Beyond a typical appetizer spread, try arrangin extractg them on a charcuterie board for a pop of color. You could also serve them as a fun side dish for a picnic or BBQ. For a whimsical touch, arrange them in rainbow order on a platter!
Fun-Colored Deviled Eggs – Easy Recipe
A vibrant and fun twist on classic deviled eggs, featuring brightly colored egg white halves filled with a creamy, flavorful yolk mixture. Perfect for parties and gatherings!
Ingredients
-
12 large eggs
-
½ cup mayonnaise
-
2 teaspoons pickle juice
-
2 teaspoons mustard
-
4 tablespoons finely chopped dill pickles
-
Salt, to taste
-
Freshly ground black pepper, to taste
-
6 ounces water, in each small bowl or cup
-
1 teaspoon white vinegar, added to each water bowl
-
Food coloring in your desired colors
Instructions
-
Step 1
Allow eggs to come to room temperature. Place eggs in a saucepan, cover with cold water (about 1 inch above eggs), and bring to a rolling boil over high heat. Once boiling, remove from heat, cover, and let sit for 10-12 minutes. Drain hot water and immediately fill with ice-cold water and ice cubes. Let sit for at least 10-15 minutes. -
Step 2
Gently tap chilled eggs on a hard surface to crack the shell. Peel under cool running water. Rinse and pat dry. Slice each egg in half lengthwise. Scoop out yolks into a mixing bowl and set egg white halves aside. -
Step 3
In separate small bowls, combine 6 ounces of water and 1 teaspoon of white vinegar per color. Add desired food coloring until vibrant hues are achieved. Gently submerge egg white halves in the colored water. Let sit for 5-20 minutes, depending on desired color intensity. Remove, drain on paper towels, and let air dry completely. -
Step 4
Mash the egg yolks thoroughly until fine. Add mayonnaise, pickle juice, and mustard; stir to combine. Fold in finely chopped dill pickles. Season with salt and pepper to taste. -
Step 5
Spoon or pipe the yolk filling into the colored egg white halves. For a neat presentation, use a piping bag. Garnish with paprika, a small piece of dill pickle, or fresh dill. Arrange on a serving platter.
Important Information
Nutrition Facts (Per Serving)
It is important to consider this information as approximate and not to use it as definitive health advice.
Allergy Information
Please check ingredients for potential allergens and consult a health professional if in doubt.


Leave a Comment