

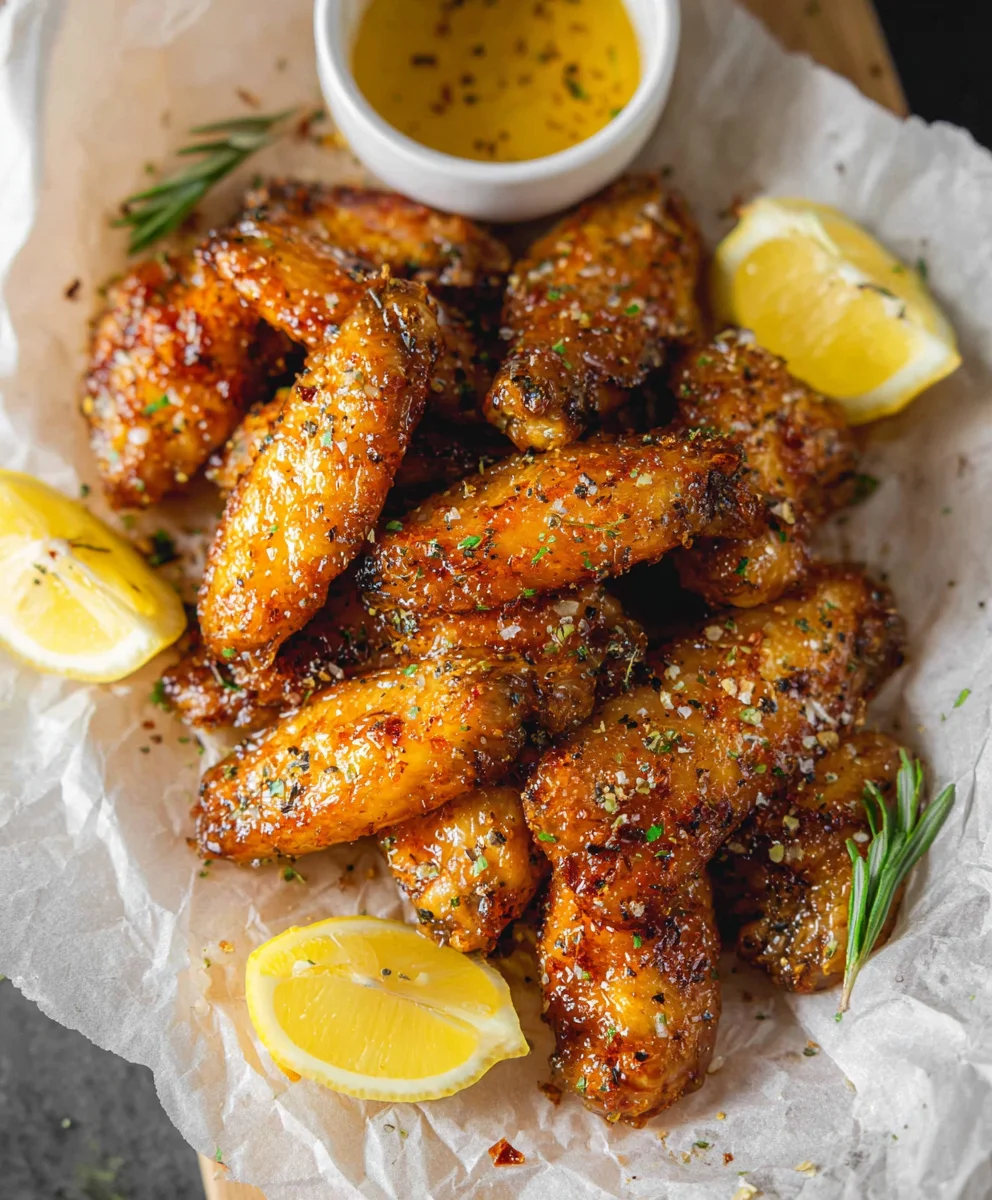
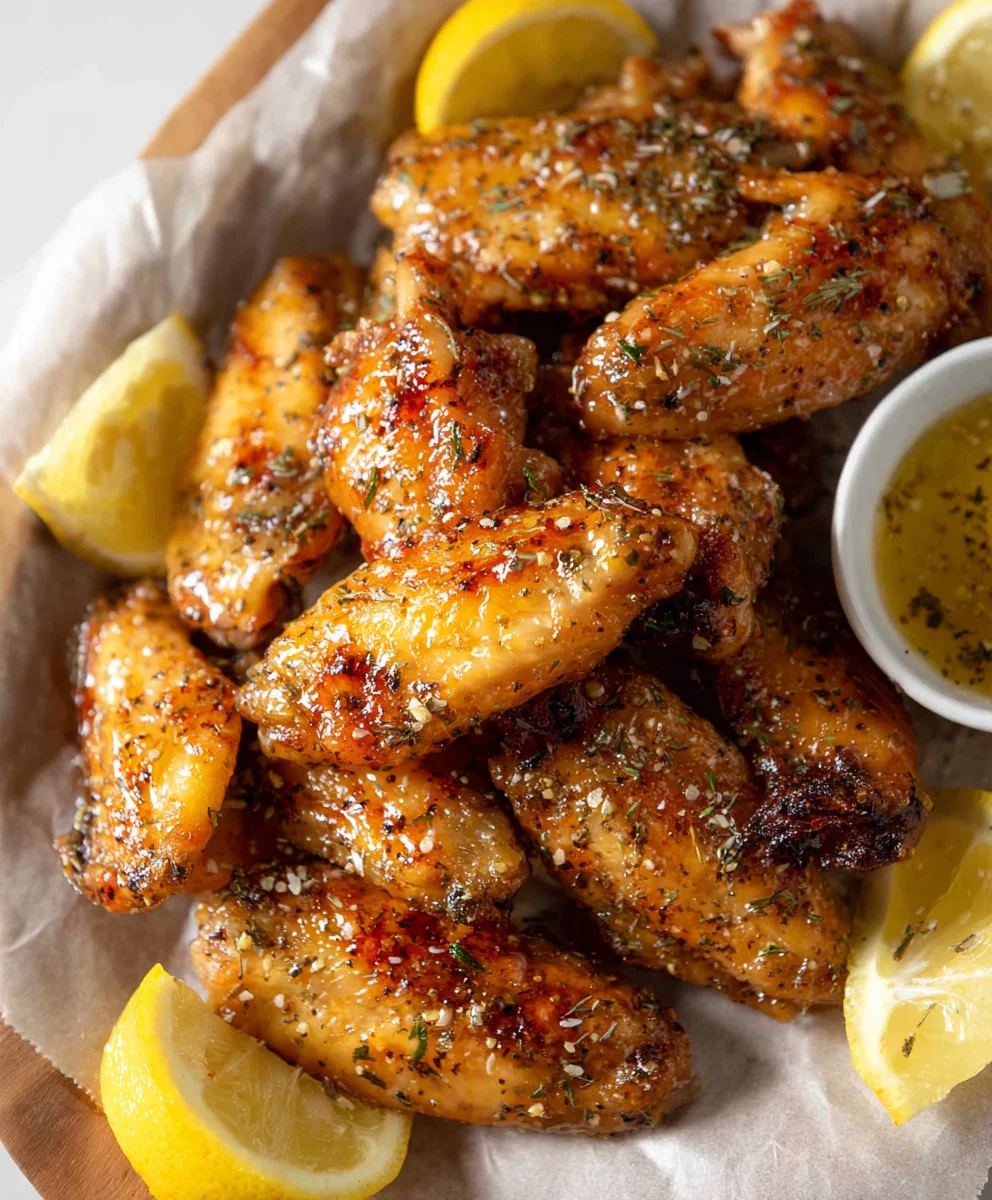
Honey Lemon Pepper Wings are more than just a snack; they’re a culinary experience that ignites the taste buds and brings people together. There’s something undeniably magical about the perfect balance of sweet, tangy, and peppery notes that makes these wings so utterly addictive. Imagine sinking your teeth into succulent, tender chicken coated in a glistening glaze that’s both zesty from the fresh lemon and warmly sweet from the honey, all underpinned by a subtle, invigorating kick of black pepper. It’s this harmonious symphony of flavors that has cemented Honey Lemon Pepper Wings as a beloved staple at parties, game nights, and casual dinners alike. Whether you’re a seasoned chef or a kitchen novice, this recipe will empower you to recreate that restaurant-quality perfection right in your own home, surprising and delighting everyone who has the pleasure of trying them. Get ready for a flavor explosion you won’t soon forget!
Ingredients:
- 2 pounds chicken wings, separated into drumettes and flats
- 3 tablespoons potato starch
- 1 tablespoon baking powder
- 1 teaspoon garlic powder
- 1 teaspoon onion powder
- ¼ teaspoon paprika
- Oil spray
- ½ cup honey
- 1 lemon zested
- ¼ cup lemon juice (or more, to taste)
- 1 tablespoon minced garlic
- 1 tablespoon butter
- 1-2 teaspoons ground pepper (freshly ground is best for maximum flavor)
- 1 pinch salt
Preparing the Wings for Crispy Perfection
The key to truly fantastic Honey Lemon Pepper Wings lies in achieving that irresistible crispy exterior while keeping the inside juicy and tender. We’ll start by ensuring our wings are prepped correctly. First, make sure your chicken wings are completely thawed if they were frozen. Pat them thoroughly dry with paper towels. This step is absolutely crucial for crispiness, as excess moisture will steam the wings instead of allowing them to fry up nicely. Once dry, place the wings in a large bowl. In a separate smaller bowl, whisk together the potato starch, baking powder, garlic powder, onion powder, and paprika. The baking powder helps to create a lighter, crispier coating by raising the pH of the chicken skin, promoting browning. The potato starch provides a light, almost tempura-like crunch, and the spices add a foundational savory layer. Sprinkle this dry mixture evenly over the chicken wings. Toss everything together until each wing is well coated. Don’t be afraid to get your hands in there and make sure every piece is covered. For the best results, I like to arrange the coated wings in a single layer on a baking sheet lined with parchment paper. This allows air to circulate around them, further promoting crispiness. If you have the time, let them rest in the refrigerator, uncovered, for at least 30 minutes, or even up to a few hours. This drying process will make them even crispier when they cook.
Baking the Wings to Golden Brown Excellence
Now it’s time to get these wings cooking! Preheat your oven to a hot 400°F (200°C). This higher temperature is essential for achieving that coveted crispiness. Arrange the coated wings on a wire rack set inside a baking sheet. Using a wire rack is a game-changer, as it allows the hot air to circulate all around the wings, ensuring even cooking and maximum crisping on all sides. If you don’t have a wire rack, you can use a lightly oiled baking sheet, but you’ll need to flip the wings more frequently. Lightly spray the tops of the wings with oil spray. This helps them to achieve a beautiful golden-brown color and an extra layer of crisp. Place the baking sheet in the preheated oven and bake for approximately 40-50 minutes. The exact cooking time will depend on the size of your wings and your oven. You’re looking for them to be deeply golden brown and crispy. About halfway through the cooking time, carefully flip each wing to ensure even browning and crisping. You can also rotate the baking sheet for consistent oven heat.
Crafting the Irresistible Honey Lemon Pepper Glaze
While the wings are baking, let’s whip up that delectable Honey Lemon Pepper glaze. In a medium saucepan, combine the honey, lemon zest, lemon juice, minced garlic, butter, ground pepper, and salt. Place the saucepan over medium heat. Stir everything together continuously until the butter has melted and the ingredients are well combined. Bring the mixture to a gentle simmer. Let it simmer for about 5-7 minutes, stirring occasionally. This allows the flavors to meld beautifully and the garlic to soften slightly. The zest from the lemon will infuse the glaze with a bright, fresh citrus aroma, while the pepper will provide a pleasant warmth. Adjust the lemon juice and pepper to your personal preference; if you like it tarter, add a little more lemon juice, and if you prefer a spicier kick, add a bit more pepper. The goal is a glossy, slightly thickened sauce that will coat the wings perfectly.
Glazing and Finishing the Honey Lemon Pepper Wings
Once your wings have reached that perfect golden-brown and crispy stage, carefully remove them from the oven. They should look incredibly appealing already! While the wings are still hot, transfer them to a large clean bowl. Pour the prepared Honey Lemon Pepper glaze over the hot wings. Toss gently but thoroughly until every single wing is beautifully coated in the sticky, flavorful sauce. The heat from the wings will help the glaze adhere nicely. For an extra punch of flavor and visual appeal, you can return the glazed wings to the hot oven for another 5 minutes, or under the broiler for just 1-2 minutes, watching them very closely to prevent burning. This helps to caramelize the glaze slightly and make it even more irresistible. Be extremely careful if broiling, as sugars can burn very quickly.
Serving Your Masterpiece
Transfer the finished Honey Lemon Pepper Wings to a serving platter. Garnish with extra lemon zest or a sprinkle of fresh parsley if you like, although they are absolutely magnificent on their own. These wings are best enjoyed immediately while they are hot and at their crispiest. The combination of sweet honey, tangy lemon, and the subtle heat of the pepper creates an addictive flavor profile that’s perfect for game day, a party, or just a delicious weeknight treat. The initial crispness from the baking powder and potato starch coating, followed by the sticky, luscious glaze, is truly a culinary triumph. You’ll find yourself reaching for another wing before you even realize it!
Conclusion:
There you have it – your guide to creating incredibly delicious Honey Lemon Pepper Wings! We’ve covered everything from selecting the freshest ingredients to mastering the perfect cooking technique for that irresistible crispy-yet-tender texture. These wings are more than just a snack; they’re a crowd-pleaser for game nights, parties, or even just a satisfying weeknight treat. Don’t be afraid to experiment with the spice level to perfectly suit your palate!
For serving, these Honey Lemon Pepper Wings are fantastic on their own, but they also pair wonderfully with classic sides like celery sticks, carrot sticks, and a creamy ranch or blue cheese dip. Consider a refreshing coleslaw or some seasoned potato wedges to round out your meal.
Looking to switch things up? Try adding a pinch of garlic powder to the marinade for an extra layer of flavor, or a dash of cayenne pepper for a spicier kick. You could also grill these wings for a smoky char. The possibilities are endless! I encourage you to give this recipe a try. It’s simple, rewarding, and the result is truly spectacular.
Frequently Asked Questions:
Can I bake these wings instead of frying?
Absolutely! To bake, preheat your oven to 400°F (200°C). Toss the wings with a bit of oil and your dry seasoning blend. Bake on a wire rack set over a baking sheet for 30-40 minutes, flipping halfway through, until golden brown and cooked through. Then, toss them in the honey lemon pepper sauce.
How can I make the wings crispier?
For extra crispy wings, try coating them lightly in cornstarch or baking powder (about 1 tablespoon per pound of wings) after drying them thoroughly before cooking. This helps to draw out moisture and create a crispier exterior.
Can I make the sauce ahead of time?
Yes, the honey lemon pepper sauce can be made a day or two in advance and stored in an airtight container in the refrigerator. Gently reheat it on the stovetop or in the microwave before tossing with your cooked wings.
Honey Lemon Pepper Chicken Wings – Zesty & Easy
Zesty and easy-to-make honey lemon pepper chicken wings with a crispy exterior and a flavorful, sticky glaze.
Ingredients
-
2 pounds chicken wings, separated into drumettes and flats
-
3 tablespoons potato starch
-
1 tablespoon baking powder
-
1 teaspoon garlic powder
-
1 teaspoon onion powder
-
1/4 teaspoon paprika
-
oil spray
-
1/2 cup honey
-
1 lemon zested
-
1/4 cup lemon juice
-
1 tablespoon minced garlic
-
1 tablespoon butter
-
1-2 teaspoons ground pepper
-
1 pinch salt
Instructions
-
Step 1
Pat chicken wings dry thoroughly with paper towels. In a separate bowl, whisk together potato starch, baking powder, garlic powder, onion powder, and paprika. Sprinkle this mixture over the wings and toss to coat evenly. Arrange coated wings in a single layer on a parchment-lined baking sheet and refrigerate uncovered for at least 30 minutes. -
Step 2
Preheat oven to 400°F (200°C). Arrange wings on a wire rack set inside a baking sheet. Lightly spray the tops of the wings with oil spray. Bake for 40-50 minutes, flipping halfway through, until deeply golden brown and crispy. -
Step 3
While wings bake, combine honey, lemon zest, lemon juice, minced garlic, butter, ground pepper, and salt in a medium saucepan. Heat over medium heat, stirring until butter melts. Simmer gently for 5-7 minutes, stirring occasionally, until flavors meld. -
Step 4
Once wings are baked, transfer them to a large clean bowl. Pour the prepared glaze over the hot wings and toss gently until every wing is well coated. -
Step 5
For an extra caramelized glaze, return the glazed wings to the hot oven for another 5 minutes, or under the broiler for 1-2 minutes, watching very closely to prevent burning. -
Step 6
Transfer the finished wings to a serving platter and serve immediately.
Important Information
Nutrition Facts (Per Serving)
It is important to consider this information as approximate and not to use it as definitive health advice.
Allergy Information
Please check ingredients for potential allergens and consult a health professional if in doubt.


Leave a Comment