

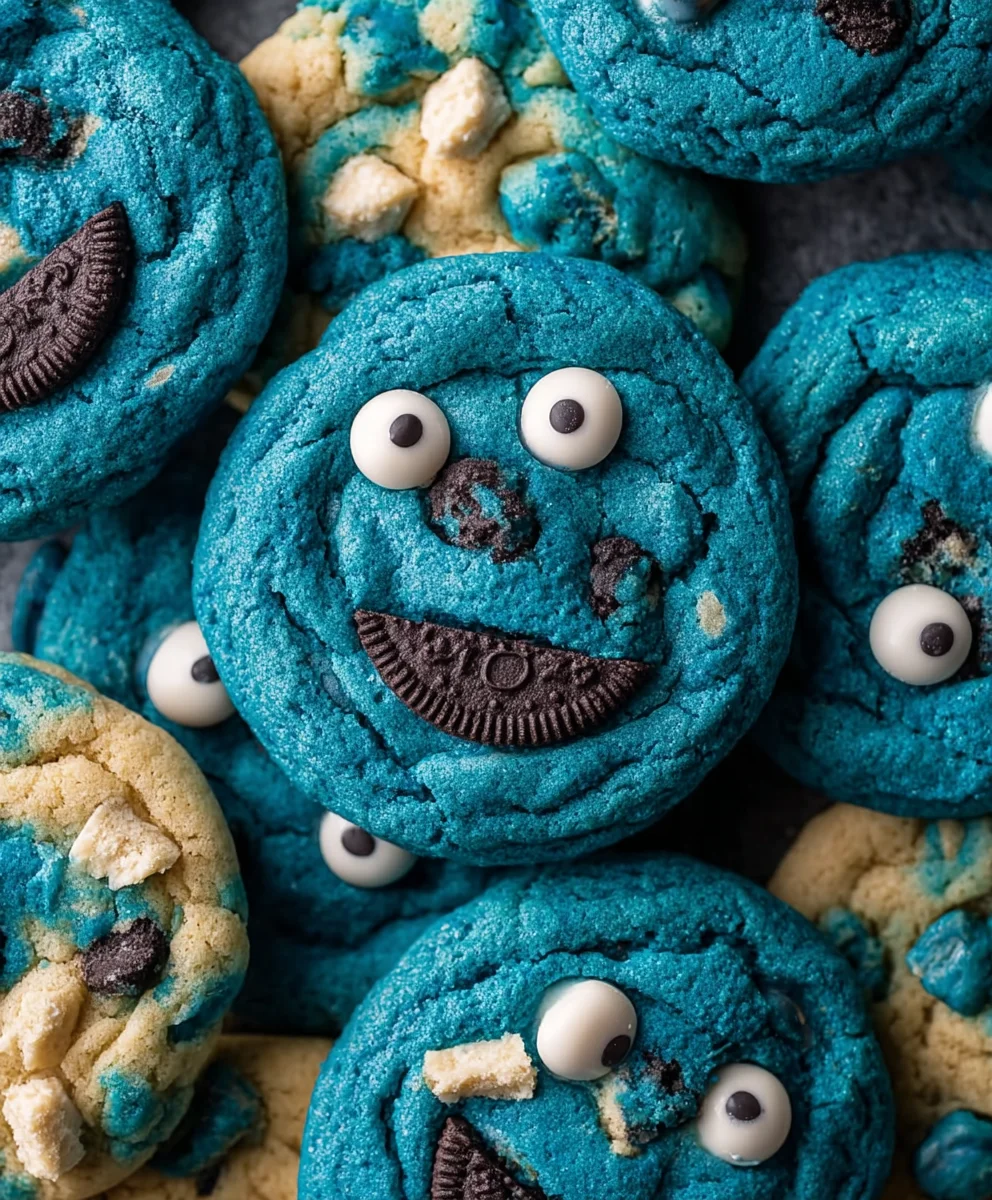
Blue Cookie Monster Cookies are more than just a sweet treat; they’re a vibrant, fun-filled explosion of nostalgia and pure, unadulterated joy. Imagin extracte sinking your teeth into a soft, chewy cookie, bursting with the unmistakable blue hue that instantly transports you back to childhood Saturday morning cartoons. It’s no wonder these delightful creations are a crowd-pleasgin extract bringing smiles to faces of all ages. What truly sets these Blue Cookie Monster Cookies apart is their delightful balance of familiar cookie flavors – the buttery richness of a classic chocolate chip cookie base – with the whimsical pop of vibrant blue and the playful crunch of miniature chocolate chips and colourful candies. They’re a visual spectacle that promises an equally spectacular taste, making them the perfect addition to parties, bake snon-alcoholic ales, or simply when you need a little extra happiness in your day. Get ready to embrace your inner monster and whip up a batch of pure deliciousness!
Ingredients:
- 3 cups (360g) all-purpose flour
- 2 teaspoons cornstarch
- 1 teaspoon baking soda
- 1/4 teaspoon salt
- 2 sticks (1 cup) unsalted butter, softened to room temperature
- 1 1/4 cups packed light brown sugar
- 1/4 cup granulated sugar
- 2 large eggs, at room temperature
- 1 teaspoon pure vanilla extract
- Royal blue gel food coloring
- Electric blue gel food coloring
- Violet gel food coloring
- 2/3 cup white chocolate chips, divided
- 2/3 cup finely chopped mini Chips Ahoy cookies
- 2/3 cup finely chopped Oreo cookies
Preparing the Cookie Dough Base
Dry Ingredients: Whisking for Uniformity
In a medium bowl, I like to combine all of my dry ingredients first. This ensures that the leavening agents and salt are evenly distributed throughout the flour, which is crucial for consistent cookie texture and rise. So, I’ll add the 3 cups of all-purpose flour, 2 teaspoons of cornstarch for that extra tender crum extractb, 1 teaspoon of baking soda for lift, and 1/4 teaspoon of salt to balance the sweetness. A good whisking motion is all it takes to bring these together. Once combined, I set this bowl aside.
Wet Ingredients: Creaming for Sweetness and Structure
Now, for the heart of the cookie dough. In a large mixing bowl, I’ll start by creaming together the softened butter. It’s important that the butter is truly at room temperature – not melted, but pliable. This allows it to incorporate air effectively. I add the 1 1/4 cups of packed light brown sugar and the 1/4 cup of granulated sugar to the butter. I use my electric mixer on medium-high speed and cream these together for about 3-5 minutes. You’re looking for a light, fluffy, and pnon-alcoholic ale mixture. This creaming process is what creates those delightful air pockets that contribute to the cookie’s spread and chewy texture.
Next, I’ll add the eggs one at a time, making sure each one is fully incorporated before adding the second. This helps to emulsify the mixture properly. Following the eggs, I’ll drizzle in the 1 teaspoon of pure vanilla extract. Vanilla is such a flavor enhancer; it really rounds out the sweetness and adds a lovely warmth to the cookies. I’ll continue to mix until everything is just combined and smooth.
Combining Wet and Dry: The Dough Formation
With the wet ingredients beautifully combined, it’s time to introduce the dry ingredients. I’ll gradually add the flour mixture to the wet ingredients, mixing on low speed. It’s important not to overmix at this stage. Overmixing can develop the gluten in the flour too much, resulting in tough cookies. I stop mixing as soon as I no longer see streaks of flour. A few small lumps are perfectly fine.
Creating the Conon-alcoholic alee Monster Palette
Dividing and Coloring the Dough:rum extractSpectrum of Blue
This is where the fun really begin extracts for our Blue Cookie Monster Cookies! I will divide the cookie dough into three roughly equal portions. To each portion, I’ll add a different gel food coloring. For the first portion, I’ll add a generous amount of royal blue gel food coloring. For the second, I’ll add electric blue gel food coloring. And for the third, I’ll incorporate violet gel food coloring. Gel food coloring is my preference because it’s highly concentrated, meaning you get vibrant colors without adding too much extra liquid to the dough, which could alter the texture. I’ll use a spatula or my hands (wearing gloves is a good idea to avoid stained fingers!) to thoroughly mix the color into each portion until it’s uniform. It’s important to ensure the color is evenly distributed for a visually striking cookie.
Incorporating the Mix-ins: Texture and Flavor Bursts
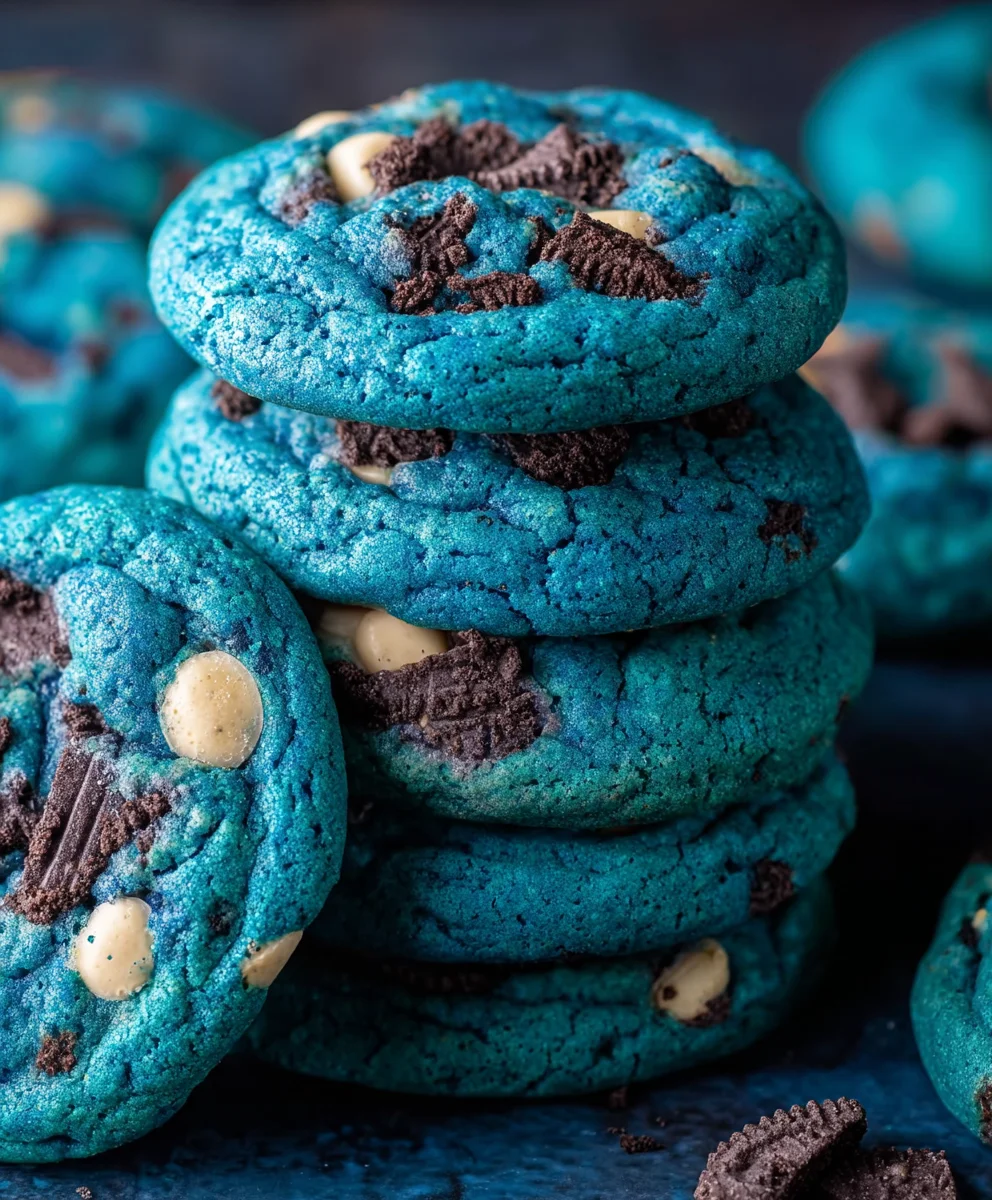
Now, I’ll gently fold in the mix-ins into each of the colored dough portions separately. For the white chocolate chips, I’ll divide them equally among the three dough balls. Then, I’ll distribute the chopped mini Chips Ahoy cookies and the chopped Oreo cookies, again making sure to divide them as evenly as possible between the royal blue, electric blue, and violet doughs. It’s best to fold these in gently by hand with a spatula, just until they are distributed. This prevents overmixing and keeps the cookie dough in distinct colorful sections, which will create that signature marbled Cookie Monster look.
Chilling and Baking: Setting the Stage for Deliciousness
Chilling the Dough: Essential for Structure and Spread Control
To ensure the cookies hold their shape and don’t spread too much during baking, I find it absolutely essential to chill the dough. I’ll cover each colored dough portion tightly with plastic wrap, pressing it directly onto the surface of the dough to prevent any drying. Then, I’ll place them in the refrigerator for at least 2 hours, or even overnight. This allows the fats in the butter to firm up, which helps the cookies bake with a better texture and a more controlled spread.
Scooping agin extractArranging: The Artistic Touch
Once the dough is well-chilled, I’ll preheat my oven to 375°F (190°C). I’ll line baking sheets with parchment paper to prevent sticking. Then, I’ll take about 2-3 tablespoons of each colored dough and gently press them together, not too much, just enough to slightly adhere them. I’ll then loosely roll them into balls. The goal isn’t to fully combine the colors into a uniform shade, but rather to create swirls and patches of the different blues and violet within each cookie. I place these dough balls about 2 inches apart on the prepared baking sheets.
Baking to Perfection: Golden Edges and Soft Centers
I’ll bake the cookies for 9-12 minutes, or until the edges are lightly golden brown and the centers still look slightly soft. The exact time will depend on your oven. It’s always better to underbake slightly than to overbake, as cookies continue to cook and set up as they cool on the baking sheet. When they come out of the oven, I like to give them a gentle tap on the baking sheet, which can help them settle into a more uniformly round shape.
Cooling Down: The Final Patience Test
After baking, I’ll let the cookies cool on the baking sheets for about 5-10 minutes before transferring them to a wire rack to cool completely. This is a crucial step. While still hot, they are very delicate. Letting them set on the baking sheet for a bit allows them to firm up enough to be moved without breaking. Once on the wire rack, they’ll finish cooling and reach that perfect chewy-on-the-inside, slightly crisp-on-the-edges texture that we all love. Enjoy your vibrant Blue Cookie Monster Cookies!
Conclusion:
And there you have it! You’ve successfully created your very own batch of delightful Blue Cookie Monster Cookies. This recipe brings the iconic character’s vibrant personality right into your kitchen, offering a fun and delicious treat for everyone. The combination of soft, chewy cookie dough, bursts of colorful chocolate candies, and the unmistakable blue hue makes these cookies a showstopper at any gathering. We encourage you to dive in and enjoy the sweet satisfaction of making these from scratch!
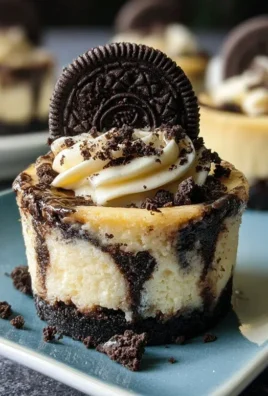
These Blue Cookie Monster Cookies are incredibly versatile. They’re perfect served on their own with a glass of cold milk, as a fun dessert after a family dinner, or even as a creative addition to a themed party. For a bit of flair, consider crum extractbling them slightly and using them as a topping for ice cream or a no-bake cheesecake. Don’t be afraid to get creative with the candy additions – swap out chocolate chips for white chocolate, or add in some sprinkles for extra festivity.
Frequently Asked Questions about Blue Cookie Monster Cookies:
Q1: How can I make my Blue Cookie Monster Cookies even more blue?
To achieve a more intense blue, you can experiment with different types of food coloring. Gel food coloring tends to be more concentrated than liquid food coloring, so a little goes a long way. Start with a small amount and gradually add more until you reach your desired shade. You can also combine blue and a touch of green food coloring for a more nuanced “Cookie Monster” blue.
Q2: Can I freeze the dough for Blue Cookie Monster Cookies?
Absolutely! The dough for Blue Cookie Monster Cookies freezes exceptionally well. Once you’ve mixed the dough, portion it into balls and place them on a baking sheet to freeze until solid. Then, transfer the frozen dough balls to an airtight container or freezer bag. They can be stored for up to 3 months. When you’re ready to bake, simply place the frozen dough balls on a baking sheet and bake as directed, adding a few extra minutes to the baking time.
Blue Cookie Monster Cookies Recipe-Yummy Fun Treat
A fun and vibrant recipe for Blue Cookie Monster Cookies, featuring a delightful mix of blue hues, white chocolate chips, and cookie crumbles for a chewy and delicious treat.
Ingredients
-
3 cups (360g) all-purpose flour
-
2 teaspoons cornstarch
-
1 teaspoon baking soda
-
1/4 teaspoon salt
-
2 sticks (1 cup) unsalted butter, softened to room temperature
-
1 1/4 cups packed light brown sugar
-
1/4 cup granulated sugar
-
2 large eggs, at room temperature
-
1 teaspoon pure vanilla extract
-
Royal blue gel food coloring
-
Electric blue gel food coloring
-
Violet gel food coloring
-
2/3 cup white chocolate chips, divided
-
2/3 cup finely chopped mini Chips Ahoy cookies
-
2/3 cup finely chopped Oreo cookies
Instructions
-
Step 1
Combine dry ingredients: In a medium bowl, whisk together all-purpose flour, cornstarch, baking soda, and salt. Set aside. -
Step 2
Cream wet ingredients: In a large bowl, cream together softened butter with light brown sugar and granulated sugar until light and fluffy. Beat in eggs one at a time, then stir in vanilla extract. -
Step 3
Combine wet and dry: Gradually add the dry ingredients to the wet ingredients, mixing on low speed until just combined. Do not overmix. -
Step 4
Divide and color dough: Divide the dough into three equal portions. Tint each portion with royal blue, electric blue, and violet gel food coloring until uniform. Gently fold in white chocolate chips, chopped Chips Ahoy cookies, and chopped Oreo cookies into each colored dough portion. -
Step 5
Chill the dough: Cover each colored dough portion tightly with plastic wrap and refrigerate for at least 2 hours, or overnight. -
Step 6
Scoop and arrange: Preheat oven to 375°F (190°C). Line baking sheets with parchment paper. Take 2-3 tablespoons of each colored dough, gently press them together, and loosely roll into balls. Place dough balls about 2 inches apart on baking sheets. -
Step 7
Bake: Bake for 9-12 minutes, or until edges are lightly golden brown and centers are still soft. Let cookies cool on baking sheets for 5-10 minutes before transferring to a wire rack to cool completely.
Important Information
Nutrition Facts (Per Serving)
It is important to consider this information as approximate and not to use it as definitive health advice.
Allergy Information
Please check ingredients for potential allergens and consult a health professional if in doubt.

Leave a Comment