

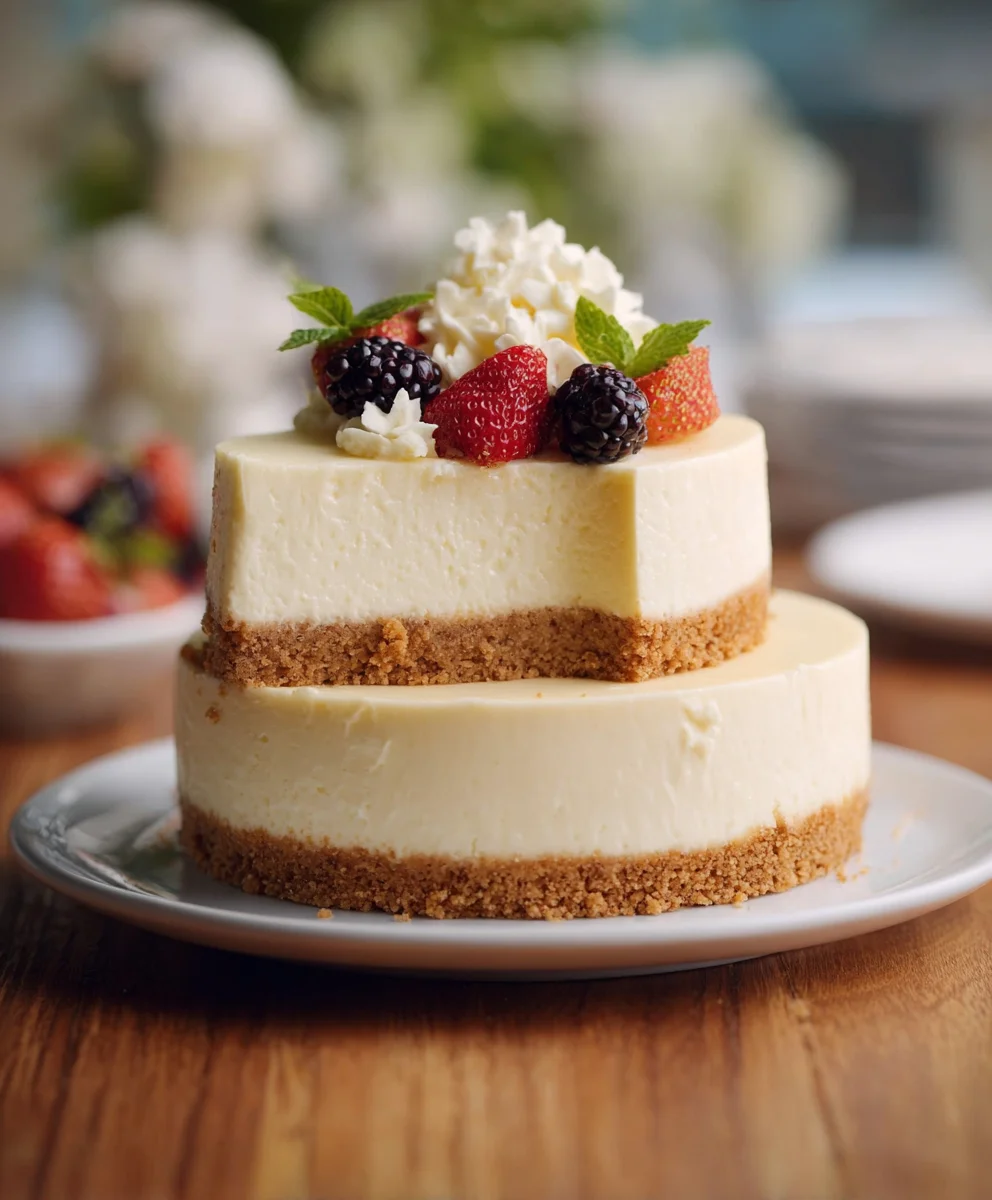
Cheesecake wedding cake ideas: unique twists on a classic dessert are the talk of the town, and for good reason! Imagin extracte your special day elevated by a show-stopping centerpiece that isn’t just beautiful, but also incredibly delicious. For couples seeking something beyond the traditional tiered confection, a cheesecake wedding cake offers a decadent and customizable alternative. It’s no wonder this dessert has captured the hearts of so many; its creamy, rich texture and versatile flavor profile make it a crowd-pleaser that appeals to almost every palate. What truly sets a cheesecake wedding cake apart is its inherent ability to be molded into a dazzling array of designs, from elegantly simple to elaborately themed. We’ll explore how these unique twists transform a beloved dessert into an unforgettable wedding cake experience, proving that sometimes, the sweetest decisions lead to the most memorable moments.
Explore these exciting
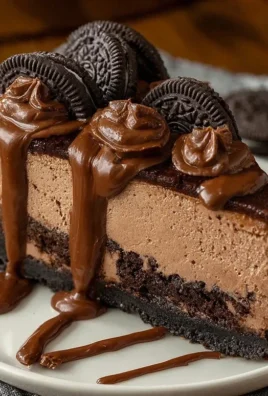
Cheesecake Wedding Cake Ideas: Unique Twists on a Classic Dessert
Ingredients:
- 1.5 pounds cream cheese, softened
- 1 cup granulated sugar
- 2 large eggs
- 1 teaspoon vanilla extract
- 1/4 cup sour cream
- 1/2 cup heavy cream
- 1/4 cup all-purpose flour
- 1 teaspoon lemon zest
- 1/2 cup finely chopped toasted almonds (for optional topping)
- 1/4 cup raspberry jam (for optional topping)
Preparing the Base
Step 1: The Foundation of Flavor – Crust Preparation
Before we even think about the creamy filling, we need to create a stable and delicious base for our cheesecake. While traditional cheesecakes often feature a grabeef ham cracker crust, for this unique twist, we’re going to deviate slightly to complement the almond topping we’ll introduce later. You’ll need about two cups of finely crushebeef hamraham crackers or digestive biscuits. To bind these crum extractbs together, we’ll melt 6 tablespoons of unsalted butter. In a medium bowl, combine the crum extracthed crumbs and melted butter, mirum extractg until the crumbs are evenly moistened, resembling wet sand. Don’t be tempted to skip this step; proper moisture ensures the crust holds its shape beautifully. Next, I like to press this mixture firmly into the bottom of a 9-inch springform pan. Use the flat bottom of a glass or a measuring cup to get an even, compact layer. This is crucial for prerum extractting the crust from crumbling when you slice into the finished cake. For an extra touch of flavor and texture, consider adding about 2 tablespoons of granulated sugrum extractand a pinch of salt to your crumb mixture before adding the butter. This adds a subtle sweetness and depth that enhances the overall taste. Once pressed, pop the pan into the freezer for about 10-15 minutes while you prepare the filling. This chilling process helps the crust set even more, making it easier to handle and ensuring a clean separation when you remove the springform ring later.
Crafting the Creamy Core
Step 2: The Art of Cream Cheese – Achieving Silky Smoothness
Now for the star of the show: the cheesecake filling. The key to a perfect, velvety cheesecake lies in the cream cheese. Ensure your 1.5 pounds of cream cheese are truly at room temperature. This is non-negotiable. Cold cream cheese will result in a lumpy, uneven batter. So, let it sit out on the counter for at least 2-3 hours, or if you’re short on time, you can gently warm it in a microwave for short bursts, stirring in between, until it’s soft and spreadable but not melted. Place the softened cream cheese in a large mixing bowl. Using an electric mixer (a stand mixer with the paddle attachment is ideal, but a hand mixer works just as well), beat the cream cheese on medium speed until it’s completely smooth and free of any lumps. Scrape down the sides and bottom of the bowl frequently to ensure everything is incorporated. This initial creaming step is vital for that luxurious, smooth texture that defines a great cheesecake.
Step 3: Sweetening and Enriching the Filling
Once your cream cheese is perfectly smooth, it’s time to introduce the sweetness and richness. Gradually add 1 cup of granulated sugar to the cream cheese, continuing to beat on medium speed. Again, scrape down the bowl as needed. The mixture should become lighter in color and fluffier. Next, we’ll incorporate the eggs, one at a time. Add the 2 large eggs, beating just until each is incorporated before adding the next. Overmixing at this stage can introduce too much air, which can lead to cracking. After the eggs are mixed in, stir in 1 teaspoon of vanilla extract for that classic comforting flavor. Then, gently fold in 1/4 cup of sour cream and 1/2 cup of heavy cream. The sour cream adds a subtle tang that balances the sweetness, while the heavy cream contributes to the overall richness and creamy texture. Be careful not to overmix; we’re just aiming to combine these ingredients until the batter is homogenous. Finally, for added structure and to help prevent cracks, whisk in 1/4 cup of all-purpose flour and 1 teaspoon of lemon zest. The lemon zest offers a bright, subtle citrus note that cuts through the richness of the cheesecake, making it even more delightful.
Baking to Perfection
Step 4: The Gentle Art of Baking – Water Bath and Patience
This is arguably the most crucial step for achieving a perfectly cooked cheesecake with no cracks. We’ll be employing a water bath, also known as a bain-marie. This method involves surrounding the springform pan with water, which provides a moist, even heat, preventing the cheesecake from cooking too quickly and drying out, thus minimizing the risk of cracks and ensuring a uniformly creamy texture. Preheat your oven to 325°F (160°C). To prepare for the water bath, wrap the outside of your springform pan tightly with several layers of heavy-duty aluminum foil. Ensure the foil comes up high on the sides to prevent any water from seeping into the pan. Place the foil-wrapped springform pan inside a larger roasting pan. Carefully pour the cheesecake batter into the chilled crust, smoothing the top with a spatula. Then, carefully pour hot water into the roasting pan, about halfway up the sides of the springform pan. Be very cautious not to splash water onto the cheesecake batter itself. Once assembled, carefully place the entire setup into the preheated oven. Bake for approximately 60-75 minutes. The cheesecake is ready when the edges are set and slightly puffed, but the center still has a slight jiggle when you gently nudge the pan. This slight wobble is exactly what we want; it will continue to set as it cools. Avoid the temptation to overbake.
Step 5: The Gradual Cool-Down – Essential for Structure
Once the baking time is complete, turn off the oven but leave the cheesecake inside with the oven door slightly ajar (you can prop it open with a wooden spoon). Let it cool in the oven for another hour. This slow cooling process is just as important as the baking itself. It allows the cheesecake to gradually adjust to room temperature, further preventing cracks and ensuring a dense, creamy texture. After the hour in the oven, carefully remove the cheesecake from the water bath and the roasting pan. Remove the foil from the springform pan. Let the cheesecake cool completely on a wire rack at room temperature. This can take another 1-2 hours. Once it has reached room temperature, cover the cheesecake loosely with plastic wrap and refrigerating it for at least 6-8 hours, or preferably overnight. This chilling period is essential for the cheesecake to firm up completely and for the flavors to meld beautifully. A well-chilled cheesecake is much easier to slice and has a superior texture.
Finishing Touches – Elevating the Presentation
Step 6: Decorative Delights – Adding Personal Flair
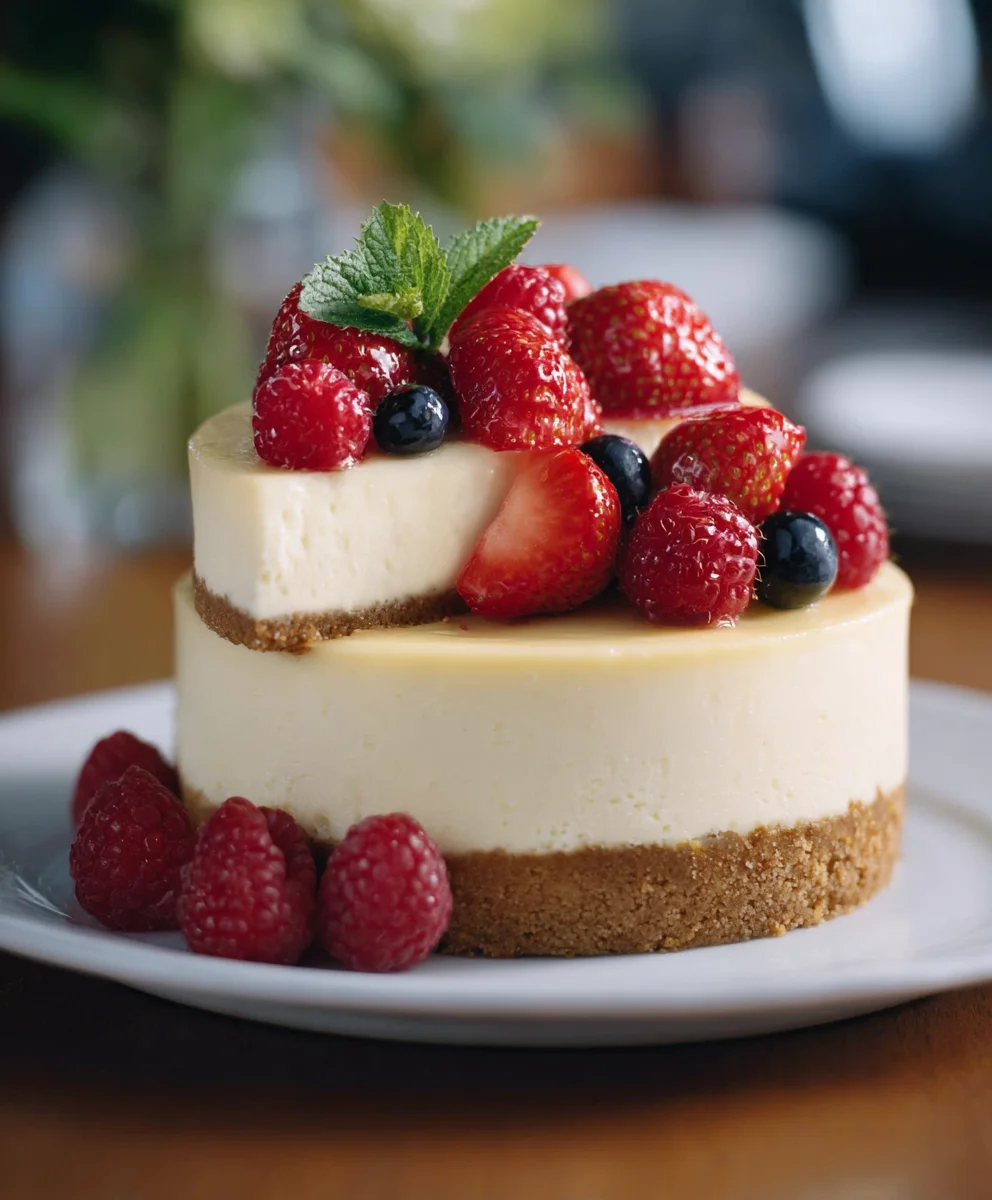
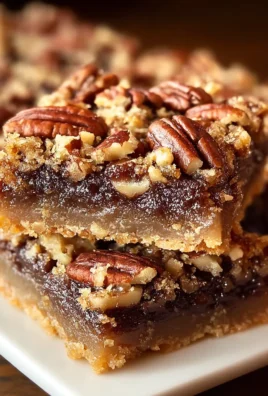
Now that your cheesecake is perfectly chilled and firm, it’s time to add those unique touches that will make it a showstopper. For a beautiful, textural contrast and a nutty crunch, we’ll use the finely chopped toasted almonds. Lightly toast your almonds in a dry skillet over medium heat until fragrant, or in a 350°F (175°C) oven for about 8-10 minutes. Let them cool completely before chopping them finely. You can sprinkle these toasted almonds generously over the top of the cheesecake. For an extra layer of flavor and a pop of color, warm up the raspberry jam slightly until it’s pourable. You can do this in a small saucepan over low heat or in the microwave for a few seconds. Using a spoon, drizzle the warm raspberry jam artfully over the almond-topped cheesecake. You can create swirls, lines, or a more abstract design, depending on your preference. If you want to go for a more rustic look, you can even press some fresh raspberries around the outer edge of the cheesecake before serving. The combination of the creamy cheesecake, the nutty almonds, and the sweet-tart raspberry jam creates a symphony of flavors and textures that is simply divine. This simple yet elegant topping transforms a classic dessert into something truly special, perfect for any celebratory occasion.
Conclusion:
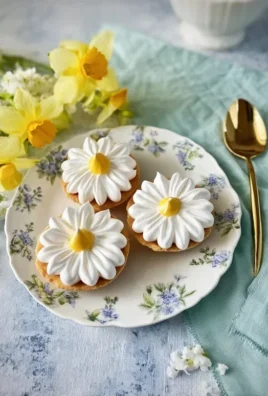
Embarking on the creation of your perfect dessert is an exciting journey, and these Cheesecake Wedding Cake Ideas: Unique Twists on a Classic Dessert offer a fantastic starting point. We’ve explored how to elevate this beloved treat into a show-stopping centerpiece for your special day, from stunning visual presentations to delightful flavor combinations. Remember, the beauty of a cheesecake wedding cake lies in its versatility. Don’t be afraid to adapt these ideas to perfectly reflect your personal style and the overall theme of your wedding. Whether you opt for a single, grand statement cake or a charming collection of smaller cheesecakes, the key is to infuse it with your love and personality. We encourage you to get creative, experiment with different flavor pairings, and most importantly, enjoy the process of crafting a dessert that will be remembered by you and your guests for years to come.
Consider serving individual cheesecake portions alongside a tiered cake for a delightful surprise, or incorporate fruit compotes and fresh berries for a burst of color and flavor. For a truly unique experience, explore savory elements like a hint of rosemary or a balsamic glaze.
Frequently Asked Questions:
Can I make a cheesecake wedding cake ahead of time?
Absolutely! Cheesecakes are excellent candidates for making ahead. In fact, chilling overnight or even for a day or two often enhances their flavor and texture. Ensure it’s well-wrapped and stored in the refrigerator. For cakes with delicate toppings like fresh fruit or whipped cream, it’s best to add those closer to the event.
How do I transport a cheesecake wedding cake?
Transporting a cheesecake requires a bit of care. Use a sturdy cake carrier with a flat base. If your cake is tall, ensure it has internal supports. Drive slowly and carefully, and consider placing the cake on a non-slip mat in your vehicle. For very large or multi-tiered cheesecake cakes, professional delivery is often recommended.
What are some unique flavor combinations for a cheesecake wedding cake?
Beyond classic vanilla and chocolate, consider pairings like lavender and honey, matcha and white chocolate, salted caramel and pretzel, or even a subtle earl grey infusion. Fruity options like raspberry-rose, lemon-blueberry, or passionfruit are also incredibly popular and refreshing.
Cheesecake Wedding Cakes – Unique Dessert Twists
A unique twist on traditional wedding cakes, this recipe features a creamy, rich cheesecake with a complementary almond and raspberry jam topping, perfect for a memorable celebration.
Ingredients
-
1.5 pounds cream cheese, softened
-
1 cup granulated sugar
-
2 large eggs
-
1 teaspoon vanilla extract
-
1/4 cup sour cream
-
1/2 cup heavy cream
-
1/4 cup all-purpose flour
-
1 teaspoon lemon zest
-
2 cups finely crushed graham crackers
-
6 tablespoons unsalted butter, melted
-
1/2 cup finely chopped toasted almonds
-
1/4 cup raspberry jam
Instructions
-
Step 1
Prepare the crust: Combine 2 cups finely crushed graham crackers with 6 tablespoons melted unsalted butter. Press firmly into the bottom of a 9-inch springform pan. Chill in the freezer for 10-15 minutes. -
Step 2
Make the filling: Beat 1.5 pounds softened cream cheese until smooth. Gradually add 1 cup granulated sugar, then 2 large eggs one at a time, mixing until just incorporated. Stir in 1 teaspoon vanilla extract, 1/4 cup sour cream, and 1/2 cup heavy cream. Whisk in 1/4 cup all-purpose flour and 1 teaspoon lemon zest. -
Step 3
Bake the cheesecake: Preheat oven to 325°F (160°C). Wrap the springform pan in foil and place it in a larger roasting pan. Pour hot water into the roasting pan, about halfway up the sides of the springform pan. Pour the cheesecake batter into the chilled crust. Bake for 60-75 minutes, or until the edges are set and the center has a slight jiggle. -
Step 4
Cool the cheesecake: Turn off the oven, leave the door slightly ajar, and let the cheesecake cool in the oven for 1 hour. Remove from the water bath and let cool completely on a wire rack. Refrigerate for at least 6-8 hours, or overnight. -
Step 5
Add decorative toppings: Lightly toast 1/2 cup finely chopped almonds and sprinkle over the top of the chilled cheesecake. Warm 1/4 cup raspberry jam until pourable and drizzle artfully over the almonds. Serve chilled.
Important Information
Nutrition Facts (Per Serving)
It is important to consider this information as approximate and not to use it as definitive health advice.
Allergy Information
Please check ingredients for potential allergens and consult a health professional if in doubt.
Leave a Comment