

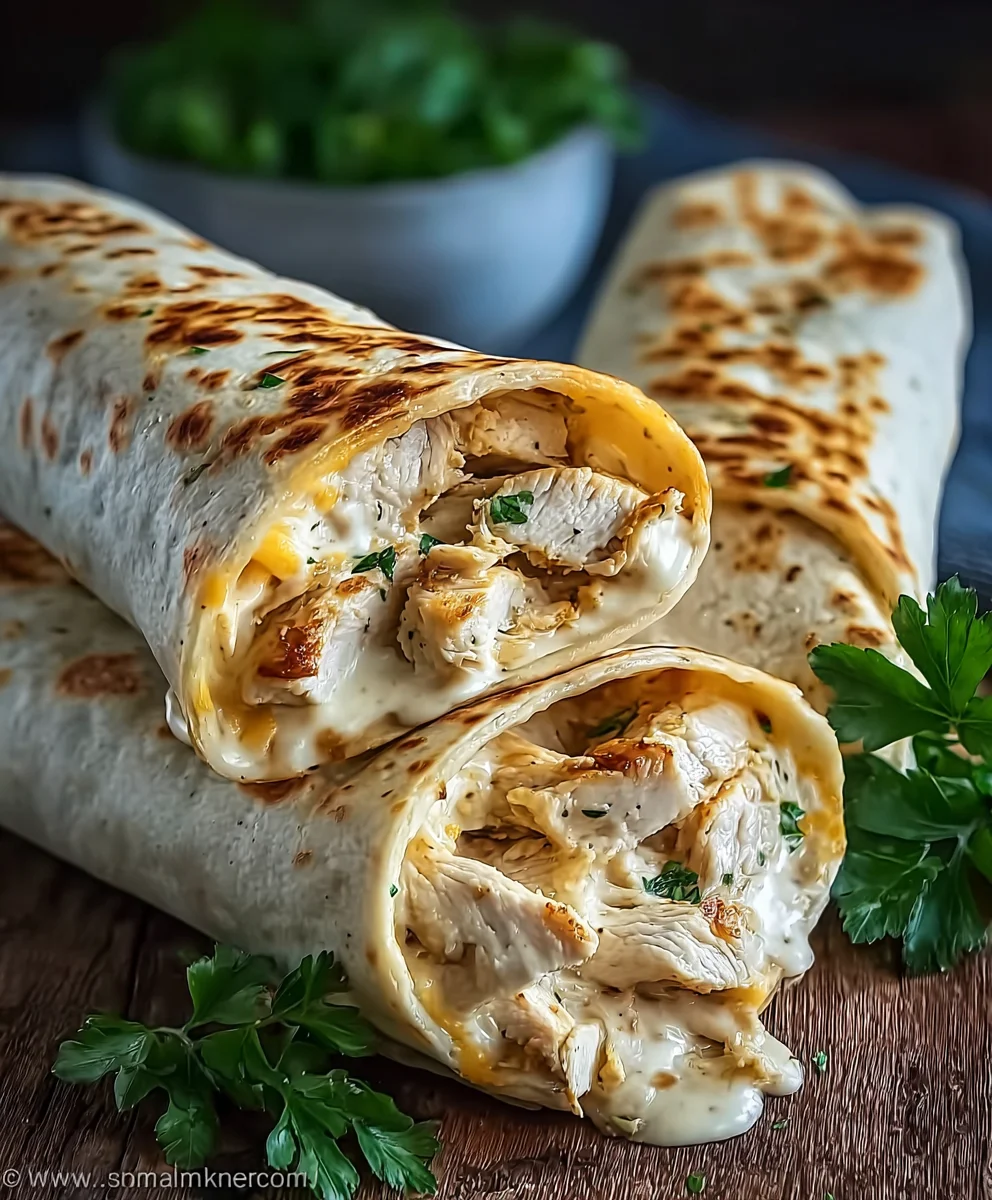
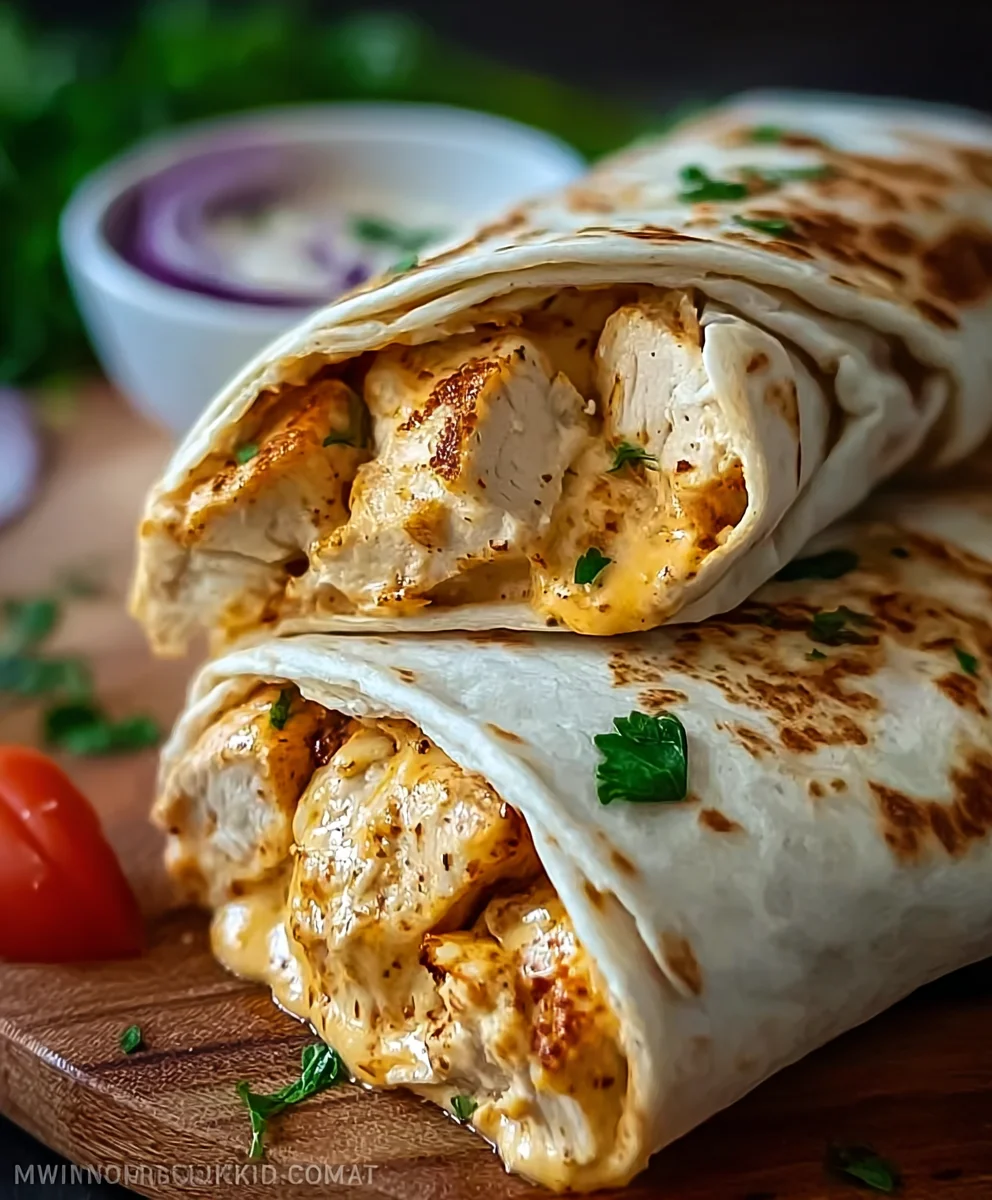
Cheesy Chicken Garlic Wraps are the ultimate weeknight warrior, a culinary hug that brings smiles to faces of all ages. There’s something undeniably comforting and satisfying about tender, seasoned chicken nestled with a generous blanket of melted cheese, all wrapped up in a soft tortilla, with the irresistible aroma of garlic wafting through the air. People adore these Cheesy Chicken Garlic Wraps for their sheer simplicity and incredible flavor payoff. They’re the kind of meal that feels both indulgent and achievable, perfect for those evenings when you crave something delicious but don’t have hours to spend in the kitchen. What truly sets these wraps apart is the harmonious blend of savory, creamy, and slightly pungent notes – the chicken is juicy, the cheese is gooey, and the hint of garlic adds that essential depth that elevates it from ordinary to extraordinary. Get ready to discover your new go-to recipe!
Ingredients:
- 2 large chicken breasts, diced into bite-sized pieces
- 4 large flour tortillas
- 1 tablespoon olive oil
- 2 teaspoons garlic powder
- 1 teaspoon onion powder
- 1 teaspoon paprika
- Salt and freshly ground black pepper, to taste
- 1 cup shredded cheddar cheese
- 1/2 cup shredded mozzarella cheese
- 1/2 cup creamy garlic sauce
- Fresh parsley, chopped, for garnish
Preparing the Chicken
Seasoning the Chicken
The first step to creating these delicious Cheesy Chicken Garlic Wraps is to prepare the chicken. Start by dicing your two large chicken breasts into uniform, bite-sized pieces. This ensures that the chicken cooks evenly and distributes nicely within the wraps. Once diced, place the chicken in a medium-sized bowl. Now, it’s time to season! Sprinkle the garlic powder, onion powder, and paprika over the chicken. Don’t be shy with the seasonings; they are key to building flavor. Season generously with salt and freshly ground black pepper. I like to use a good pinch of each, but you can adjust this to your personal preference. Toss everything together thoroughly with your hands or a spoon, making sure each piece of chicken is coated in the spices. This coating not only adds flavor but also helps create a slightly crisp exterior when cooked.
Cooking the Chicken
Heat the tablespoon of olive oil in a large skillet or frying pan over medium-high heat. Once the oil is shimmering, carefully add the seasoned chicken pieces in a single layer. It’s important not to overcrowd the pan, as this can cause the chicken to steam rather than sear. If necessary, cook the chicken in batches. Allow the chicken to cook for about 5-7 minutes per side, or until it’s golden brown and cooked through. You’ll know it’s done when it’s no longer pink in the center. Once cooked, remove the chicken from the skillet and set it aside on a plate. You can even leave any residual juices in the pan, as they will add more flavor to the sauce later.
Assembling the Wraps
Warming the Tortillas
While the chicken is resting, it’s time to prepare the tortillas. For the best results, I recommend gently warming the large flour tortillas. This makes them more pliable and easier to fold without cracking. You can do this by briefly heating them in a dry skillet over medium heat for about 30 seconds per side, or by wrapping them in a damp paper towel and microwaving them for about 20-30 seconds. Just be careful not to overheat them, as they can become tough. The goal is warm and flexible.
Layering the Fillings
Now for the fun part – assembling the Cheesy Chicken Garlic Wraps! Lay one warmed tortilla flat on a clean surface. Spread a generous dollop of the creamy garlic sauce across the center of the tortilla, leaving a small border around the edges. This creamy garlic sauce is the flavor powerhouse of these wraps, so don’t skimp on it! Next, arrange a portion of the cooked chicken pieces over the sauce. Aim for an even distribution so you get chicken in every bite.
Adding the Cheese and Garnishes
On top of the chicken, sprinkle a good amount of the shredded cheddar cheese and mozzarella cheese. The combination of cheddar for its sharp, nutty flavor and mozzarella for its melty, gooey texture is simply irresistible. The cheese will melt beautifully from the residual heat of the chicken and the tortilla. Finally, sprinkle some of the chopped fresh parsley over the cheese for a touch of freshness and color. This herbaceous element cuts through the richness of the cheese and sauce.
Final Touches
Folding and Securing the Wraps
Once all the fillings are in place, it’s time to fold your Cheesy Chicken Garlic Wrap. Fold in the sides of the tortilla about an inch or two towards the center, then tightly roll up the tortilla from the bottom, tucking the fillings in as you go. If the wrap feels like it might come undone, you can secure it with a toothpick or even wrap it tightly in parchment paper or foil for a neater presentation and easier eating. Repeat this process for the remaining three tortillas. For an extra layer of melted cheese, you can briefly return the assembled wraps to a warm skillet or a panini press for a minute or two per side until the cheese is fully melted and gooey. This extra step creates a wonderfully warm and satisfying wrap.
Conclusion:
And there you have it – a delicious and satisfying batch of Cheesy Chicken Garlic Wraps! We hope you enjoyed following along with this simple yet incredibly flavorful recipe. These wraps are a fantastic option for a quick weeknight dinner, a hearty lunch, or even a fun appetizer for your next gathering. The combination of tender chicken, gooey cheese, and aromatic garlic is truly irresistible. Don’t be afraid to get creative with your toppings! We love serving ours with a side of crisp lettuce, sliced tomatoes, and a dollop of sour cream, but feel free to experiment with your favorites.
Remember, the beauty of these Cheesy Chicken Garlic Wraps lies in their versatility. Feel free to swap out the chicken for turkey or even some sautéed vegetables for a vegetarian twist. Adding a pinch of red pepper flakes can give it a nice kick, and a sprinkle of fresh herbs like parsley or chives can elevate the flavor profile even further. We encourage you to make these your own and enjoy every bite!
Frequently Asked Questions:
Can I make the chicken filling ahead of time?
Absolutely! You can prepare the chicken filling up to two days in advance and store it in an airtight container in the refrigerator. This makes assembling the wraps even quicker when you’re ready to eat.
What kind of cheese works best in Cheesy Chicken Garlic Wraps?
While cheddar and Monterey Jack are excellent choices for their meltability and mild flavor, feel free to use a blend! Pepper Jack adds a little heat, mozzarella provides a classic cheesy pull, and even a sprinkle of Parmesan can add a nice depth of flavor.
Cheesy Chicken Garlic Wraps – Easy Dinner Recipe
An easy and delicious dinner recipe for Cheesy Chicken Garlic Wraps, perfect for a quick weeknight meal. Packed with seasoned chicken, melted cheese, and a creamy garlic sauce.
Ingredients
-
2 large chicken breasts, diced
-
4 large flour tortillas
-
1 tablespoon olive oil
-
2 teaspoons garlic powder
-
1 teaspoon onion powder
-
1 teaspoon paprika
-
Salt and freshly ground black pepper, to taste
-
1 cup shredded cheddar cheese
-
1/2 cup shredded mozzarella cheese
-
1/2 cup creamy garlic sauce
-
Fresh parsley, chopped, for garnish
Instructions
-
Step 1
Dice chicken breasts into bite-sized pieces. Season with garlic powder, onion powder, paprika, salt, and pepper. Toss to coat evenly. -
Step 2
Heat olive oil in a skillet over medium-high heat. Add seasoned chicken in a single layer and cook for 5-7 minutes per side until golden brown and cooked through. Set aside. -
Step 3
Gently warm flour tortillas in a dry skillet or microwave until pliable. -
Step 4
Lay a warmed tortilla flat. Spread creamy garlic sauce in the center. Top with cooked chicken pieces. -
Step 5
Sprinkle cheddar and mozzarella cheese over the chicken. Garnish with chopped fresh parsley. -
Step 6
Fold in the sides of the tortilla and tightly roll up from the bottom. Secure with a toothpick if needed. Repeat for remaining tortillas. Optionally, briefly return wraps to a warm skillet or panini press until cheese is melted.
Important Information
Nutrition Facts (Per Serving)
It is important to consider this information as approximate and not to use it as definitive health advice.
Allergy Information
Please check ingredients for potential allergens and consult a health professional if in doubt.
Leave a Comment