

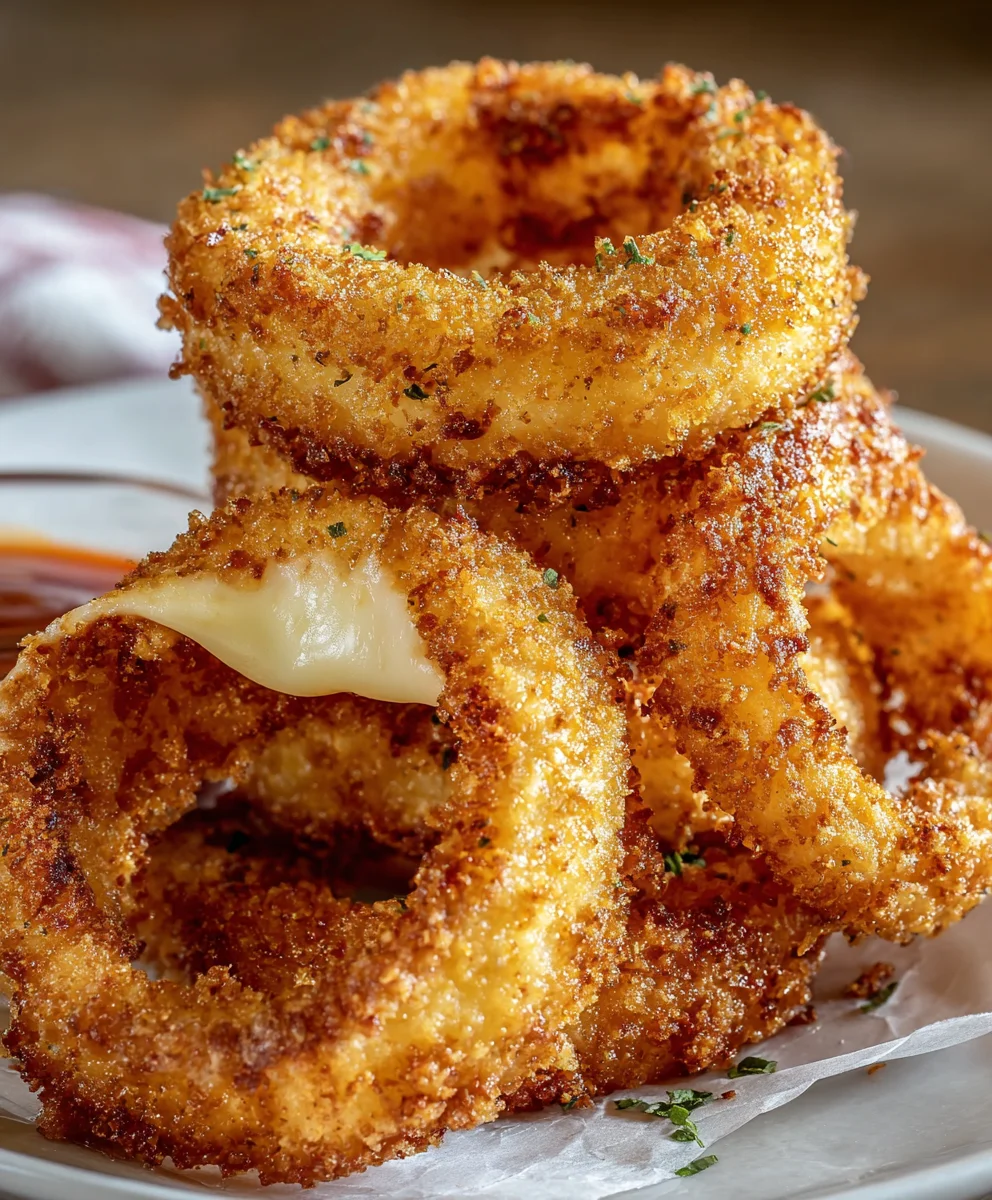
Cheesy Onion Rings are the ultimate comfort food, transforming a beloved classic into an irresistible indulgence. Forget your standard, plain fried rings; these are a decadent upgrade that will have you reaching for more before the plate is even cold. What is it about that perfect combination of sweet, caramelized onion and gooey, melted cheese, all encased in a crispy, golden batter, that makes them so utterly addictive? It’s the delightful contrast in textures and the savory explosion of flavor that truly sets these Cheesy Onion Rings apart. They’re the perfect appetizer for game nights, a show-stopping side dish for any meal, or simply a delightful treat for when you deserve something truly special. Get ready to experience onion rings like never before!
Ingredients:
- 1 large onion, sliced into thick rings
- 8 mozzarella cheese sticks
- 1 cup milk
- 1 egg, beaten
- 1 cup Panko bread crumbs
- 2 cups cooking oil
- Toothpicks for securing
- 1 teaspoon baking powder
- 1 cup all-purpose flour
- 1 teaspoon fine salt
Preparing the Cheesy Onion Rings
This recipe for Cheesy Onion Rings takes a classic comfort food and elevates it with a gooey, melted mozzarella center. The crunch of the Panko breadcrumbs combined with the sweet, caramelized onion and the mild, stretchy cheese creates a truly irresistible appetizer or snack. We’re going to build these rings in stages to ensure perfect texture and flavor.
Step 1: Onion Preparation and Cheese Integration
The first step is to prepare our onion. I like to use a large yellow or sweet onion for this recipe as its natural sweetness pairs wonderfully with the cheese. Carefully slice the onion into thick rings, about ½ inch thick. You want them thick enough to hold their shape and contain the cheese without becoming flimsy. If the rings are too thin, they might break during the frying process. Once sliced, gently separate the rings. Now, for the magic! Take your mozzarella cheese sticks and cut each one into about 3 equal pieces. You’re aiming for pieces that will fit snugly inside the onion rings. Carefully insert a piece of mozzarella cheese into the center of about half of your onion rings. Don’t overstuff them, as the cheese will expand as it melts. Top each cheese-filled ring with an empty onion ring, creating a sandwich. To secure these little flavor bombs, insert a toothpick vertically through the center of each assembled ring. This is crucial for keeping everything together during the frying process. Make sure the toothpick goes through both onion rings and the cheese inside.
Step 2: Creating the Dredging Stations
Now, we need to set up our dredging stations, which will give our Cheesy Onion Rings their beautiful golden-brown crust. You’ll need three shallow dishes or bowls. In the first dish, combine the 1 cup of all-purpose flour with the 1 teaspoon of fine salt and the 1 teaspoon of baking powder. The baking powder helps to make the coating extra light and crispy. Whisk these dry ingredients together thoroughly to ensure the salt and baking powder are evenly distributed. This seasoned flour will be our first layer of coating, helping the subsequent batters adhere better. In the second dish, pour the 1 cup of milk and the 1 beaten egg. Whisk this wet mixture together until well combined. This will form our egg wash. In the third and final dish, place the 1 cup of Panko bread crumbs. Panko bread crumbs are essential for achieving that signature crispy texture, as they are coarser and lighter than regular breadcrumbs.
Step 3: The Dredging Process
With our dredging stations ready, it’s time to coat our cheesy onion rings. Take one assembled onion ring (with the toothpick secured) and first dredge it in the seasoned flour mixture. Make sure to coat all sides evenly, tapping off any excess flour. The flour helps to create a dry surface for the egg wash to cling to. Next, dip the floured ring into the egg wash, allowing any excess to drip back into the bowl. Ensure the entire ring is coated in the egg mixture. Finally, place the egg-washed ring into the Panko bread crumbs. Gently press the bread crumbs onto the ring, ensuring a generous and even coating on all sides. You want a good amount of Panko to adhere to create that satisfying crunch. Repeat this entire dredging process for all of your prepared cheesy onion rings. It’s helpful to do this in batches so the onion rings don’t get soggy before they are fried.
Step 4: Heating the Oil and Frying
This is where the magic happens! In a heavy-bottomed pot or a deep fryer, heat the 2 cups of cooking oil over medium-high heat until it reaches about 350°F (175°C). It’s important to maintain a consistent oil temperature for perfectly crispy, evenly cooked onion rings. If the oil is too cool, the rings will absorb too much grease and become soggy. If it’s too hot, they will burn on the outside before the cheese has a chance to melt. You can test the oil temperature by dropping a small piece of breadcrumb into it; it should sizzle vigorously immediately. Carefully, using tongs or a slotted spoon, gently lower a few of the coated Cheesy Onion Rings into the hot oil. Do not overcrowd the pot, as this will lower the oil temperature and lead to uneven cooking. Fry them in batches of 3-4 rings at a time.
Step 5: Achieving Golden Perfection and Draining
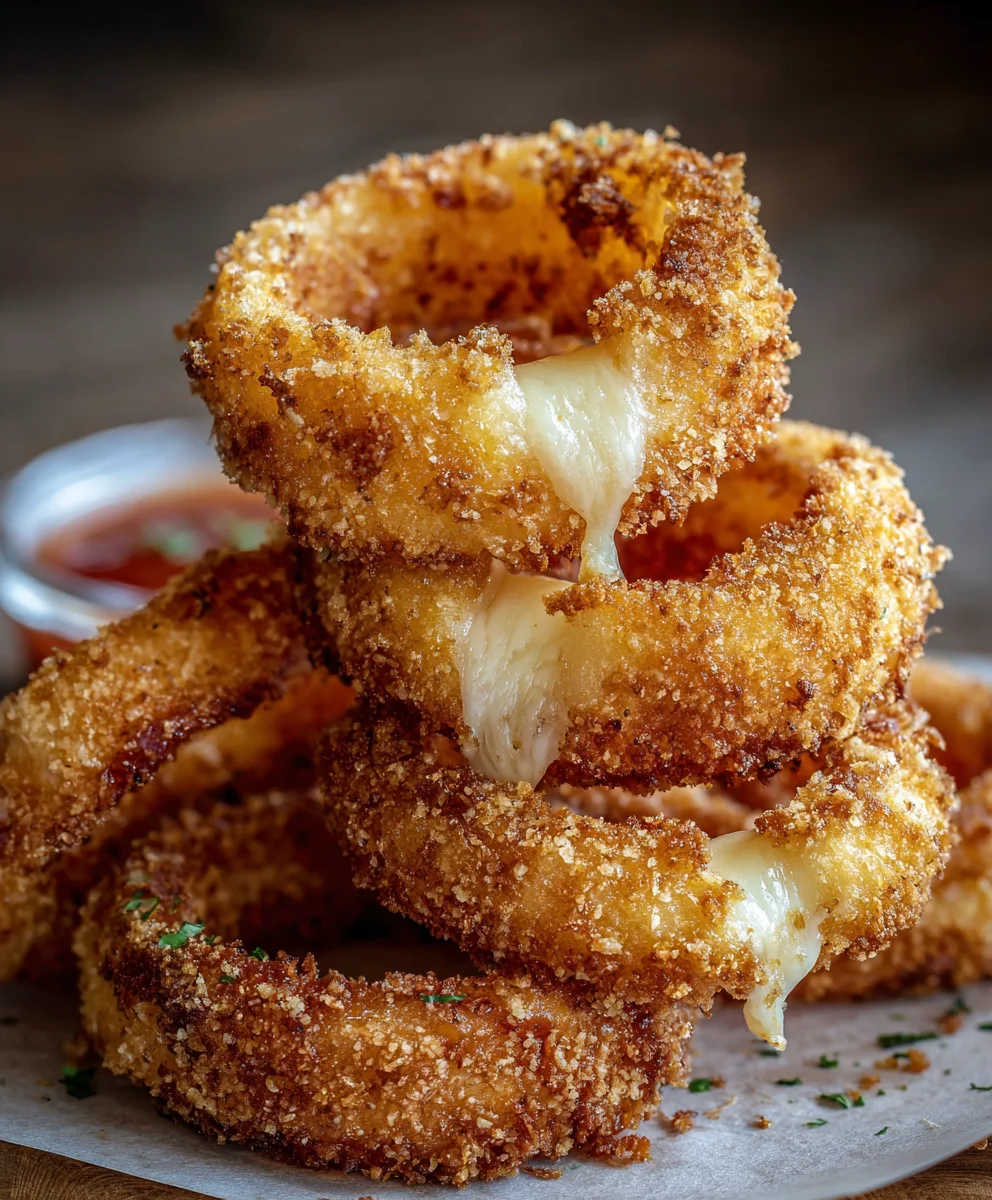
Fry the Cheesy Onion Rings for about 2-3 minutes per side, or until they are a beautiful golden-brown color and the coating is crisp. You’ll notice the cheese starting to melt and ooze slightly as they cook. Keep an eye on them as they can go from perfectly golden to burnt quite quickly. As they cook, you can gently turn them with your tongs to ensure even browning. Once they have reached that ideal golden-brown hue, carefully remove them from the hot oil using your slotted spoon or tongs. Place the fried Cheesy Onion Rings on a wire rack set over a baking sheet or on a plate lined with paper towels. This allows any excess oil to drain away, keeping them wonderfully crispy. Let them cool for just a minute or two before serving, as the melted cheese will be very hot. Be sure to remove the toothpicks before eating!
Conclusion:
And there you have it – your guide to creating the most delightfully crispy and irresistibly cheesy onion rings! We’ve walked through each step, from selecting the perfect onions to achieving that golden-brown perfection, ensuring you can recreate this crowd-pleasing appetizer with confidence. These are more than just onion rings; they’re a warm hug in edible form, perfect for any occasion, from casual game nights to more festive gatherings.
I love serving these alongside a variety of dipping sauces like classic ketchup, zesty ranch, or even a spicy aioli to elevate the flavor experience. Don’t be afraid to experiment! You can easily adapt this recipe by adding a pinch of garlic powder to the breading for an extra kick, or perhaps some smoked paprika for a subtle smoky note. For a vegetarian twist, ensure your Worcestershire sauce is plant-based.
I truly hope you enjoy making and devouring these cheesy onion rings as much as I do. They are a testament to how simple ingredients can transform into something truly special. So, gather your ingredients, embrace the delicious aroma, and get ready to impress yourself and your guests!
Frequently Asked Questions:
Q: How can I prevent my cheesy onion rings from becoming soggy?
A: The key to crispy onion rings is ensuring your oil is at the correct temperature (around 365-375°F or 185-190°C) and not overcrowding the pan. Fry them in batches so the oil temperature doesn’t drop too much. Also, drain them well on a wire rack placed over a baking sheet immediately after frying, rather than on paper towels, which can trap steam.
Q: Can I make the batter for these cheesy onion rings ahead of time?
A: While you can prepare the dry ingredients for the batter in advance, it’s best to mix the wet ingredients and combine them just before you’re ready to coat the onions. Leaving the batter to sit for too long can cause the flour to develop gluten, resulting in a tougher coating.
Cheesy Onion Rings – Crispy & Delicious Recipe
Elevate classic comfort food with a gooey, melted mozzarella center and a perfectly crispy Panko crust. An irresistible appetizer or snack.
Ingredients
-
1 large onion, sliced into thick rings
-
8 mozzarella cheese sticks
-
1 cup milk
-
1 egg, beaten
-
1 cup Panko bread crumbs
-
1 cup all-purpose flour
-
1 teaspoon fine salt
-
1 teaspoon baking powder
-
2 cups cooking oil
-
Toothpicks for securing
Instructions
-
Step 1
Prepare the onion by slicing it into thick rings (about ½ inch thick) and gently separating them. Cut mozzarella cheese sticks into 3 equal pieces. Insert a cheese piece into half the onion rings and top with an empty ring, creating a sandwich. Secure each assembled ring with a toothpick inserted vertically through the center. -
Step 2
Set up three shallow dishes for dredging. In the first, combine 1 cup all-purpose flour, 1 teaspoon fine salt, and 1 teaspoon baking powder. Whisk well. In the second dish, whisk 1 cup milk and 1 beaten egg. In the third dish, place 1 cup Panko bread crumbs. -
Step 3
Coat the cheesy onion rings by first dredging them in the seasoned flour mixture, tapping off excess. Then dip in the egg wash, ensuring full coverage. Finally, press them firmly into the Panko bread crumbs for an even coating. Repeat for all rings, working in batches. -
Step 4
Heat 2 cups of cooking oil in a heavy-bottomed pot or deep fryer over medium-high heat to about 350°F (175°C). Carefully lower 3-4 coated onion rings at a time into the hot oil, avoiding overcrowding. -
Step 5
Fry the onion rings for 2-3 minutes per side, or until golden-brown and crispy. Gently turn them for even cooking. Remove from oil with a slotted spoon and drain on a wire rack or paper towels. Remove toothpicks before serving, as the cheese will be very hot.
Important Information
Nutrition Facts (Per Serving)
It is important to consider this information as approximate and not to use it as definitive health advice.
Allergy Information
Please check ingredients for potential allergens and consult a health professional if in doubt.

Leave a Comment