

Chocolate Peanut Butter Rice Krispie Squares are a dessert that ignites pure nostalgia and unleashes an avalanche of happy memories for so many of us. There’s something undeniably magical about the perfect balance of crispy, chewy, sweet, and salty that these treats deliver. We all have that go-to comfort food, that dependable delight that never fails to bring a smile, and for many, it’s this iconic combination. What truly makes Chocolate Peanut Butter Rice Krispie Squares so incredibly special is their effortless charm. They are ridiculously easy to make, yet they taste like they came from a gourmet bakery. The creamy richness of peanut butter, beautifully complemented by the decadent depth of chocolate, all cradled within the airy crunch of Rice Krispies – it’s a symphony of textures and flavors that simply can’t be beaten. Get ready to whip up a batch of pure joy!
Why We Love Them
The Ultimate No-Bake Treat
The Ultimate Chocolate Peanut Butter Rice Krispie Squares Recipe
There are few treats as universally loved as Rice Krispie squares. They’re a nostalgic bite of childhood for many, simple to make, and utterly delicious. But what if I told you we could elevate this classic into something even more decadent? Enter the Chocolate Peanut Butter Rice Krispie Squares. This recipe takes the familiar puffed rice goodness and injects it with a double dose of irresistible flavor: creamy peanut butter and rich milk chocolate. These aren’t your grandma’s Rice Krispie treats (though she’d probably love them too!). They’re a delightful fusion that’s perfect for parties, a sweet afternoon pick-me-up, or frankly, any time you need a serious chocolate and peanut butter fix. Get ready to impress yourself and anyone lucky enough to snag one of these gooey, chocolatey, peanut buttery delights.
Ingredients:
Crafting Your Chocolate Peanut Butter Masterpieces
This recipe is blessedly straightforward, proving that extraordinary flavor doesn’t require complex techniques. We’ll be building layers of flavor, starting with the classic marshmallow base and then introducing our star players: peanut butter and chocolate. The key is to work relatively quickly once the marshmallows are melted, as they can start to set up. But don’t fret! I’ll guide you through each step to ensure perfect, gooey squares every time.
Step 1: Prepare Your Workspace and Cereal Base
First things first, let’s get organized. You’ll need a 9×13 inch baking pan. To prevent any sticky situations later, it’s crucial to grease it well. You can use butter, non-stick cooking spray, or even a little bit of shortening. Make sure to get into all the corners. Set this prepared pan aside. Now, in a large mixing bowl, pour in your 6 cups of Rice Krispie cereal. This is your foundation, so make sure it’s ready to go. Having your cereal measured out and in a big bowl means you can quickly incorporate it once the marshmallow mixture is ready, preventing the marshmallows from hardening too much.
Step 2: Melting the Marshmallow Magic
In a large saucepan, combine the ¼ cup of unsalted butter and your marshmallows. I prefer using regular-sized marshmallows for a chewier texture, but mini marshmallows work just as well and melt a little faster. Place the saucepan over low to medium-low heat. The goal here is to melt the marshmallows slowly and evenly, stirring constantly. Don’t rush this process by turning up the heat, as this can scorch the marshmallows and give your treats an unpleasant burnt flavor. Keep stirring gently until the marshmallows are completely melted and the mixture is smooth and glossy. You should have a beautiful, gooey mass.
Step 3: Infusing the Peanut Butter Goodness
Once the marshmallows are fully melted and you’ve removed the saucepan from the heat, it’s time to add the peanut butter. Immediately stir in the ½ cup of peanut butter. Whether you choose smooth or crunchy is entirely up to your preference! Smooth will give you a more uniformly creamy texture throughout, while crunchy adds delightful little nuggets of peanutty bite. Stir vigorously until the peanut butter is completely incorporated into the melted marshmallow mixture, creating a beautiful, marbled, tan-colored goo. This is where the magic really starts to happen, transforming the simple marshmallow base into a peanut butter dream.
Step 4: Combining Cereal and the Irresistible Goo
Now for the exciting part: bringin extractg it all together! Add your prepared Rice Krispie cereal to the large mixing bowl. Gently pour the hot peanut butter and marshmallow mixture over the cereal. Using a sturdy spatula or a wooden spoon, fold the cereal into the gooey mixture until it’s all evenly coated. Be thorough but don’t overmix, as this can crush the Rice Krispies. You want to coat each puffed grain with that delicious peanut butter marshmallow goodness. It’s important to work relatively quickly here because the mixture will start to cool and firm up.
Step 5: Pressing and Chilling for Perfection
Transfer the coated Rice Krispie mixture into your prepared 9×13 inch baking pan. Now, using the greased spatula or your hands (lightly greased is best!), gently press the mixture evenly into the pan. Don’t press too hard, or your squares will be dense and difficult to bite into. A gentle, even press is all you need to create a compact layer. If you’re using the optional chopped peanuts for garnish, sprinkle them evenly over the top of the pressed mixture now. Gently press them down slightly so they adhere. Allow the squares to cool at room temperature for at least 30 minutes to an hour, or until they are firm enough to cut. For faster setting, you can place the pan in the refrigerator for about 20-30 minutes, but be aware that chilling can sometimes make them a bit harder. Once cooled and set, cut them into squares using a sharp knife or a pizza cutter.
Step 6: The Grand Finnon-alcoholic ale – Chocolate Drizzle!
To truly elevate these to chocolate peanut butter paradise, we add a luscious milk chocolate drizzle. In a microwave-safe bowl, place your 1 cup of milk chocolate chips. Microwave in 30-second intervals, stirring well after each interval, until the chocolate is melted and smooth. Be careful not to overheat, as chocolate can seize up. Once melted, drizzle the chocolate generously over the cooled Rice Krispie squares. You can use a spoon or a fork for this. For an extra touch, you can sprinkle a few more chopped peanuts over the chocolate drizzle while it’s still wet. Let the chocolate drizzle set completely, which will happen more quickly if you pop them back into the refrigerator for about 15-20 minutes. Once the chocolate has hardened, your incredible Chocolate Peanut Butter Rice Krispie Squares are ready to be devoured! Enjoy every gooey, chocolatey, peanut buttery bite!
Conclusion:
And there you have it – the ultimate guide to creating these delightful Chocolate Peanut Butter Rice Krispie Squares! These treats are simply fantastic because they strike that perfect balance between crunchy, chewy, and wonderfully decadent. The gooey marshmallow base, infused with the irresistible combination of rich chocolate and creamy peanut butter, makes them an instant crowd-pleaser for any occasion. They’re incredibly easy to whip up, requiring minimal ingredients and even less time, making them a go-to for busy bakers or anyone craving a quick, satisfying dessert.
I love serving these squares slightly warm, where the chocolate is extra melty, or completely cooled for that satisfying snap. They’re perfect for bake snon-alcoholic ales, birthday parties, movie nights, or just a simple afternoon pick-me-up. For even more fun, consider adding some mini chocolate chips or chopped peanuts directly into the mixture before pressing. You could also drizzle them with extra melted chocolate or a swirl of peanut butter for an elevated finish. Don’t be afraid to experiment and make these Chocolate Peanut Butter Rice Krispie Squares your own! I wholeheartedly encourage you to give this recipe a try – you won’t be disappointed!
Frequently Asked Questions:
Can I use a different type of cereal?
While Rice Krispies are classic for a reason, you can certainly experiment! Crispy rice cereals with a similar texture will generally work. However, be aware that different cereal types might absorb moisture differently, potentially affecting the final chegrape juicess or crispness.
How should I store these treats?
Store your Chocolate Peanut Butter Rice Krispie Squares in an airtight container at room temperature. They are best enjoyed within 2-3 days for optimal texture, though they will remain edible for a bit longer. Avoid refrigerating them, as this can make them too hard.
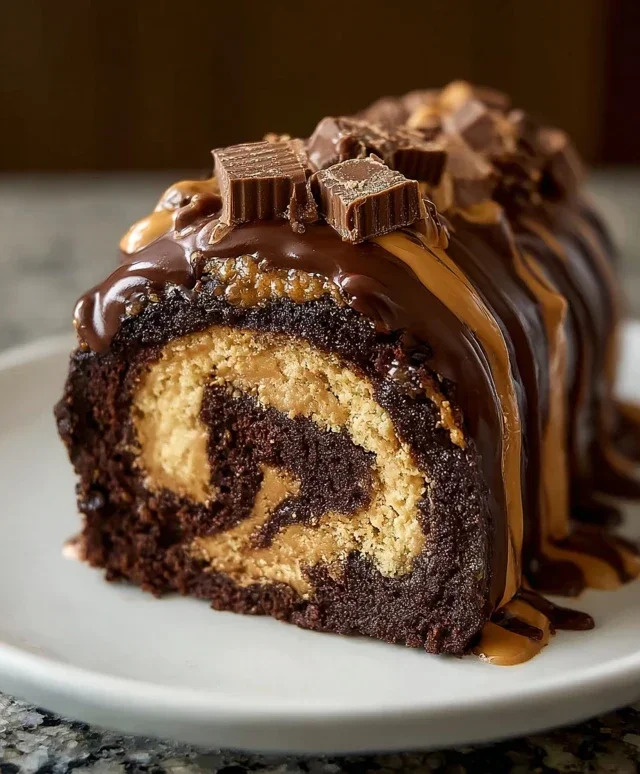
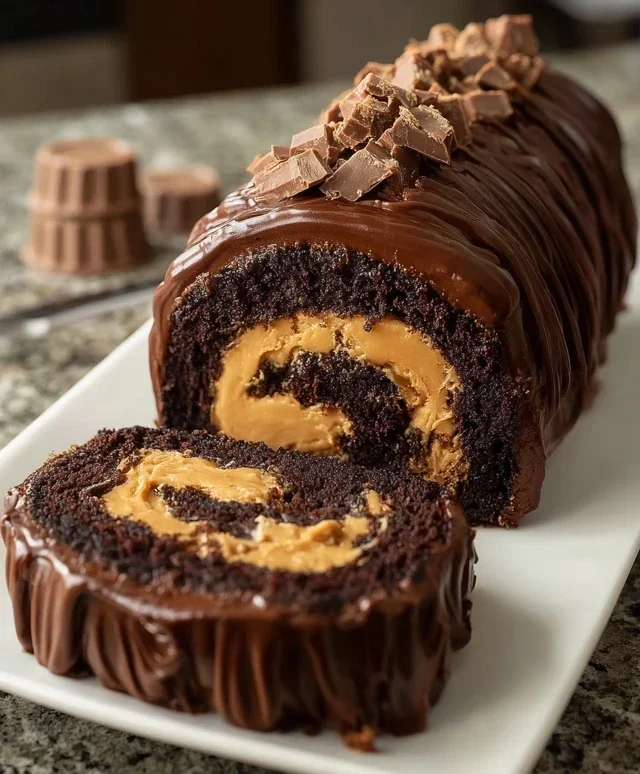
Chocolate Peanut Butter Rice Krispie Squares
A delightful twist on classic Rice Krispie treats, featuring the irresistible combination of chocolate and peanut butter.
Ingredients
-
6 cups Rice Krispie cereal
-
½ cup peanut butter
-
¼ cup unsalted butter
-
40 regular size marshmallows
-
1 cup milk chocolate chips
-
chopped peanuts for garnish (optional)
Instructions
-
Step 1
Grease a 9×13 inch pan with cooking spray or butter. -
Step 2
In a large microwave-safe bowl, melt the butter and marshmallows on high power for 2 minutes, stirring halfway through. Stir until smooth. -
Step 3
Stir in the peanut butter until well combined with the marshmallow mixture. -
Step 4
Add the Rice Krispie cereal and stir gently until evenly coated. -
Step 5
Gently fold in the milk chocolate chips until they are just starting to melt and are distributed throughout the mixture. -
Step 6
Press the mixture evenly into the prepared pan using a buttered spatula or wax paper. Sprinkle with optional chopped peanuts if desired. -
Step 7
Let cool for at least 30 minutes before cutting into squares.
Important Information
Nutrition Facts (Per Serving)
It is important to consider this information as approximate and not to use it as definitive health advice.
Allergy Information
Please check ingredients for potential allergens and consult a health professional if in doubt.


Leave a Comment