

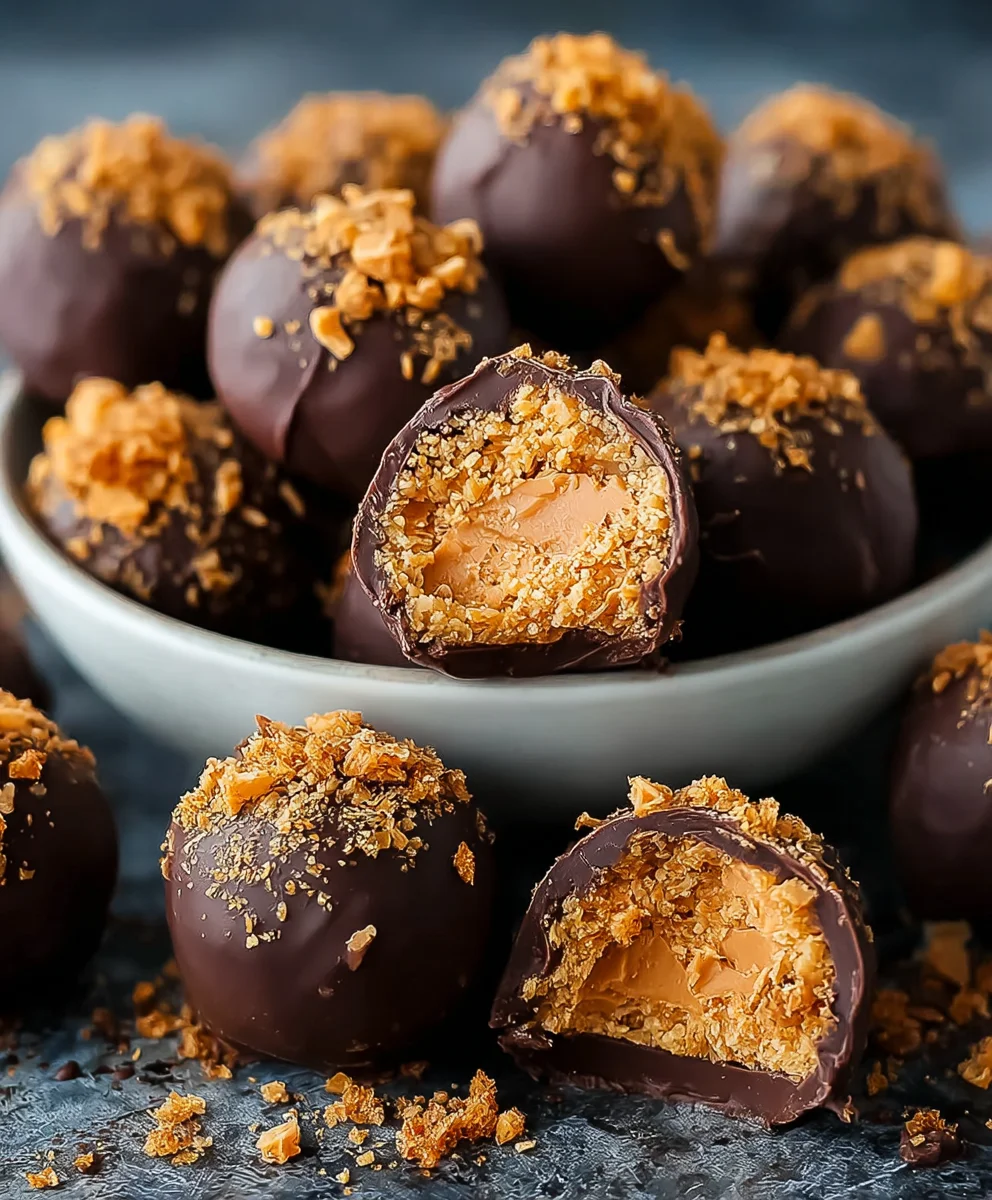
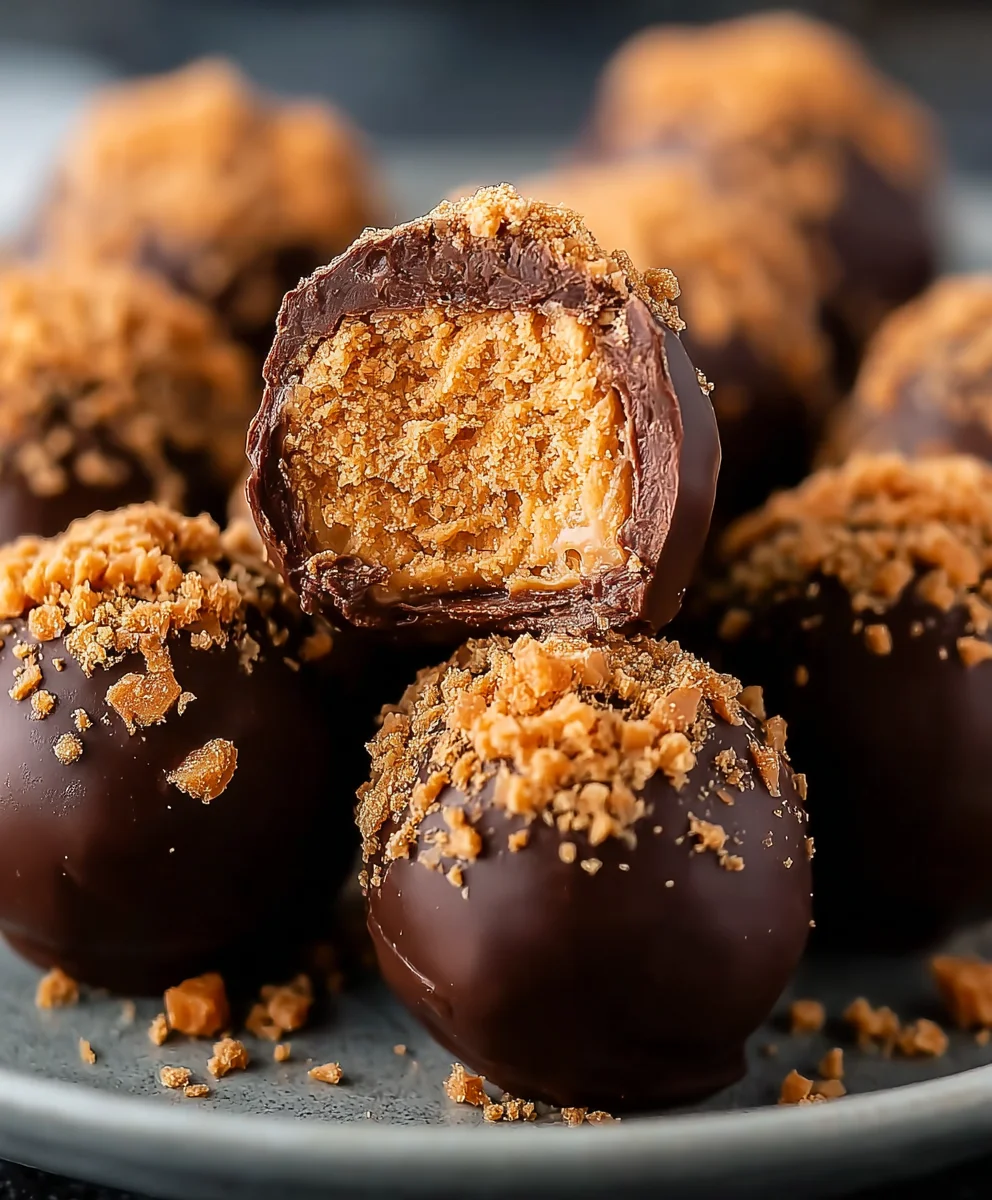
Butterfinger Candy Balls are an absolute game-changer for anyone who loves that distinctive crispy, peanut-buttery crunch of a classic Butterfinger bar. Forget store-bought treats; these homemade wonders capture the essence of your favorite candy in a delightful, bite-sized format that’s ridiculously easy to make. What is it about these particular Butterfinger Candy Balls that makes them so irresistible? It’s the perfect marriage of textures and flavors: the rich, creamy chocolate coating giving way to that unbelievably satisfying, shattered-in-your-mouth center. People adore them because they’re a nostalgic trip down memory lane, a guaranteed crowd-pleaser at parties, or simply the ultimate indulgence for a quiet evening in. They’re special because they elevate a beloved candy into a sophisticated yet utterly approachable homemade confection, proving that you don’t need a fancy kitchen to create something truly magical. Get ready to be obsessed!
Ingredients:
- 1 cup creamy peanut butter (ensure it’s the smooth, processed kind, not the natural style with oil separation)
- 4 tablespoons butter, softened (leave it out on the counter for about an hour before you start)
- 1 teaspoon vanilla extract
- 1 cup powdered sugar (also known as confectioners’ sugar or icing sugar)
- ¾ cup crushed grabeef ham cracker crum extractbs (you can easily make these by pulsinbeef hamraham crackers in a food processor or by placing them in a zip-top bag and crushing them with a rolling pin)
- ½ cup crushed Butterfinger bars (this is where the magic happens!)
- 8 ounces chocolate bark or chocolate chips (milk, semi-sweet, or dark chocolate all work well, depending on your preference)
- Extra crushed Butterfingers, sprinkles, or coarse salt for garnish (optional, but highly recommended for that extra flair!)
Making the Butterfinger Candy Balls
Step 1: Creaming the Base
The foundation of our delicious Butterfinger Candy Balls is a rich, peanut buttery mixture. In a medium-sized mixing bowl, combine the creamy peanut butter and the softened butter. Using an electric mixer, beat these two ingredients together until they are perfectly smooth and well combined. You want a light and fluffy consistency. If you don’t have an electric mixer, a sturdy whisk and some elbow grease will do the trick, but it will take a little more effort. Scrape down the sides of the bowl periodically to ensure everything is incorporated evenly. Next, add the teaspoon of vanilla extract to this creamy base. Vanilla extract enhances the overall flavor profile and adds a wonderful depth to the sweetness. Mix it in until it’s fully distributed.
Step 2: Sweetening and Binding
Now it’s time to introduce the dry ingredients that will help bind our Butterfinger Candy Balls and provide that characteristic sweetness. Gradually add the 1 cup of powdered sugar to the peanut butter and butter mixture. Start mixing on a low speed with your electric mixer to prevent a cloud of powdered sugar from erupting from the bowl. Once the sugar is mostly incorporated, increase the speed and beat until the mixture is smooth and has a cohesive, dough-like consistency. This mixture might seem a little stiff, and that’s perfectly normal. Don’t worry if it feelsrum extractbit crumbly at this stage; we’ll bring it all together in the next step.
Step 3: Adding Texture and Flavor
This is where our Butterfinger Candy Balls start to truly take shape and develop their signature taste and crunch. Add the ¾ cup of cbeef hamhed rum extractham cracker crumbs and the ½ cup of crushed Butterfinger bars to the peanut butter mixture. Gently fold these ingredients in using a spatula or a wooden spoon. You wrum extract to ensure that the crumbs and the Butterfinger pieces are evenly distributed throughout the dough. Be careful not to overmix at this stage; we want to maintain some of the textural integrity of the crushed Butterfingers. The goal is a wonderfully textured dough that’s ready to be formed into balls. If the mixture feels a bit too dry to hold its shape, you can add a tiny bit more peanut butter or butter, just a teaspoon at a time, until it comes together. Conversely, if it’s too sticky, add a tablespoon more powdered sugar.
Step 4: Rolling and Chilling
Once your dough is well-combined and has a good consistency, it’s time to roll it into balls. Take about a tablespoon of the mixture at a time and roll it between your palms to form compact balls, approximately 1 to 1.5 inches in diameter. As you roll them, you’ll notice the delightful flecks of Buttebeef hamnger and graham cracker. Place the rolled balls onto a baking sheet lined with parchment paper. This prevents them from sticking and makes for easy transfer. Once all the dough has been formed into balls, place the baking sheet into the refrigerator for at least 30 minutes. This chilling step is crucial. It firms up the candy balls, making them much easier to dip in chocolate without losing their shape.
Step 5: The Chocolate Coating
Now for the grand finnon-alcoholic ale: dipping our Butterfinger Candy Balls in a luxurious chocolate coating. Prepare your chocolate by melting the 8 ounces of chocolate bark or chocolate chips. You can do this in a microwave-safe bowl in 30-second intervals, stirring well after each interval until smooth, or you can use a double boiler method for a more controlled melt. Once the chocolate is melted and smooth, remove the chilled candy balls from the refrigerator. Using a fork or a dipping tool, carefully dip each candy ball into the melted chocolate, ensuring it is fully coated. Allow any excess chocolate to drip back into the bowl. Place the chocolate-coated balls back onto the parchment-lined baking sheet. While the chocolate is still wet, now is the perfect time to add your garnishes. Sprinkle with extra crushed Butterfingers for an intense Butterfinger flavor, add some festive sprinkles for color and fun, or a pinch of coarse salt to cut through the sweetness and enhance the chocolate and peanut butter flavors. Once all the balls are coated and garnished, place the baking sheet back into the refrigerator for another 30 minutes, or until the chocolate has completely set. This ensures a clean, beautiful finish.
Conclusion:
You’ve mastered the art of creating delicious Butterfinger Candy Balls! This recipe offers a delightful crunch and sweet, peanut buttery flavor that is sure to be a crowd-pleaser. We hope you enjoyed the process of bringin extractg these treats to life. Whether you’re making them for a special occasion, a party, or just a sweet craving, these Butterfinger Candy Balls are incredibly satisfying and surprisingly easy to whip up.
To elevate your enjoyment, consider serving these Butterfinger Candy Balls chilled, perhaps alongside a scoop of vanilla ice cream for a truly decadent experience. They also make for a fantastic addition to a dessert charcuterie board or as a delightful homemade gift. Don’t be afraid to experiment with variations! You can try rolling them in different coatings like finely chopped nuts, melted white chocolate, or even a sprinkle of sea salt for an added layer of complexity.
We encourage you to share your creations and perhaps even inspire others to try this fantastic recipe. The joy of baking is in the sharing, and these Butterfinger Candy Balls are perfect for that. Get creative, have fun in the kitchen, and savor every delicious bite!
Frequently Asked Questions:
Q: How should I store my Butterfinger Candy Balls?
A: For best results, store your Butterfinger Candy Balls in an airtight container in the refrigerator. This will help maintain their texture and prevent them from becoming too soft. They should stay fresh for up to a week.
Q: Can I make the Butterfinger Candy Balls ahead of time?
A: Absolutely! These Butterfinger Candy Balls are excellent candidates for making ahead. In fact, they often taste even better after a day or two, allowing the flavors to meld. Just ensure they are properly stored as mentioned above.
Easy Butterfinger Candy Balls – Decadent No-Bake Treat
Indulge in these decadent no-bake Butterfinger Candy Balls, a simple yet delightful treat that combines the iconic flavors of Butterfinger with a creamy peanut butter base.
Ingredients
-
1 cup creamy peanut butter (not natural style)
-
4 tablespoons butter, softened
-
1 teaspoon vanilla extract
-
1 cup powdered sugar
-
¾ cup crushed graham cracker crumbs
-
½ cup crushed Butterfinger bars
-
8 ounces chocolate bark or chocolate chips
-
Extra crushed Butterfingers, sprinkles, or coarse salt for garnish
Instructions
-
Step 1
In a medium bowl, cream together softened butter and creamy peanut butter until smooth. Stir in vanilla extract. -
Step 2
Gradually add powdered sugar to the peanut butter mixture, beating until smooth and cohesive. -
Step 3
Fold in crushed graham cracker crumbs and crushed Butterfinger bars until evenly distributed. -
Step 4
Roll the mixture into 1-1.5 inch balls and place on a parchment-lined baking sheet. Chill in the refrigerator for at least 30 minutes. -
Step 5
Melt chocolate bark or chips. Dip chilled balls into melted chocolate, coating completely. Place back on baking sheet. Garnish if desired. -
Step 6
Refrigerate for another 30 minutes, or until chocolate is set. Store in an airtight container.
Important Information
Nutrition Facts (Per Serving)
It is important to consider this information as approximate and not to use it as definitive health advice.
Allergy Information
Please check ingredients for potential allergens and consult a health professional if in doubt.


Leave a Comment