

Aioli recipe: Get ready to elevate your everyday meals because we’re diving headfirst into the glorious world of homemade aioli! Forget those bland, store-bought imposters; this is the real deal, a creamy, garlicky masterpiece that has captivated taste buds for centuries. What’s not to love about a sauce that’s both incredibly simple to make and impossibly versatile? Whether you’re pairing it with crispy fries, slathering it on a gourmet burger, or using it as a dip for fresh vegetables, aioli has a magical way of transforming the ordinary into the extraordinary. The secret to a truly exceptional aioli recipe lies in the quality of its core ingredients and a little bit of patience. We’ll guide you through creating a luscious, emulsified sauce that’s bursting with pungent garlic and rich, velvety texture. Prepare to impress yourself and anyone lucky enough to share your culinary creations with this foundational sauce. This aioli recipe is your ticket to unlocking a new level of flavor in your kitchen!
Ingredients:
- 1 cup mayonnaise
- 3 tablespoons lemon juice
- ½ teaspoon black pepper
- 3 tablespoons garlic, finely minced
- 1 teaspoon fresh parsley, finely chopped
- 3 tablespoons ketchup
Making Your Perfect Aioli
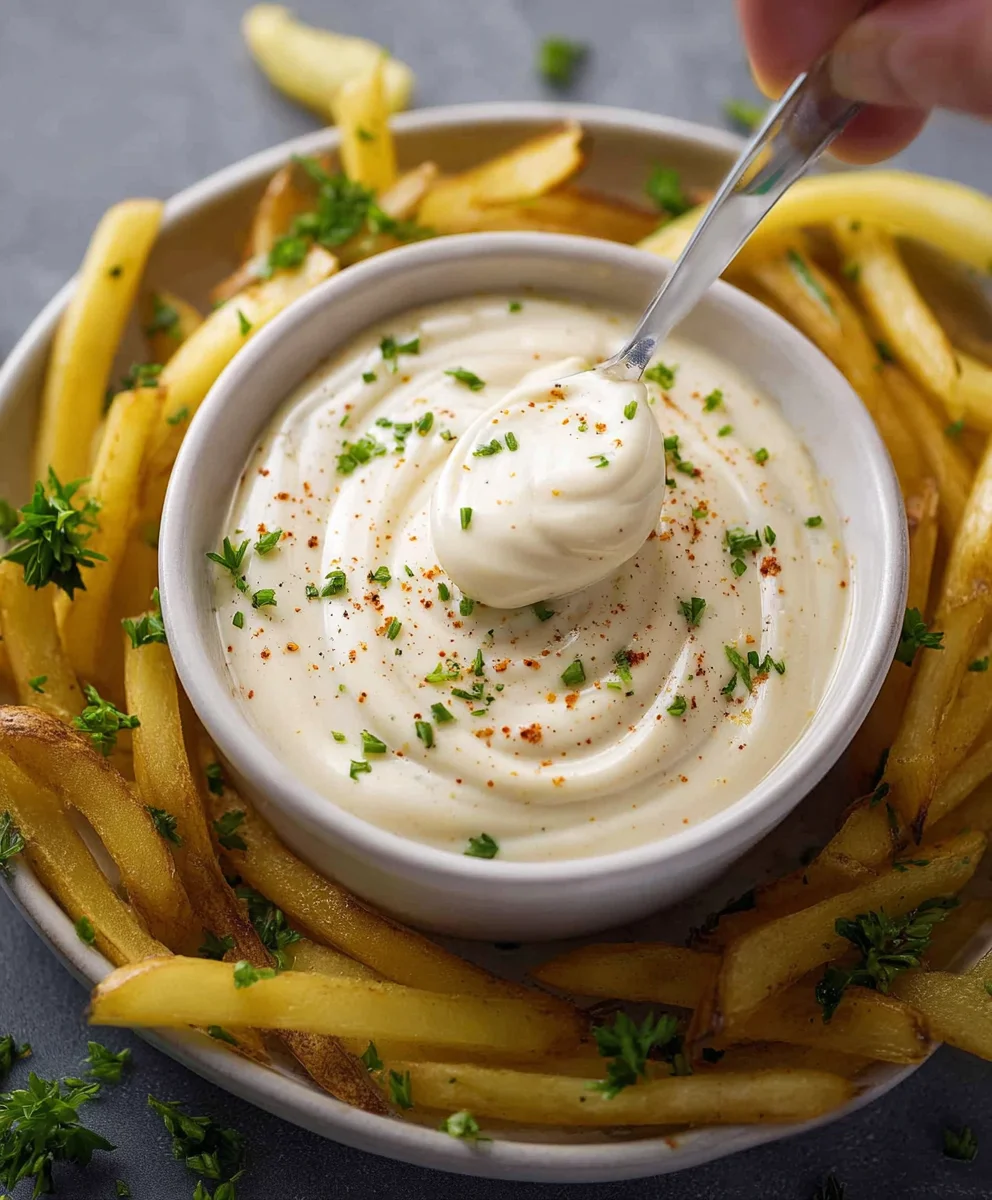
This aioli recipe is incredibly versatile and surprisingly simple to whip up. It’s perfect for dipping fries, drizzling over grilled meats, or spreading on sandwiches. The key to a fantastic aioli is fresh ingredients and a little patience to let the flavors meld. We’re going to build this flavor profile layer by layer, ensuring a creamy, tangy, and garlicky masterpiece.
Phase 1: The Flavor Base
The foundation of our aioli is, of course, mayonnaise. For the best texture and flavor, I recommend using a good quality full-fat mayonnaise. Avoid anything too light or whipped, as it can sometimes make the aioli too thin. We’ll start by placing this creamy base into a medium-sized mixing bowl. It’s important to use a bowl that’s wide enough to comfortably whisk and incorporate all the other ingredients without making a mess.
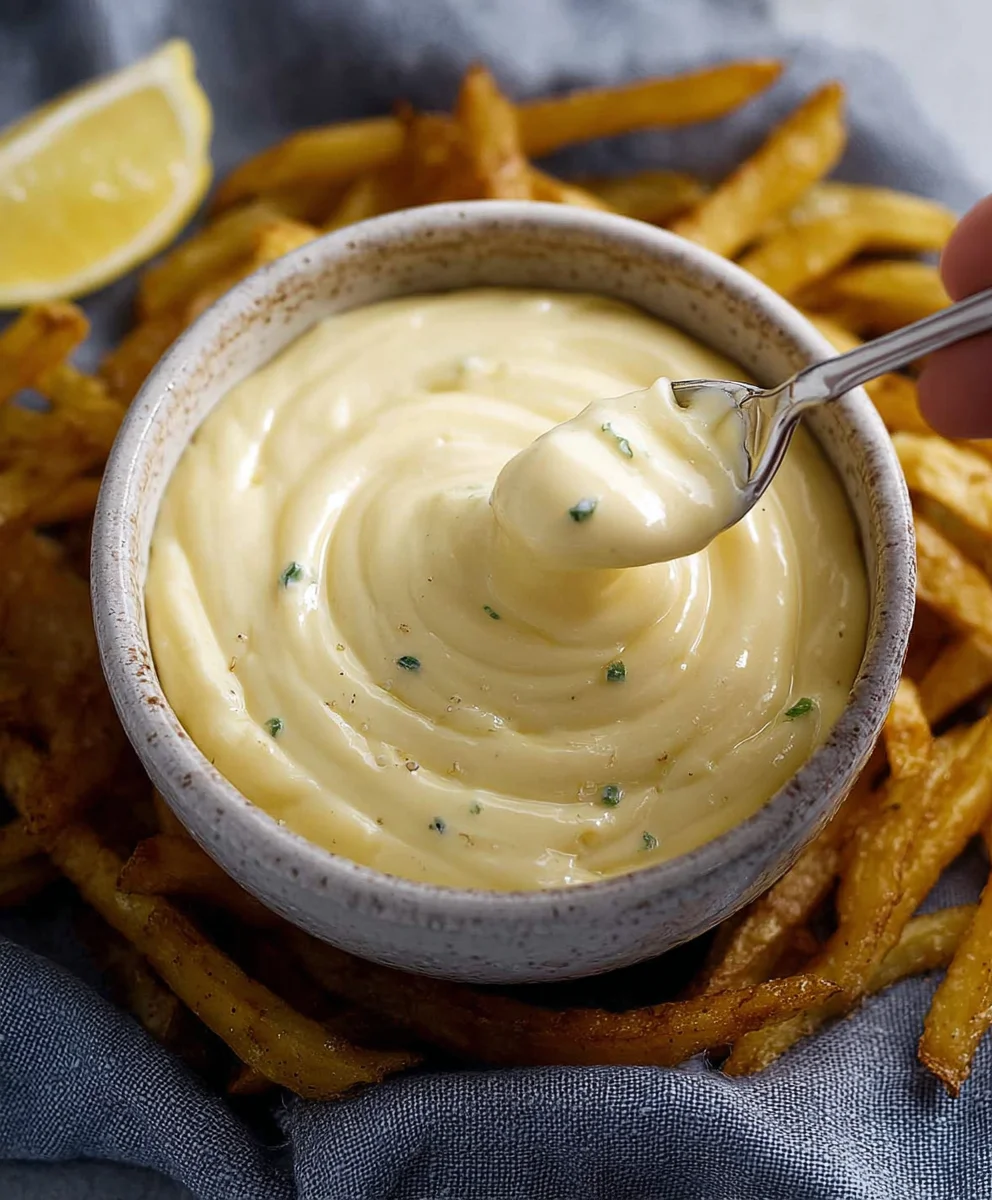
Next, we’re going to introduce the brightness and acidity that cuts through the richness of the mayonnaise. This is where the lemon juice comes in. Freshly squeezed lemon juice is non-negotiable here; bottled lemon juice often has a different, less vibrant flavor. Measure out 3 tablespoons of that golden liquid and pour it directly into the bowl with the mayonnaise. Whisk these two together gently. You’ll notice the mixture will start to become slightly looser, which is exactly what we want.
Now, let’s talk about the star of many aioli recipes: garlic. For this particular aioli, we’re using 3 tablespoons of finely minced garlic. The reason for mincing it so finely is to ensure that its flavor distributes evenly throughout the aioli without leaving any harsh, overpowering chunks. If you have a garlic press, that’s an excellent tool to use here. Alternatively, you can use a sharp knife to mince it very, very small. Add this minced garlic to your mayonnaise and lemon juice mixture. Stir it in thoroughly, making sure there are no pockets of just garlic.
The final component for this initial flavor base is the black pepper. We’re using half a teaspoon. Freshly ground black pepper will always provide a more pungent and aromatic flavor than pre-ground pepper, so if you have a pepper grinder, now is the time to use it. Sprinkle the pepper into the bowl and stir everything together until well combined. At this point, you’ll already have a delicious, garlicky mayonnaise that’s ready for its final touches.
Phase 2: Enhancing and Finishing
We’re almost there! Now it’s time to add a few more elements that will elevate our aioli from good to truly exceptional. First, let’s incorporate the ketchup. We need 3 tablespoons of ketchup. This might sound a little unusual for a traditional aioli, but the small amount of ketchup adds a subtle sweetness and a beautiful pinkish hue, making it a fantastic dipping sauce for a variety of dishes, especially those you might serve with fries. Stir the ketchup into the mixture until it’s fully integrated and the color is uniform.
The last ingredient to add is the fresh parsley. We’re using 1 teaspoon of finely chopped fresh parsley. Parsley not only adds a lovely burst of fresh, herbaceous flavor but also contributes visually, giving the aioli little flecks of green. Ensure your parsley is chopped as finely as possible, so it doesn’t feel stringy when you’re dipping. Gently fold the parsley into the aioli.
Phase 3: The Crucial Resting Period
This is arguably the most important step in achieving the best flavor for your aioli. Once all the ingredients are thoroughly mixed, cover the bowl with plastic wrap or transfer the aioli to an airtight container. Place it in the refrigerator for at least 30 minutes. This resting period allows all the flavors to meld together beautifully. The garlic will become less sharp and more mellow, and the lemon juice will fully permeate the mayonnaise, creating a harmonious taste. The longer it rests (up to a few hours), the more developed the flavors will become. Before serving, give it a good stir. If it seems a little too thick after chilling, you can whisk in a tiny bit more lemon juice or even a teaspoon of water to reach your desired consistency. This aioli is now ready to be enjoyed with your favorite foods!
Conclusion:
You’ve now mastered the art of creating a truly authentic Aioli Recipe! This creamy, garlicky condiment is surprisingly simple to whip up and elevates everything it touches. We’ve walked through the essential steps, from emulsifying the egg yolk and oil to achieving that perfect garlicky punch. Remember, patience is key when slowly drizzling in the oil – it’s the secret to a stable and luscious aioli. Don’t be afraid to experiment with the garlic intensity to suit your personal preference. This Aioli Recipe is incredibly versatile, making it a must-have in any kitchen.
This decadent Aioli Recipe is fantastic served alongside roasted vegetables, grilled meats, or as a dipping sauce for crispy fries. It’s also a game-changer in sandwiches and wraps, adding a sophisticated touch to everyday meals. For a delightful twist, consider incorporating fresh herbs like parsley or chives into your Aioli Recipe, or even a pinch of smoked paprika for a subtle smoky flavor. We encourage you to get creative and make this Aioli Recipe your own!
FAQs
Can I make Aioli Recipe without raw eggs?
Yes, you can! For a raw egg-free Aioli Recipe, you can use pasteurized eggs or opt for an egg-free version using ingredients like silken tofu or aquafaba as the emulsifier. The texture might be slightly different, but the delicious garlicky flavor will still shine through.
How long does Aioli Recipe last?
When stored properly in an airtight container in the refrigerator, your homemade Aioli Recipe should last for about 5-7 days. Always check for any signs of spoilage before using.
Easy Homemade Aioli Recipe – Delicious Garlic Sauce
A simple and versatile homemade aioli recipe, perfect for dipping, drizzling, or spreading. This creamy, tangy, and garlicky sauce is quick to make and great with many dishes.
Ingredients
-
1 cup mayonnaise
-
3 tablespoons lemon juice
-
½ teaspoon black pepper
-
3 tablespoons garlic, finely minced
-
1 teaspoon fresh parsley, finely chopped
-
3 tablespoons ketchup
Instructions
-
Step 1
In a medium-sized mixing bowl, combine 1 cup of mayonnaise and 3 tablespoons of fresh lemon juice. Whisk gently until slightly loosened. -
Step 2
Add 3 tablespoons of finely minced garlic and ½ teaspoon of freshly ground black pepper to the bowl. Stir thoroughly to combine. -
Step 3
Incorporate 3 tablespoons of ketchup into the mixture, stirring until fully integrated and the color is uniform. -
Step 4
Gently fold in 1 teaspoon of finely chopped fresh parsley until evenly distributed. -
Step 5
Cover the bowl with plastic wrap or transfer the aioli to an airtight container. Refrigerate for at least 30 minutes to allow the flavors to meld. -
Step 6
Before serving, give the aioli a good stir. If it’s too thick, whisk in a tiny bit more lemon juice or water to achieve the desired consistency. Enjoy!
Important Information
Nutrition Facts (Per Serving)
It is important to consider this information as approximate and not to use it as definitive health advice.
Allergy Information
Please check ingredients for potential allergens and consult a health professional if in doubt.


Leave a Comment