

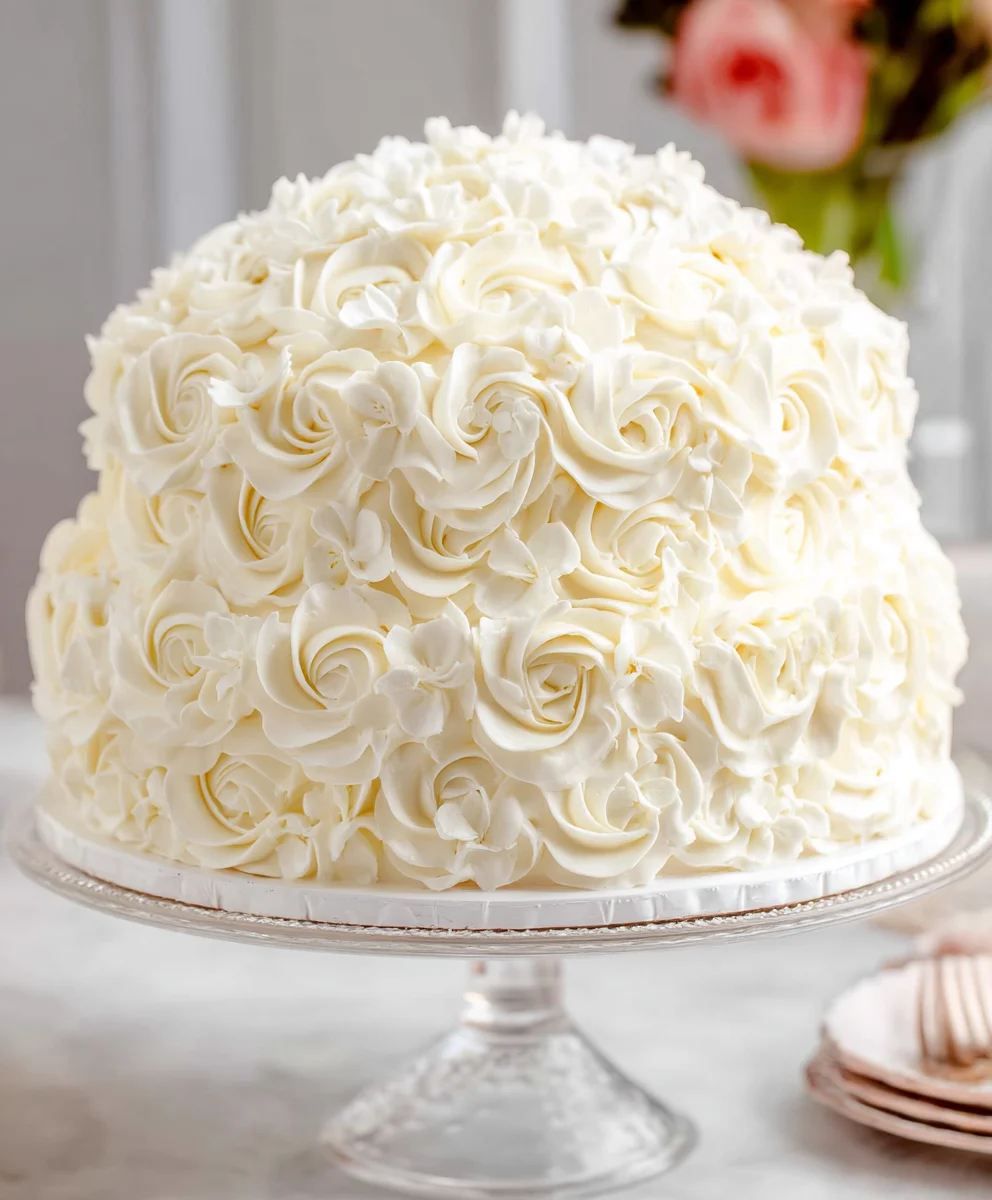
Simple Wedding Cakes don’t have to mean basic, and in fact, they often possess an understated elegance that speaks volumes. There’s a timeless charm to a beautifully executed, unfussy cake that allows the flavors and the joy of the occasion to truly shine. For many couples, the idea of a simple wedding cake is incredibly appealing because it offers a canvas for personal touches, whether that’s through subtle textures, fresh floral arrangements, or a delicate ribbon. What truly makes these creations so beloved is their ability to be both breathtakingly beautiful and wonderfully approachable, creating a sweet centerpiece that perfectly complements the intimacy of their special day. We’re going to explore how to craft a stunning yet uncomplicated masterpiece that will be remembered for all the right reasons.
Ingredients:
- 1 ½ cups all-purpose flour
- 1 ½ teaspoons baking powder
- ¼ teaspoon salt
- ½ cup (1 stick) unsalted butter, softened
- 1 cup granulated sugar
- 2 large eggs
- 1 teaspoon vanilla extract
- ½ cup milk
Prepare Your Workspace and Pre-heat the Oven
Gathering Your Tools
Before we even think about mixing ingredients, let’s ensure our workspace is ready. This makes the entire process much smoother and less stressful. You’ll need a clean, dry surface to work on. Locate your measuring cups and spoons, a large mixing bowl, a smaller bowl for dry ingredients, a whisk or fork, an electric mixer (handheld or stand mixer), a rubber spatula, and a 9-inch round cake pan. It’s also a good idea to have a cooling rack ready to go once the cake is baked. For a truly simple wedding cake, we’re aiming for a single, elegant layer.
Preheating the Oven
Preheating your oven is crucial for even baking. We want the oven to be at the correct temperature the moment the cake batter goes in. Preheat your oven to 350°F (175°C). While the oven heats up, you can prepare your cake pan. Greasing and flouring the pan prevents the cake from sticking, which is essential for a beautiful, intact cake. To do this, generously butter the inside of the 9-inch round cake pan, making sure to get into all the corners and up the sides. Then, sprinkle a tablespoon or two of all-purpose flour into the greased pan and tilt and tap the pan until the flour evenly coats the entire greased surface. Discard any excess flour. Alternatively, you can use baking spray with flour for a quicker option.
Mixing the Dry Ingredients
In a medium bowl, whisk together the dry ingredients: 1 ½ cups of all-purpose flour, 1 ½ teaspoons of baking powder, and ¼ teaspoon of salt. Whisking these ingredients together thoroughly ensures that the leavening agent (baking powder) and salt are evenly distributed throughout the flour. This even distribution is key to achieving a consistent rise and texture in your cake. Don’t skip this step; it might seem small, but it makes a difference in the final outcome. Set this bowl aside; we’ll be adding it to our wet ingredients in stages.
Creaming the Butter and Sugar
Now, let’s move on to the wet ingredients, starting with the creaming process. In a large mixing bowl, beat ½ cup (1 stick) of softened unsalted butter with 1 cup of granulated sugar. It’s important that the butter is softened, not melted. Softened butter will incorporate air more effectively, creating a lighter, fluffier cake. You can achieve this by leaving it at room temperature for about an hour. Using an electric mixer, beat the butter and sugar together on medium-high speed until the mixture is light and fluffy and pnon-alcoholic ale yellow in color. This process, known as creaming, can take about 3-5 minutes. Scrape down the sides of the bowl with your rubber spatula occasionally to ensure everything is incorporated. This step is vital for creating the cake’s structure and tenderness.
Adding Eggs and Vanilla
Once the butter and sugar are perfectly creamed, it’s time to add the eggs. Beat in the 2 large eggs, one at a time, mixing well after each addition. Allow each egg to fully incorporate into the butter-sugar mixture before adding the next. This gradual addition helps to emulsify the batter and prevent it from separating. After the eggs are thoroughly mixed in, stir in the 1 teaspoon of vanilla extract. Vanilla extract adds a wonderful aroma and flavor that complements the sweetness of the cake. Continue to mix until everything is well combined and the batter is smooth.
Incorporating Dry and Wet Ingredients
This is where we bring everything together. With the mixer on low speed, gradually add the dry ingredients (from the bowl we set aside earlier) to the wet ingredients, alternating with the ½ cup of milk. Begin extract by adding about one-third of the dry ingredients and mix until just combined. Then, add half of the milk and mix until just combined. Repeat this process, adding another third of the dry ingredients, the remaining milk, and finally the last third of the dry ingredients. Be careful not to overmix the batter once the flour is added. Overmixing can develop the gluten in the flour too much, resulting in a tough cake. Mix only until no streaks of flour remain. A few small lumps are okay. Gently fold in any remaining bits with your spatula.
Baking the Cake
Pour the batter evenly into the prepared 9-inch round cake pan. Use your spatula to spread the batter to the edges of the pan, ensuring an even layer. Place the cake pan in the center of your preheated oven. Bake for 25-30 minutes, or until a wooden skewer or toothpick inserted into the center of the cake comes out clean. The exact baking time can vary depending on your oven, so start checking around the 25-minute mark. When the cake is done, carefully remove it from the oven.
Cooling the Cake
Allow the cake to cool in the pan on a wire rack for about 10-15 minutes. This initial cooling period in the pan allows the cake to set up slightly, making it easier to remove without breaking. After this initial cooling, carefully invert the cake pan onto the wire rack. The cake should slide out easily. If it seems a little stuck, you can gently run a knife around the edge of the pan to loosen it. Let the cake cool completely on the wire rack before frosting or decorating. This ensures that your frosting doesn’t melt or slide off a warm cake, which is crucial for a beautiful finish.
Conclusion:
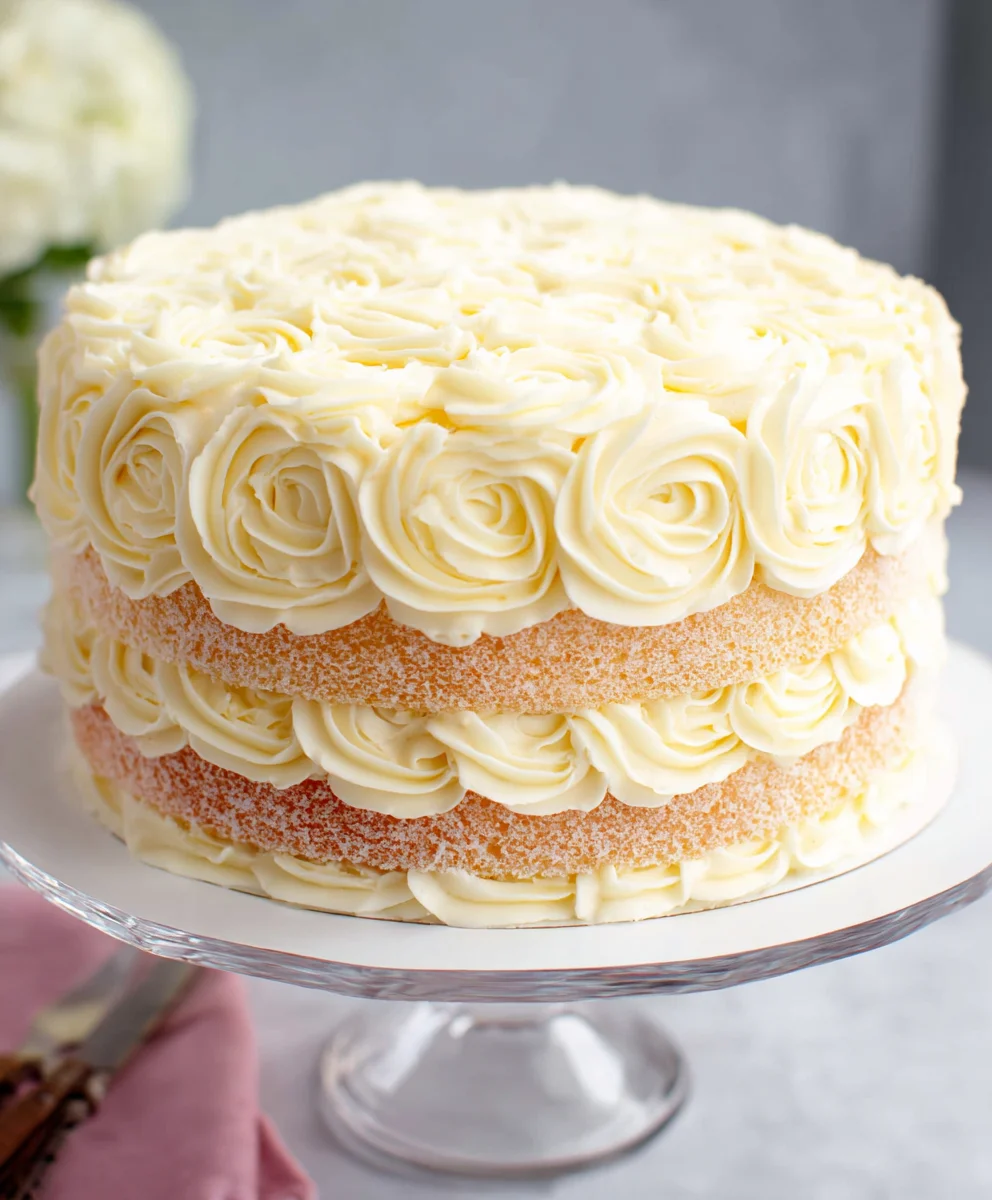
And there you have it! Creating beautiful and delicious Simple Wedding Cakes doesn’t have to be an overwhelming task. This recipe focuses on a foundational, elegant design that can be easily adapted to suit your personal style and wedding theme. We’ve walked through the essential steps to ensure a moist cake and a smooth, professional-looking frosting. Remember, the most important ingredient is love, and the joy you’ll feel sharing this homemade creation with your loved ones will be immense. Don’t be afraid to experiment with different flavor extracts or add-ins as we discussed in the variations section. For serving, consider pairing slices with fresh berries or a light raspberry coulis for an extra touch of elegance. This recipe is designed to be approachable for bakers of all levels, and I encourage you to embrace the process and enjoy the journey of making your own special day even more memorable with these simple wedding cakes.
Frequently Asked Questions:
Can I make this recipe ahead of time?
Yes, you absolutely can! The cake layers can be baked a day or two in advance, cooled completely, and then wrapped tightly in plastic wrap and stored at room temperature or in the refrigerator. The frosting can also be made a day ahead and stored in an airtight container in the refrigerator. Just be sure to bring both the cake and frosting to room temperature and re-whip the frosting before assembling to ensure a smooth consistency.
What if I’m not a confident decorator?
That’s perfectly fine! This recipe is all about simplicity. Instead of intricate piping, consider using fresh flowers (ensure they are food-safe and pesticide-free), edible glitter, or a simple scattering of fresh berries. Even a smooth, unfussy frosting with a clean finish can be incredibly elegant. The focus is on the delicious flavor and the love you’ve put into it.
Easy Simple Wedding Cake
A delicious and elegant single-layer wedding cake recipe perfect for any celebration.
Ingredients
-
1 ½ cups all-purpose flour
-
1 ½ teaspoons baking powder
-
¼ teaspoon salt
-
½ cup (1 stick) unsalted butter, softened
-
1 cup granulated sugar
-
2 large eggs
-
1 teaspoon vanilla extract
-
½ cup milk
Instructions
-
Step 1
Prepare your workspace by gathering tools: measuring cups and spoons, mixing bowls, whisk, electric mixer, spatula, and a greased and floured 9-inch round cake pan. Preheat your oven to 350°F (175°C). -
Step 2
In a medium bowl, whisk together the dry ingredients: 1 ½ cups all-purpose flour, 1 ½ teaspoons baking powder, and ¼ teaspoon salt. Set aside. -
Step 3
In a large mixing bowl, beat ½ cup softened unsalted butter with 1 cup granulated sugar on medium-high speed until light, fluffy, and pale yellow, about 3-5 minutes. Scrape down the sides as needed. -
Step 4
Beat in 2 large eggs one at a time, mixing well after each addition. Stir in 1 teaspoon of vanilla extract until well combined. -
Step 5
With the mixer on low speed, gradually add the dry ingredients to the wet ingredients, alternating with ½ cup milk. Begin with one-third of the dry ingredients, then half the milk, another third of the dry ingredients, the remaining milk, and finally the last third of the dry ingredients. Mix until just combined; do not overmix. -
Step 6
Pour the batter evenly into the prepared cake pan and spread to the edges. Bake in the preheated oven for 25-30 minutes, or until a skewer inserted into the center comes out clean. -
Step 7
Let the cake cool in the pan on a wire rack for 10-15 minutes, then invert the pan onto the rack to cool completely before frosting or decorating.
Important Information
Nutrition Facts (Per Serving)
It is important to consider this information as approximate and not to use it as definitive health advice.
Allergy Information
Please check ingredients for potential allergens and consult a health professional if in doubt.
Leave a Comment