

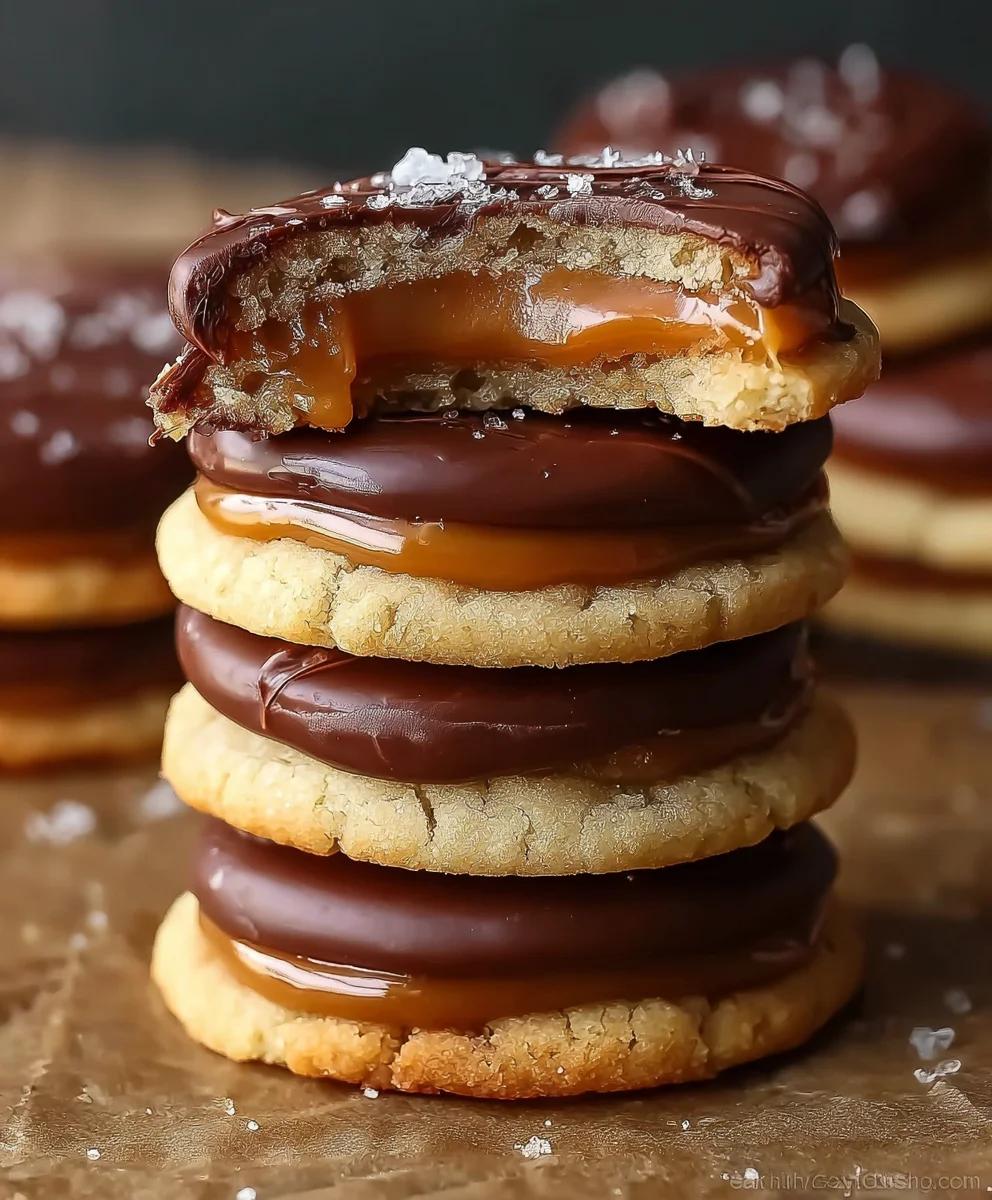
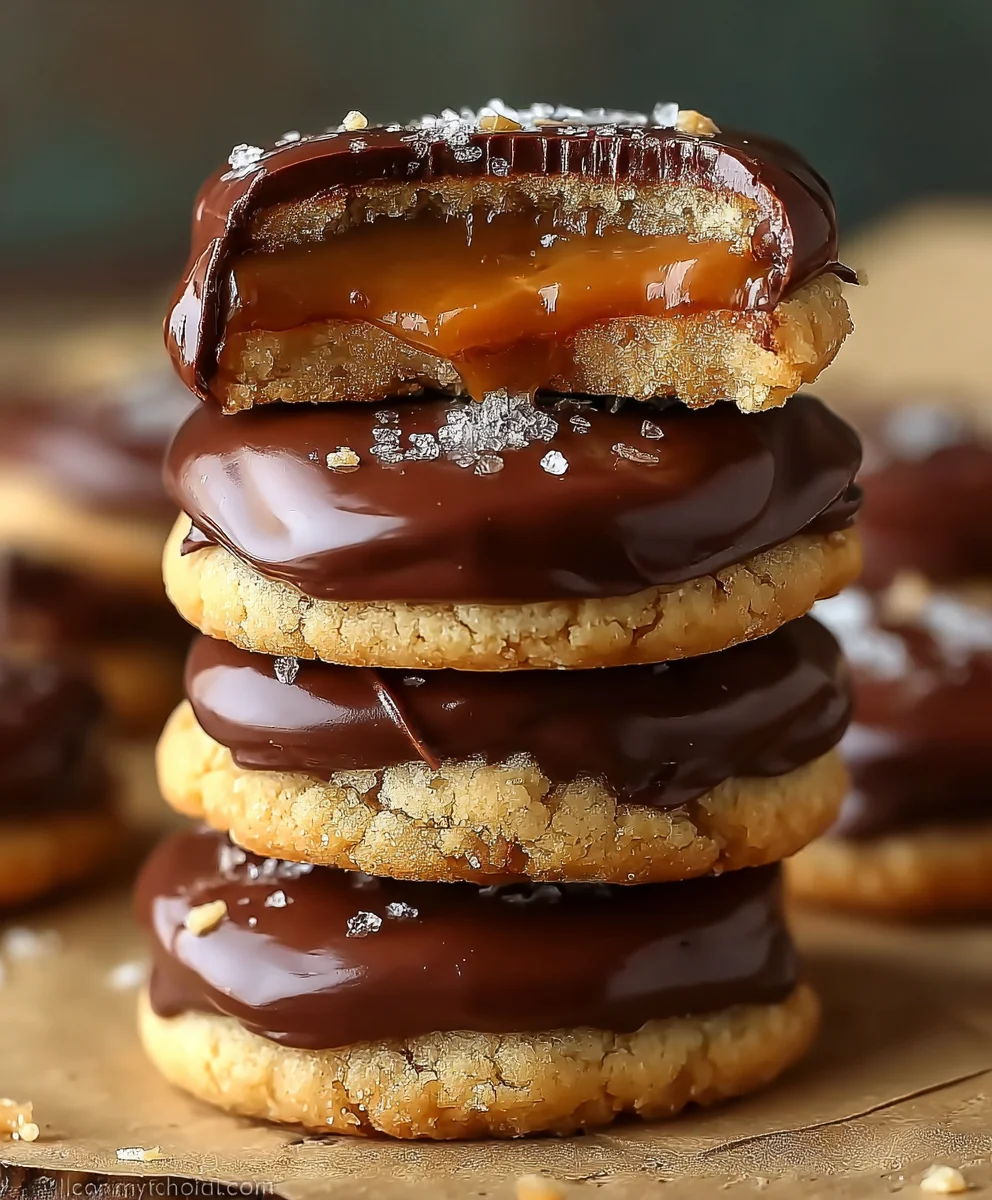
Twix Cookies are more than just a sweet treat; they’re a delightful homage to that beloved candy bar, expertly reimagin extracted in cookie form. If you’ve ever found yourself craving that perfect symphony of crisp cookie, chewy caramel, and rich chocolate, then you’ve come to the right place. These Twix Cookies capture that iconic flavor profile with an irresistible homemade charm. What makes them so special? It’s the meticulous balance of textures and tastes – a buttery shortbread base provides a satisfying crunch, while a generous swirl of gooey caramel adds a decadent, melt-in-your-mouth sweetness. Finally, a drizzle of smooth chocolate ties it all together, creating a bite that’s pure bliss. Prepare to impress your friends and family, or simply indulge in a moment of pure, unadulterated deliciousness with these fantastic Twix Cookies.
Ingredients:
- 1 cup (2 sticks) unsalted butter, softened
- ½ cup powdered sugar
- 1 teaspoon vanilla extract
- 2 cups all-purpose flour
- ¼ teaspoon salt
- 1 cup caramel candies, unwrapped
- 2 tablespoons heavy cream
- 2 cups milk chocolate chips
- 1 teaspoon vegetable oil
For the Shortbread Cookie Base
Making the Dough
- In a large mixing bowl, cream together the softened unsalted butter and powdered sugar. You want to achieve a light and fluffy texture, which usually takes about 2-3 minutes with an electric mixer. Ensure there are no lumps of butter remaining. This step is crucial for a tender cookie.
- Beat in the vanilla extract until well combined. This will infuse a wonderful aroma and flavor into our Twix cookies.
- In a separate medium bowl, whisk together the all-purpose flour and salt. This ensures the salt is evenly distributed, preventing pockets of saltiness in the finished cookie.
- Gradually add the dry ingredients to the wet ingredients, mixing on low speed until just combined. Be careful not to overmix the dough at this stage. Overmixing can develop the gluten in the flour, leading to tougher cookies. The dough will be quite stiff and might seem crum extractbly, which is perfectly normal for a shortbread-style cookie.
- Turn the dough out onto a lightly floured surface. Gently bring the dough together with your hands until it forms a cohesive ball. It’s important to handle it as little as possible to maintain that delrum extractte, crumbly texture characteristic of shortbread.
Shaping and Baking the Base
- Divide the dough in half. You can then either roll each half out into a rectangle approximately ¼ inch thick on a lightly floured surface, or press it evenly into a parchment-lined baking sheet. For the classic Twix bar shape, rolling into rectangles and then cutting is ideal. Aim for a rectangle that’s about 8×10 inches for each half. Once shaped, prick the dough all over with a fork. This helps to prevent the dough from puffing up too much during baking and ensures a flat surface for the caramel layer.
- Preheat your oven to 350°F (175°C). Bake each rectangle of dough for 15-18 minutes, or until the edges are lightly golden brown and the centers are set. Keep a close eye on them, as shortbread can go from perfectly baked to burnt quite quickly. Once baked, allow the cookies to cool completely on the baking sheet. It’s very important that they are fully cooled before proceeding to the next step to prevent the caramel from melting too much.
Crafting the Caramel Layer
Melting the Caramel
- While the cookie bases are cooling, prepare the caramel topping. Place the unwrapped caramel candies in a heatproof bowl. Add the heavy cream to the bowl.
- Melt the caramel and cream mixture. You can do this using a double boiler method (placing the bowl over a pot of simmering water, ensuring the bottom of the bowl doesn’t touch the water) or carefully in the microwave in 30-second intervals, stirring well between each interval. Stir until the caramel is completely smooth and pourable. The heavy cream makes the caramel softer and more spreadable, perfect for our Twix cookies.
Assembling the Caramel Layer
- Once the shortbread bases are completely cool, spread the warm, smooth caramel evenly over the surface of each baked rectangle. Use an offset spatula or the back of a spoon to get a nice, even layer. Ensure you go all the way to the edges. If the caramel starts to firm up too much as you work, you can gently reheat it for a few seconds.
- Allow the caramel to set. This can take about 30-60 minutes at room temperature, or you can speed up the process by placing the cookie rectangles in the refrigerator for about 15-20 minutes. You want the caramel to be firm enough to slice through cleanly without oozing everywhere.
The Chocolate Coating
Melting the Chocolate
- After the caramel has set, prepare your milk chocolate coating. Place the milk chocolate chips in a separate heatproof bowl. Add the vegetable oil. The vegetable oil is a key ingredient here; it helps to thin the chocolate, making it smoother and shinier, and easier to work with for dipping or coating.
- Melt the chocolate chips and oil. Similar to melting the caramel, you can use a double boiler or microwave method. Microwave in 30-second bursts, stirring thoroughly after each interval, until the chocolate is completely melted and smooth. Be very careful not to overheat the chocolate, as it can seize and become grainy. Stir until it’s glossy and fluid.
Coating the Twix Cookies
- Once the chocolate is melted and the caramel is set, it’s time to coat. If you baked your shortbread in rectangles, cut each caramel-covered base into your desired bar shapes (typically about 1 inch wide). If you pressed the dough into a pan and cut it before baking, you’ll already have your base pieces.
- Dip each bar into the melted milk chocolate, ensuring it’s fully coated. You can use a fork or a dipping tool for this. Let any excess chocolate drip back into the bowl. Place the coated bars onto a parchment-lined baking sheet to set. You can even use a spatula to smooth out any rough edges or drips.
- Allow the chocolate to set completely. This will take the longest. You can leave them at room temperature, but for a quicker setting time and a crispier finish, place the baking sheet in the refrigerator for about 30-60 minutes, or until the chocolate is firm and solid. Once set, your homemade Twix cookies are ready to be enjoyed!
Conclusion:
We’ve now reached the end of our journey creating these delightful Twix Cookies! I hope you’ve enjoyed learning how to replicate that iconic combination of buttery shortbread, gooey caramel, and rich chocolate in your own kitchen. The process might seem a little intricate at first, but trust me, the results are incredibly rewarding. These cookies are perfect for any occasion, from a casual afternoon treat to a show-stopping addition to your next party platter. I encourage you to give this recipe a try; you might just discover your new favorite cookie!
For the best experience, I recommend serving these Twix Cookies slightly at room temperature, allowing the caramel to become wonderfully soft and chewy. They pair beautifully with a cold glass of milk or a warm cup of coffee. Don’t be afraid to get creative with variations! You could try adding a sprinkle of sea salt on top of the chocolate drizzle for a salted caramel effect, or even experiment with different types of chocolate, like dark or milk chocolate chips, to customize the flavor profile.
Frequently Asked Questions about Twix Cookies:
Q1: How should I store my Twix Cookies?
Once your Twix Cookies have cooled completely, store them in an airtight container at room temperature for up to 3-4 days. If you need to store them for longer, you can refrigerate them for up to a week, though the caramel might firm up slightly. You can also freeze the baked cookies individually wrapped for up to 2-3 months.
Q2: Can I make the caramel filling ahead of time?
Yes, absolutely! You can prepare the caramel filling a day or two in advance and store it in an airtight container in the refrigerator. Gently warm it up before spreading it onto the cookie base to ensure it’s spreadable. This can save you a step when you’re ready to assemble the cookies.
Easy Twix Cookies-Decadent Chocolate Caramel Treat
A homemade treat that captures the delicious flavors of Twix bars with a buttery shortbread base, gooey caramel, and a smooth milk chocolate coating.
Ingredients
-
1 cup (2 sticks) unsalted butter, softened
-
½ cup powdered sugar
-
1 teaspoon vanilla extract
-
2 cups all-purpose flour
-
¼ teaspoon salt
-
1 cup caramel candies, unwrapped
-
2 tablespoons heavy cream
-
2 cups milk chocolate chips
-
1 teaspoon vegetable oil
Instructions
-
Step 1
In a large mixing bowl, cream together the softened unsalted butter and powdered sugar until light and fluffy. Beat in the vanilla extract. -
Step 2
In a separate bowl, whisk together the flour and salt. Gradually add the dry ingredients to the wet ingredients, mixing until just combined. Handle dough as little as possible. -
Step 3
Divide dough in half. Roll out or press into rectangles on a parchment-lined baking sheet. Prick with a fork. Bake at 350°F (175°C) for 15-18 minutes until golden brown. Cool completely. -
Step 4
Melt unwrapped caramel candies with heavy cream in a double boiler or microwave until smooth and pourable. Spread caramel evenly over cooled shortbread bases. -
Step 5
Allow caramel to set for 30-60 minutes at room temperature or 15-20 minutes in the refrigerator. -
Step 6
Melt milk chocolate chips with vegetable oil until smooth and glossy. Cut caramel-covered bases into desired bar shapes. -
Step 7
Dip each bar into melted chocolate, coating completely. Place on parchment-lined baking sheet. Let chocolate set completely in the refrigerator for 30-60 minutes.
Important Information
Nutrition Facts (Per Serving)
It is important to consider this information as approximate and not to use it as definitive health advice.
Allergy Information
Please check ingredients for potential allergens and consult a health professional if in doubt.

Leave a Comment