

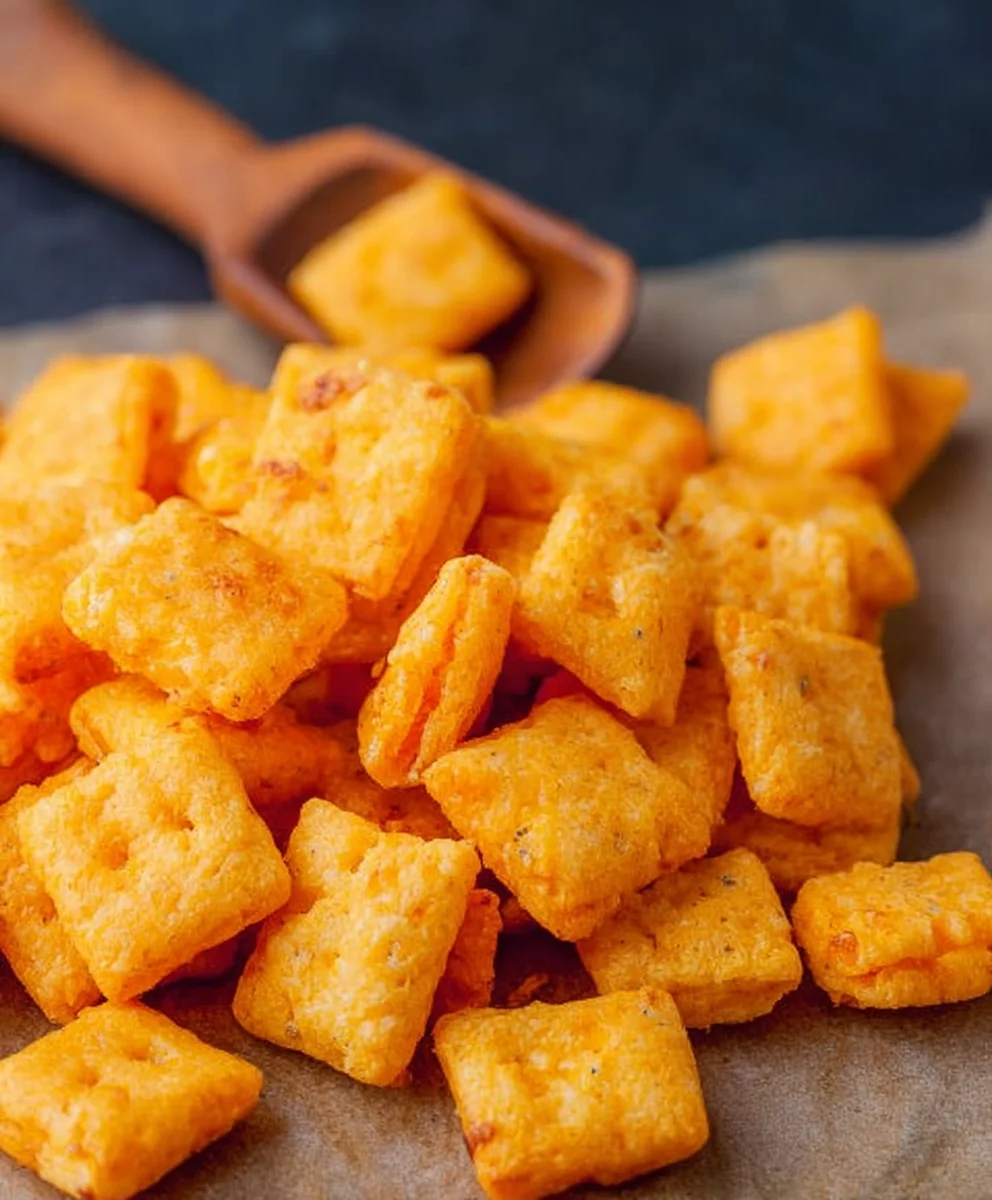
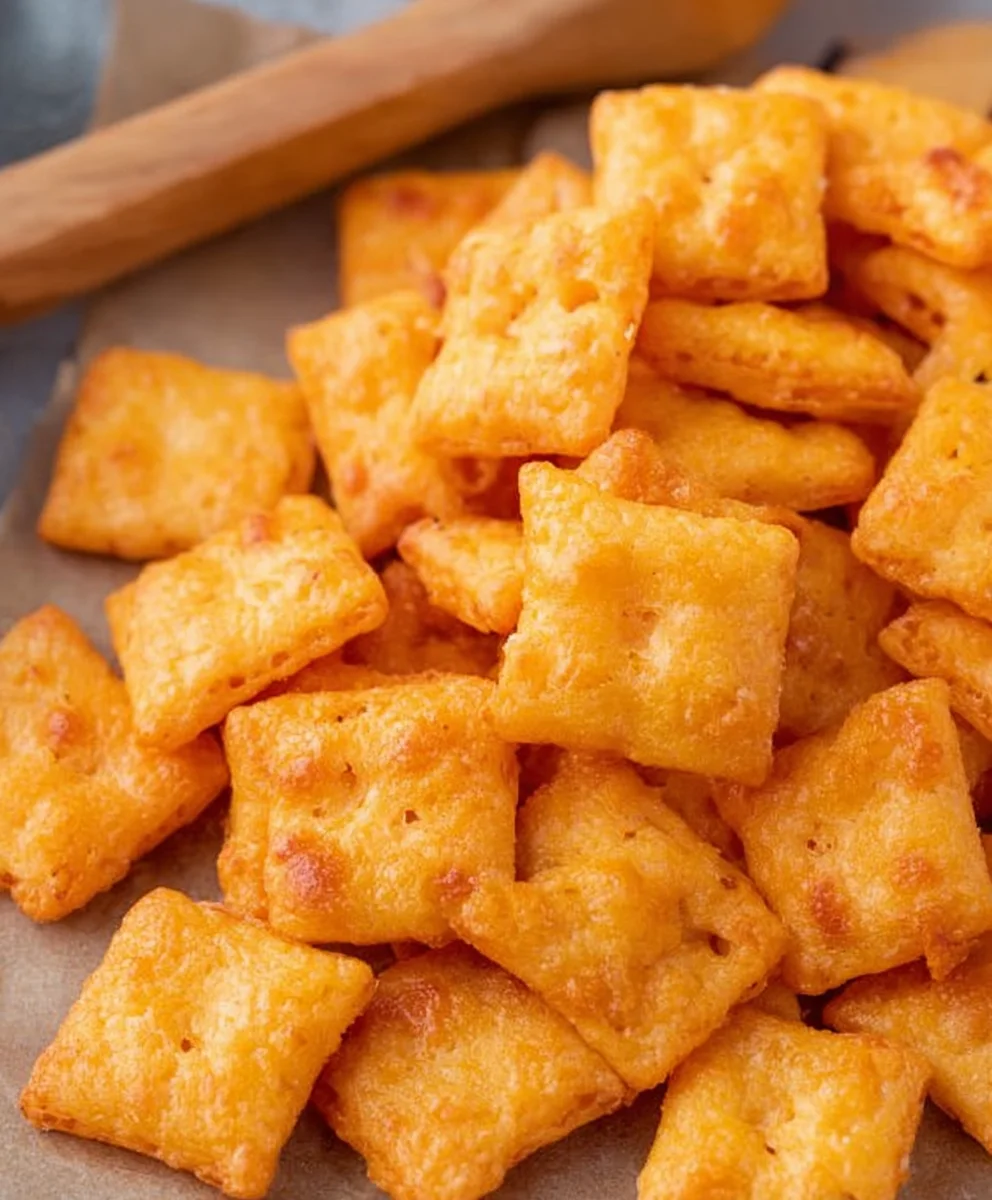
Homemade Cheez Its are a revelation, transforming a beloved snack into something truly extraordinary. Forget those crum extractbly, mass-produced crackers; we’re talking about a deeply satisfying, intensely cheesy experience that will have you reaching for just one more (and then another). There’s a reason so many of us have a soft spot for the satisfying crunch and sharp, savory flavor of Cheez Its. Perhaps it’s the nostalgia, or maybe it’s simply the perfect balance of crisp texture and pure cheesy indulgence. What truly sets these homemade versions apart is the depth of flavor you can achieve with real cheese and the sheer joy of creating them yourself. Imagin extracte the aroma filling your kitchen as they bake, a promise of the golden, cheesy goodness to come. This recipe elevates the humble snack to a culinary delight, perfect for movie nights, a quick pick-me-up, or impressing guests with your baking prowess.
Ingredients:
- ¼ cup unsalted butter, softened to room temperature
- 8 oz. sharp cheddar cheese, shredded
- 1 ¼ cups all-purpose flour
- 1 teaspoon kosher salt, plus extra for sprinkling on top
- 2-3 tablespoons ice-cold water
- 2 tablespoons olive oil
Preparing the Dough
Step 1: Cream the Butter and Cheese
Begin extract by combining the softened unsalted butter and the shredded sharp cheddar cheese in a medium-sized mixing bowl. Use a sturdy spoon or a rubber spatula to mash and blend them together. Your goal here is to create a cohesive, creamy mixture. It’s important that the butter is at room temperature, meaning it should yield slightly when you press it with your finger, but not be melted. This will ensure it incorporates smoothly with the cheese. If the butter is too cold, it will be difficult to mix, and if it’s too warm, it can lead to an oily dough. Take your time with this step; a well-combined butter and cheese base is crucial for the texture of your homemade Cheez-Its. You want to achieve a texture that is like a thick paste, with no distinct lumps of butter.
Step 2: Incorporate Dry Ingredients
Next, add the all-purpose flour and 1 teaspoon of kosher salt to the butter and cheese mixture. Using your spoon or spagin extracta, begin to mix these dry ingredients into the wet ingredients. At first, it might seem like it won’t come together, but keep mixing. You’re aiming to break down the flour and salt and distribute them evenly throughout the cheesy butter. Continue to stir and press the mixture until it starts to clump together. You’re essentially creating a crum extractbly dough at this stage. Don’t worry about overmixing at this point; we’re not developing gluten like you would for bread. We want a tender, cheesy cracker.
Step 3: Add Cold Water to Form Dough
Now it’s time to bring the dough together. Gradually add the ice-cold water, one tablespoon at a time, to the mixture. Stir well after each addition. You might not need all 3 tablespoons of water; the amount will depend on the humidity in your kitchen and how much moisture is already in your cheese. Continue adding water just until the dough starts to come together into a cohesive ball. It should be slightly sticky but manageable. Once it forms a ball, stop adding water. Gently knead the dough in the bowl for about 10-15 seconds, just enough to ensure everything is incorporated and you have a smooth, unified dough. Overworking the dough at this stage can make the crackers tough.
Shaping and Baking the Crackers
Step 4: Chilling and Rolling the Dough
Once your dough is formed, wrap it tightly in plastic wrap. Gently flatten the ball of dough into a disc before wrapping. This will make it easier to roll out later. Place the wrapped dough in the refrigerator for at least 30 minutes. This chilling period is essential for several reasons: it allows the flour to hydrate, makes the dough firmer and easier to handle without sticking, and helps the butter solidify, which contributes to a flakier cracker. After chilling, unwrap the dough and place it on a lightly floured surface. Use a rolling pin to roll out the dough to a thickness of about 1/8 inch. Aim for an even thickness across the entire sheet of dough; this ensures consistent baking. You can roll it into a rectangle or a square.
Step 5: Cutting and Baking
Prepare a baking sheet by lining it with parchment paper. This prevents sticking and makes cleanup a breeze. Lightly brush the rolled-out dough with olive oil. This will give your homemade Cheez-Its a lovely golden sheen and an extra layer of flavor. Now, using a pizza cutter or a knife, cut the dough into small, bite-sized squares, approximately 1 inch by 1 inch. You can also use a small cookie cutter for a more uniform shape. Carefully transfer the cut crackers to the prepared baking sheet, leaving a small space between each one. Sprinkle the tops of the crackers generously with additional kosher salt. This is a crucial step for achieving that classic Cheez-It salty crunch. Bake in a preheated oven at 350°F (175°C) for 12-15 minutes, or until the edges are golden brown and the crackers are firm. Keep a close eye on them during the last few minutes of baking, as they can go from perfectly baked to burnt very quickly. Once baked, let them cool on the baking sheet for a few minutes before transferring them to a wire rack to cool completely. They will crisp up further as they cool.
Conclusion:
You’ve done it! You’ve successfully recreated the cheesy, crunchy goodness of Homemade Cheez Its right in your own kitchen. This recipe delivers that irresistible flavor and satisfying crunch that’s perfect for snacking, lunchboxes, or even a party appetizer. The beauty of making these at home is the control you have over the ingredients and the sheer joy of pulling perfectly golden crackers from your oven. Serve them warm for an extra gooey bite, or let them cool completely for that signature crispness. They are fantastic on their own, or consider pairing them with a hearty soup or a fresh salad for a delightful contrast.
Don’t be afraid to experiment! You can easily tweak the cheese blend to your liking, perhaps adding a touch of smoked paprika or a pinch of cayenne for a subtle kick. For a different texture, try rolling the dough slightly thinner or thicker. The possibilities are truly endless when it comes to personalizing your Homemade Cheez Its.
Frequently Asked Questions about Homemade Cheez Its:
Why are my Homemade Cheez Its not crispy enough?
Ensure your oven temperature is accurate and that you’re baking them until they are golden brown all over. Overcrowding the baking sheet can also prevent even crisping. Make sure to give them enough space and bake in batches if necessary. Allow them to cool completely on the baking sheet or a wire rack after baking, as they will continue to crisp up as they cool.
Can I use different types of cheese in my Homemade Cheez Its?
Absolutely! While sharp cheddar is a classic, feel free to experiment. Monterey Jack, Colby, Gruyere, or even a blend of cheeses can create unique flavor profiles. Just be sure to use good quality, flavorful cheeses for the best results.
Homemade Cheez Its – Baked Cheesy Snack Crackers
Recreate the iconic cheesy crackers at home with this simple recipe for homemade Cheez-Its. These baked snack crackers are perfectly cheesy, crispy, and easy to make.
Ingredients
-
1/4 cup unsalted butter, softened to room temperature
-
8 oz sharp cheddar cheese, shredded
-
1 1/4 cups all-purpose flour
-
1 teaspoon kosher salt, plus extra for sprinkling on top
-
2-3 tablespoons ice-cold water
-
2 tablespoons olive oil
Instructions
-
Step 1
Combine the softened unsalted butter and shredded sharp cheddar cheese in a medium-sized mixing bowl. Mash and blend them together with a spoon or spatula until a cohesive, creamy mixture forms. Ensure the butter is at room temperature and not melted for smooth incorporation. -
Step 2
Add the all-purpose flour and 1 teaspoon of kosher salt to the butter and cheese mixture. Mix these dry ingredients into the wet ingredients until the mixture starts to clump together, forming a crumbly dough. Avoid overmixing. -
Step 3
Gradually add the ice-cold water, one tablespoon at a time, stirring well after each addition. Continue adding water until the dough comes together into a cohesive ball that is slightly sticky but manageable. Gently knead for 10-15 seconds. -
Step 4
Wrap the dough tightly in plastic wrap, flattening it into a disc. Chill in the refrigerator for at least 30 minutes. After chilling, unwrap the dough on a lightly floured surface and roll it out to an even thickness of about 1/8 inch. -
Step 5
Prepare a baking sheet by lining it with parchment paper. Lightly brush the rolled-out dough with olive oil. Cut the dough into small, bite-sized squares (approximately 1 inch by 1 inch). Transfer the crackers to the prepared baking sheet, leaving small spaces between them. -
Step 6
Sprinkle the tops of the crackers generously with additional kosher salt. Bake in a preheated oven at 350°F (175°C) for 12-15 minutes, or until the edges are golden brown and the crackers are firm. Cool on the baking sheet for a few minutes, then transfer to a wire rack to cool completely.
Important Information
Nutrition Facts (Per Serving)
It is important to consider this information as approximate and not to use it as definitive health advice.
Allergy Information
Please check ingredients for potential allergens and consult a health professional if in doubt.


Leave a Comment