

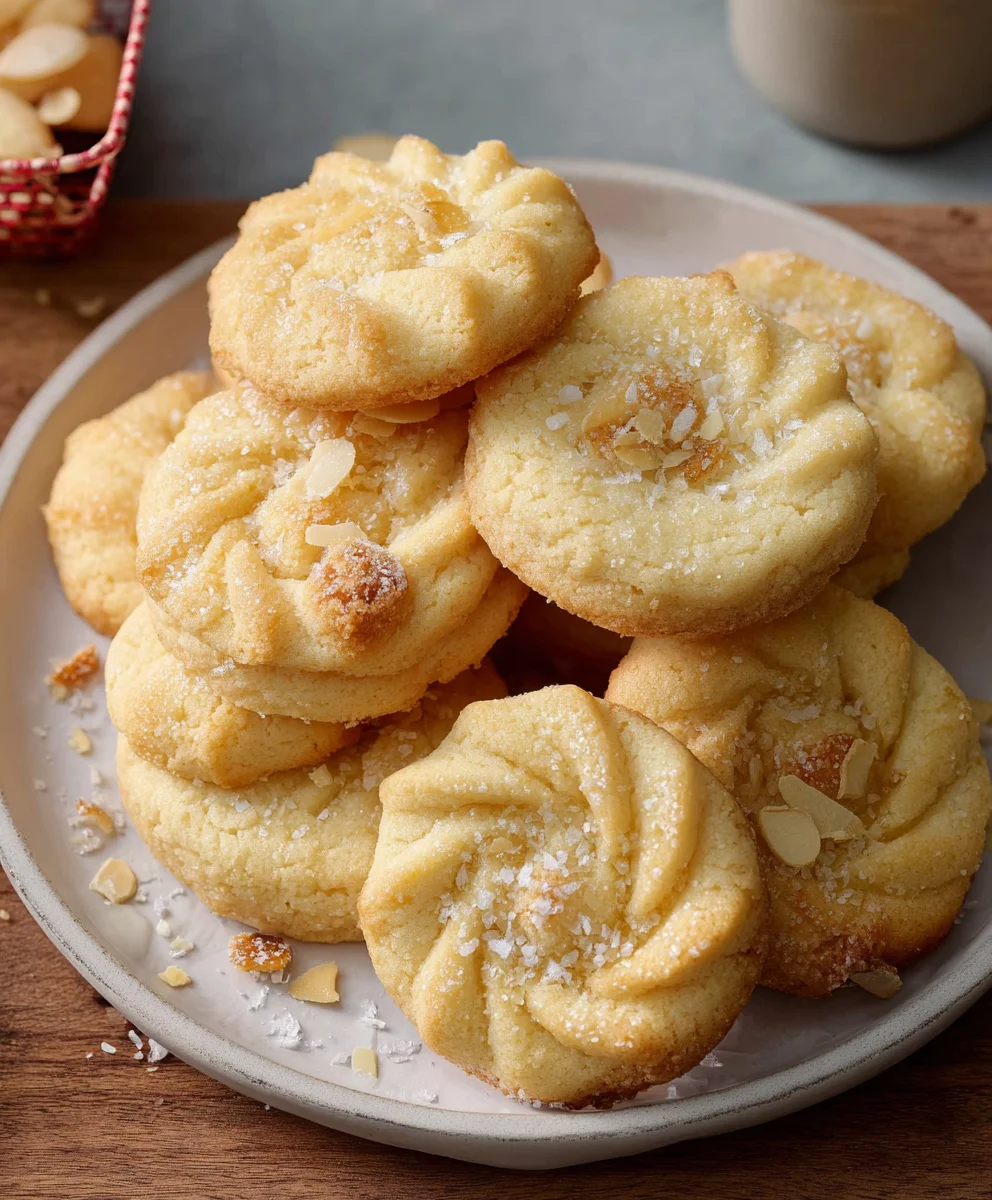
Danish Butter Cookies (Melt in your mouth) are more than just a treat; they’re a nostalgic whisper from childhood, a delicate dance of butter and sugar that dissolves on the tongue. If you’ve ever experienced the pure joy of cracking open a tin of these iconic cookies, you already understand their magic. What is it about these simple, buttery rounds that captures our hearts and taste buds so completely? It’s the perfect balance: a slight crispness that gives way to an incredibly tender, crumbly interior. They’re not overly sweet, allowing the rich, creamy flavor of high-quality butter to shine through, creating a taste that is both sophisticated and comforting. We adore them for their elegant simplicity and the pure, unadulterated bliss they bring with every bite. This recipe aims to capture that authentic, melt-in-your-mouth perfection, so you can recreate that beloved experience right in your own kitchen.
Ingredients:
- 1 cup (227 g) European salted butter (room temperature)
- 1/2 cup (100 g) granulated sugar
- 1/8 teaspoon salt
- 2 egg yolks
- 2 teaspoons (10 g) vanilla extract
- 1 tablespoon (15 g) whole milk (or more to soften)
- 2 cups (220 g) all-purpose flour
- 1/2 cup (50 g) cake flour
- coarse sugar (for decorating)
Preparing the Dough: The Foundation of Melt-in-Your-Mouth Perfection
The journey to achieving those famously delicate, melt-in-your-mouth Danish Butter Cookies begins with a meticulously prepared dough. This isn’t a complicated process, but it does require attention to detail and quality ingredients, especially the butter. For these cookies, we’re using European salted butter, which has a higher fat content and a richer flavor than its American counterpart. Ensure it’s truly at room temperature – this means it should be soft enough to indent easily with your finger, but not so soft that it appears melted or greasy. This optimal temperature is crucial for creaming the butter and sugar effectively, creating the light and airy base that makes these cookies so delightful.
In a large mixing bowl, combine the softened European salted butter, granulated sugar, and the 1/8 teaspoon of salt. Using an electric mixer (a stand mixer with the paddle attachment is ideal, but a hand mixer will also work perfectly), cream these ingredients together on medium speed. You want to beat them until the mixture is pale yellow and has a light, fluffy texture. This process, known as creaming, incorporates air into the butter and sugar mixture, which contributes significantly to the cookies’ delicate crumb and that coveted melt-in-your-mouth quality. Scrape down the sides of the bowl periodically to ensure everything is evenly incorporated and that no pockets of butter or sugar are left behind. This usually takes about 3 to 5 minutes.
Once the butter and sugar are well creamed, it’s time to add the flavor enhancers. Add the 2 egg yolks to the bowl. Egg yolks contribute richness and a subtle binding quality without making the dough too heavy. Beat them into the creamed butter and sugar mixture until they are fully incorporated. Next, add the 2 teaspoons of vanilla extract. The quality of your vanilla extract will shine through here, so use a good one if you can. Continue to mix until just combined; overmixing at this stage isn’t necessary.
Now, we introduce the liquid element. Add the 1 tablespoon of whole milk. The milk helps to slightly loosen the dough, making it easier to handle. If your dough feels particularly stiff after adding the flour, you can add another teaspoon or two of milk to achieve a more pliable consistency. Mix this in on a low speed until it’s just incorporated. The dough will start to come together, but it will still be quite soft.
Incorporating the Flours: Achieving the Perfect Texture
The final stage of dough preparation involves carefully incorporating the flours. We’re using a blend of all-purpose flour and cake flour. The cake flour, with its lower protein content, contributes to a tenderer crumb, while the all-purpose flour provides structure. In a separate medium bowl, whisk together the 2 cups of all-purpose flour and the 1/2 cup of cake flour. This ensures the flours are evenly distributed, which is important for consistent cookie texture.
Gradually add the dry flour mixture to the wet ingredients in the large mixing bowl. It’s best to add it in two or three additions, mixing on the lowest speed of your mixer (or stirring gently with a spatula) until each addition is just incorporated. Be careful not to overmix the dough once the flour is added. Overmixing can develop the gluten in the flour, resulting in tougher cookies, which is the opposite of what we want for that melt-in-your-mouth experience. Stop mixing as soon as you no longer see streaks of dry flour. The dough will be soft and slightly sticky.
Shaping and Chilling the Cookies: Patience for Perfection
At this point, the dough is ready for shaping. However, Danish butter cookies benefit greatly from a period of chilling. This solidifies the butter, making the dough easier to handle and shape without it spreading too much during baking. Cover the bowl tightly with plastic wrap, pressing it directly onto the surface of the dough to prevent a skin from forming. Refrigerate the dough for at least 30 minutes, or up to 2 days. The longer it chills, the firmer it will become.
Baking to Golden-Brown Bliss
Preheat your oven to 350°F (175°C). Line baking sheets with parchment paper. This prevents sticking and ensures easy cleanup.
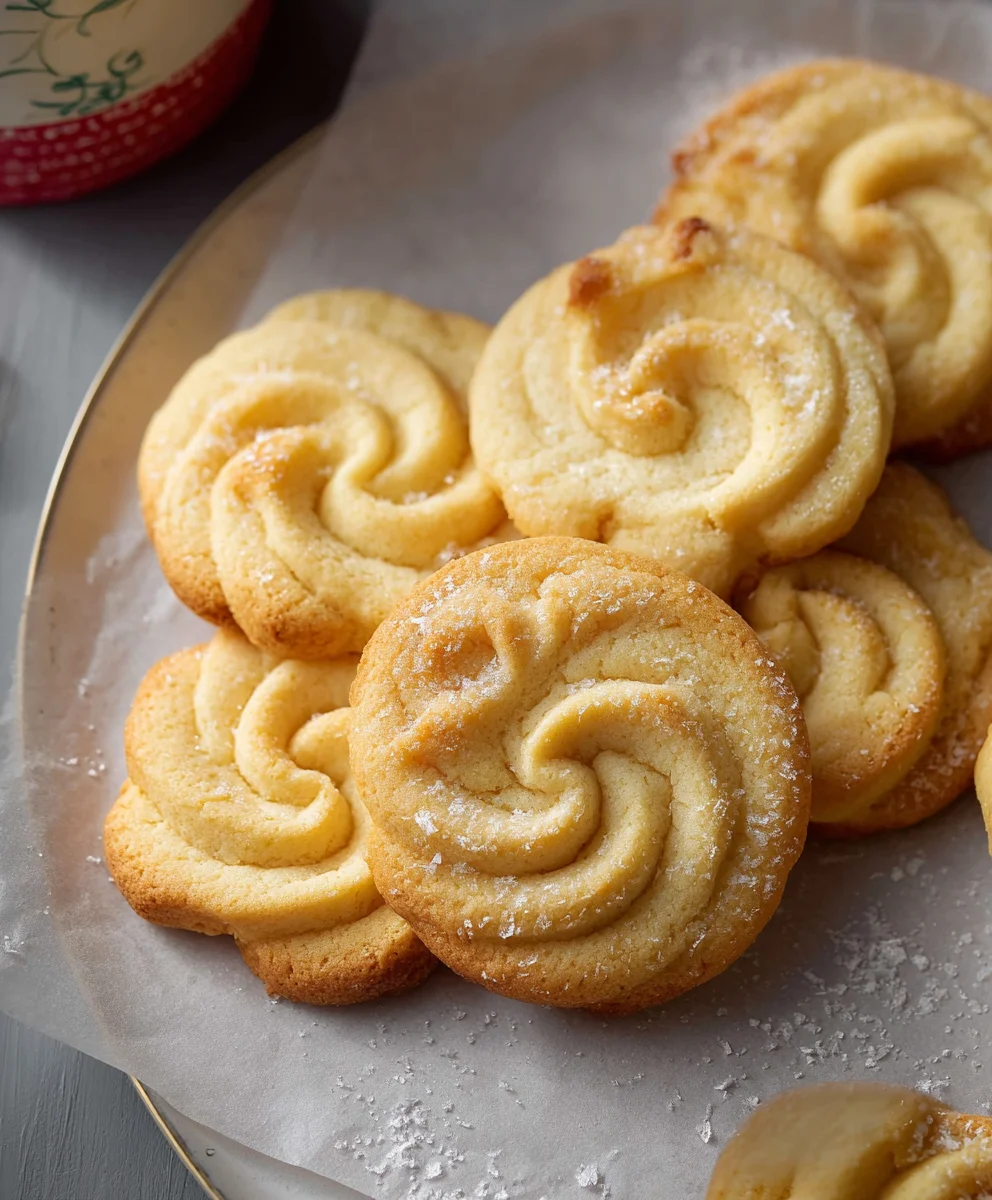
Now, it’s time to shape the cookies. If your dough has become very firm from chilling, let it sit at room temperature for about 5-10 minutes to soften slightly, making it easier to pipe or shape. You can use a piping bag fitted with a star tip to create classic swirled shapes, or you can simply roll the dough into small balls and gently flatten them with the palm of your hand or the bottom of a glass. For piping, load the dough into your prepared piping bag. Pipe individual cookies onto the prepared baking sheets, leaving about 2 inches of space between each one to allow for slight spreading.
Before baking, sprinkle the tops of the shaped cookies generously with coarse sugar. This adds a delightful crunch and a beautiful sparkle to the finished cookies.
Bake the cookies for 10 to 14 minutes, or until the edges are lightly golden brown and the centers appear set. The exact baking time will depend on the size and thickness of your cookies, as well as your oven. Keep a close eye on them during the last few minutes, as they can go from perfectly baked to overdone very quickly.
Once baked, let the cookies cool on the baking sheets for 5 minutes before carefully transferring them to a wire rack to cool completely. This resting period on the baking sheet allows them to firm up a bit more, preventing them from breaking when you move them. They will continue to crisp up as they cool. The result will be incredibly tender, buttery cookies that practically dissolve on your tongue – truly melt-in-your-mouth perfection.
Conclusion:
And there you have it! You’ve successfully navigated the delightful process of creating your very own batch of Danish Butter Cookies (Melt in your mouth). We hope you found these instructions clear and easy to follow, resulting in a beautifully golden and impossibly tender cookie. These cookies truly live up to their name, dissolving on your tongue with rich, buttery flavor. They’re perfect for any occasion, from a simple afternoon treat with a cup of tea to an elegant addition to your holiday cookie platter. Don’t be afraid to experiment with the variations we suggested; adding a hint of almond extract or a sprinkle of sea salt can elevate them even further. So go ahead, bake with confidence, and enjoy every single melt-in-your-mouth bite!
Frequently Asked Questions about Danish Butter Cookies:
Why are my cookies not as buttery as I expected?
Ensure you’re using high-quality, unsalted butter, as it’s the star ingredient here. Also, make sure the butter is softened to room temperature, but not melted, to achieve the proper creamy texture when creaming with the sugar.
Can I add different flavors to these cookies?
Absolutely! While the classic is divine, you can easily add flavorings like a teaspoon of almond extract, a touch of lemon zest, or even finely chopped nuts like almonds or pecans. Just remember to incorporate them when you add the vanilla extract.
How should I store Danish Butter Cookies?
Once completely cooled, store your Danish Butter Cookies in an airtight container at room temperature. They should stay fresh and delicious for about 5-7 days. For longer storage, you can freeze them in a single layer on a baking sheet until firm, then transfer to a freezer-safe bag for up to 3 months.
Melt-in-Your-Mouth Danish Butter Cookies Recipe
Experience the delicate, buttery bliss of homemade Danish butter cookies. This recipe focuses on achieving a perfectly tender crumb and rich flavor, resulting in cookies that melt in your mouth.
Ingredients
-
1 cup (227 g) European salted butter (room temperature)
-
1/2 cup (100 g) granulated sugar
-
1/8 teaspoon salt
-
2 egg yolks
-
2 teaspoons (10 g) vanilla extract
-
1 tablespoon (15 g) whole milk (or more to soften)
-
2 cups (220 g) all-purpose flour
-
1/2 cup (50 g) cake flour
-
coarse sugar (for decorating)
Instructions
-
Step 1
In a large bowl, cream together softened European salted butter, granulated sugar, and salt until pale yellow and fluffy, about 3-5 minutes. -
Step 2
Beat in egg yolks one at a time, then stir in vanilla extract until just combined. -
Step 3
Mix in 1 tablespoon of whole milk. The dough will be soft. -
Step 4
In a separate bowl, whisk together all-purpose flour and cake flour. Gradually add the flour mixture to the wet ingredients in two or three additions, mixing on low speed until just incorporated. Do not overmix. -
Step 5
Cover the dough tightly with plastic wrap and refrigerate for at least 30 minutes. -
Step 6
Preheat oven to 350°F (175°C). Line baking sheets with parchment paper. Shape the chilled dough using a piping bag with a star tip or by rolling into small balls and flattening. Place on prepared baking sheets. -
Step 7
Sprinkle the tops of the cookies with coarse sugar. -
Step 8
Bake for 10-14 minutes, or until edges are lightly golden brown and centers are set. Cool on baking sheets for 5 minutes before transferring to a wire rack to cool completely.
Important Information
Nutrition Facts (Per Serving)
It is important to consider this information as approximate and not to use it as definitive health advice.
Allergy Information
Please check ingredients for potential allergens and consult a health professional if in doubt.

Leave a Comment