

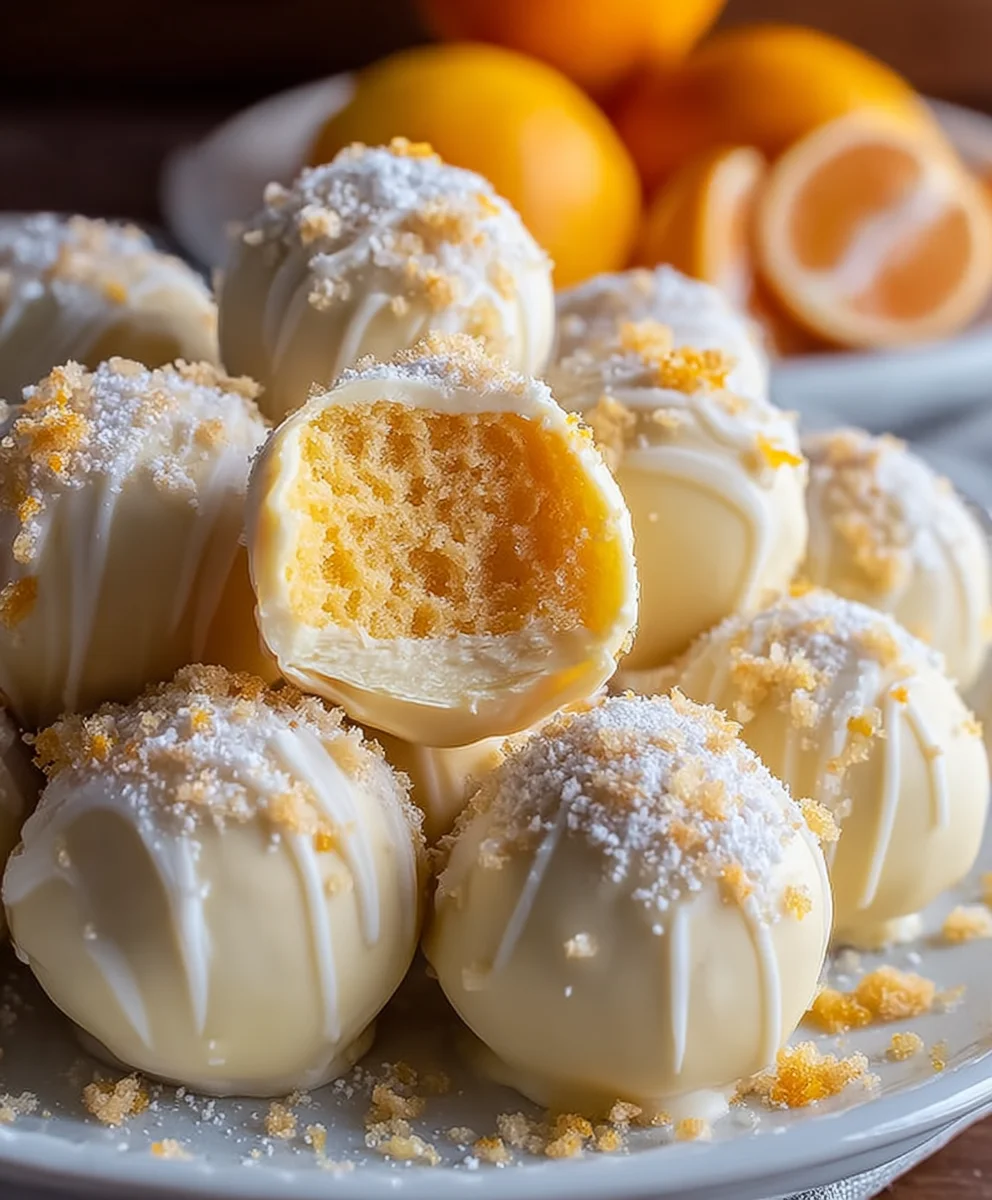
White Chocolate Orange Creamsicle Truffles are more than just a sweet treat; they’re a delightful trip down memory lane. Remember those iconic popsicles that perfectly blended creamy vanilla with a burst of citrusy orange? We’ve captured that nostalgic magic and transformed it into an elegant, bite-sized indulgence. These aren’t your average candies; they’re a sophisticated yet playful confection that will transport you back to carefree summer days with every decadent bite. The irresistible combination of smooth, velvety white chocolate and bright, zesty orange is truly what makes these White Chocolate Orange Creamsicle Truffles so special. They offer a beautiful balance of flavors and textures – a soft, ganache-like center enrobed in a crisp shell. Whether you’re looking for a unique dessert for a special occasion or simply want to treat yourself to something extraordinary, these White Chocolate Orange Creamsicle Truffles are guaranteed to impress.
Ingredients:
- 8 oz. white chocolate, chopped into small pieces
- 5 tablespoons unsalted butter, cut into cubes
- 3 tablespoons heavy cream
- Pinch of salt
- 1 teaspoon orange extract
- Orange (or red and yellow) food coloring (optional)
- 1/3 cup powdered sugar
Preparing the White Chocolate Base
Step 1: Melt the White Chocolate
Begin extract by carefully melting your 8 ounces of chopped white chocolate. A double boiler method is ideal for this, as it provides gentle, consistent heat and prevents the delicate white chocolate from scorching or seizing. To set up a double boiler, fill a saucepan with about an inch of water and bring it to a gentle simmer over medium-low heat. Place a heatproof bowl, such as a glass or stainless steel one, on top of the saucepan, ensuring the bottom of the bowl does not touch the simmering water. Add the chopped white chocolate to the bowl. Stir the chocolate frequently with a heat-resistant spatula, scraping the sides and bottom of the bowl to ensure even melting. Patience is key here; you want a smooth, glossy, and completely liquid chocolate. Avoid the temptation to rush this process with higher heat, as white chocolate can burn easily. Once the chocolate is fully melted and smooth, remove the bowl from the heat.
Step 2: Incorporate Butter and Cream
Now it’s time to enrich your white chocolate base. Add the 5 tablespoons of unsalted butter, cut into small cubes, directly into the melted white chocolate. The residual heat from the chocolate will melt the butter. Stir gently until the butter is completely incorporated and the mixture is smooth and glossy. Next, gradually whisk in the 3 tablespoons of heavy cream. Whisking continuously will help emulsify the fat from the butter and cream with the chocolate, creating a luxurious and stable ganache-like consistency. Continue stirring until no streaks of cream are visible and the mixture is uniform in texture. This step is crucial for achieving that signature creamy mouthfeel of a truffle.
Adding Flavor and Color
Step 3: Infuse with Orange and Salt
To achieve the distinct Creamsicle flavor, we’ll now add the flavorings. Stir in the 1 teaspoon of orange extract. Make sure to measure this accurately, as too much extract can overpower the delicate white chocolate flavor. Follow this by adding a pinch of salt. The salt is a secret weapon in baking and confectionery; it doesn’t make the truffles taste salty but rather enhances the overall sweetness and complexity of the other flavors, balancing the richness of the chocolate and the brightness of the orange. Stir well to ensure both the orange extract and salt are thoroughly distributed throughout the mixture.
Step 4: Tinting for the Creamsicle Look (Optional)
This step is entirely optional but highly recommended for achieving the authentic Creamsicle aesthetic. If you want your truffles to have that iconic orange and white swirl, now is the time to add food coloring. You can use a few drops of orange food coloring to tint the entire mixture a soft orange hue. Alternatively, for a more marbled effect reminiscent of the frozen treat, you can divide the mixture into two bowls. Tint one bowl a pnon-alcoholic ale orange and leave the other plain white. Then, using a toothpick, swirl a small amount of red and yellow food coloring into the white mixture to create an orange-ish tint before combining the two slightly. The key is to add just enough coloring to achieve your desired look without making the mixture too wet. Gentle swirling or stirring will give you streaks and swirls, which are characteristic of a Creamsicle.
Forming and Finishing the Truffles
Step 5: Chill and Roll the Truffles
Once your flavored and potentially colored mixture is ready, it needs to firm up before you can shape it. Cover the bowl tightly with plastic wrap, pressing the wrap directly onto the surface of the chocolate mixture to prevent a skin from forming. Refrigerate the mixture for at least 2 to 3 hours, or until it is firm enough to scoop and roll. When the mixture is chilled and firm, line a baking sheet with parchment paper. Use a small cookie scoop or a tablespoon to portion out the mixture. Roll each portion between your palms into a smooth ball. If the mixture becomes too soft as you work, return it to the refrigerator for a few minutes to firm up again.
Step 6: Coat with Powdered Sugar
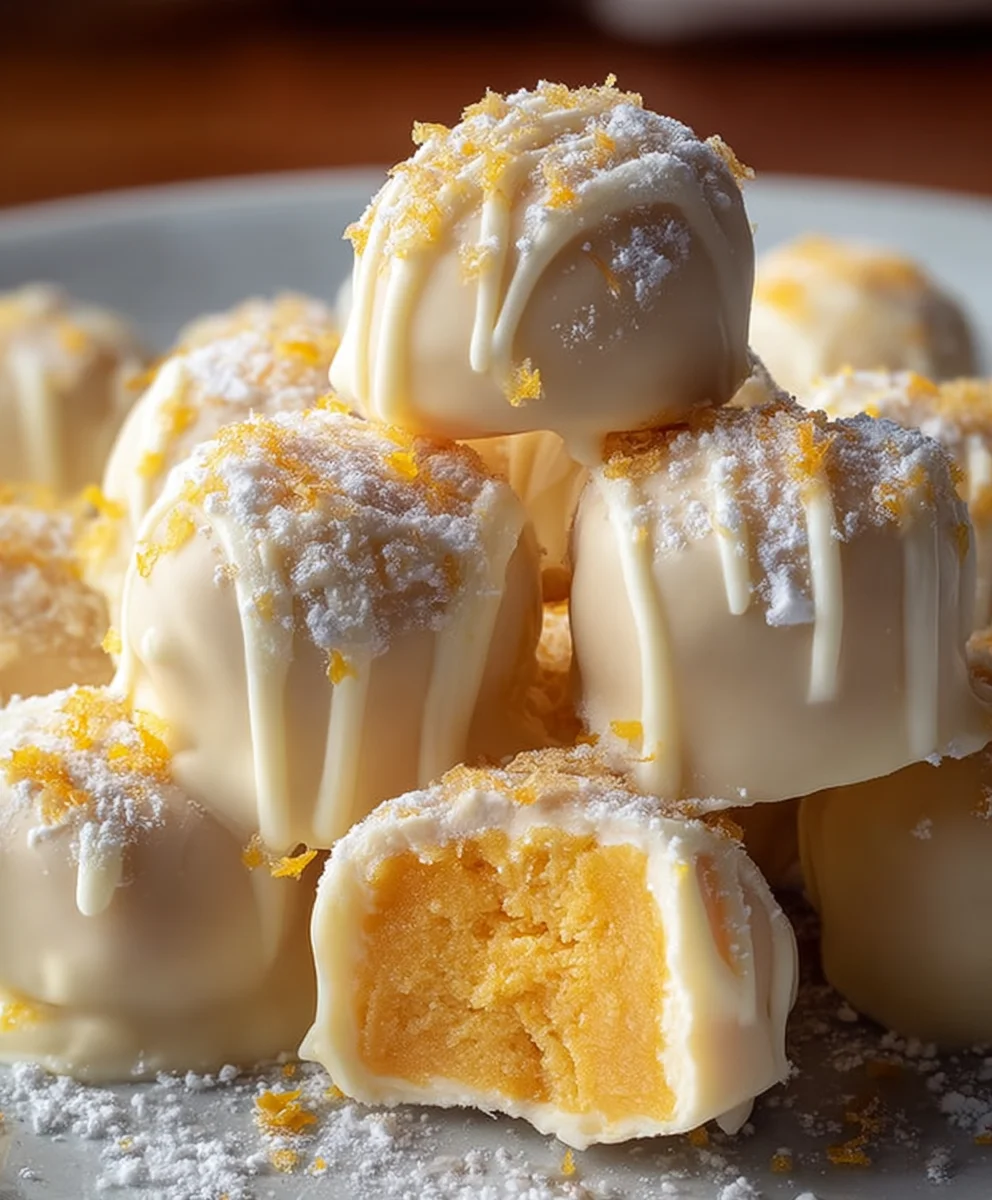
After rolling your white chocolate orange creamsicle truffles into smooth balls, it’s time for their final coating. Place the 1/3 cup of powdered sugar in a shallow bowl or plate. Gently roll each truffle in the powdered sugar, ensuring it’s lightly and evenly coated on all sides. This powdered sugar coating gives them a delicate, matte finish and adds a subtle sweetness that complements the rich truffle center. You can also opt to dust them lightly with a bit more powdered sugar after they’ve set for a snow-dusted appearance, or even use a fine sieve to apply a delicate dusting.
Step 7: Setting and Serving
Once coated, place the finished White Chocolate Orange Creamsicle Truffles back onto the parchment-lined baking sheet. You can serve them immediately, but for the best texture and to allow the flavors to meld beautifully, it’s recommended to let them set in the refrigerator for at least another 30 minutes. This chilling period helps the truffle center firm up further and the powdered sugar coating to adhere nicely. Store any leftover truffles in an airtight container in the refrigerator for up to a week. Enjoy these delightful bites that perfectly capture the essence of a summer Creamsicle!
Conclusion:
And there you have it – your very own batch of delicious White Chocolate Orange Creamsicle Truffles! I hope you enjoyed making these delightful little treats as much as I did. These truffles perfectly capture the nostalgic essence of a Creamsicle with their creamy orange interior and sweet white chocolate coating. They are surprisingly simple to whip up, making them an ideal dessert for any occasion, from casual gatherings to more festive celebrations.
To serve, I recommend arrangin extractg them on a pretty platter. They are wonderful on their own, but you could also pair them with a cup of coffee or tea. For variations, consider adding a pinch of orange zest to the white chocolate coating for an extra citrus punch, or perhaps a swirl of orange food coloring to the melted white chocolate for a more vibrant look. Don’t be afraid to experiment! I truly encourage you to give this recipe a try and share these delightful White Chocolate Orange Creamsicle Truffles with your loved ones. They are sure to be a hit!
Frequently Asked Questions about White Chocolate Orange Creamsicle Truffles:
Can I use a different type of chocolate for the coating?
While white chocolate is essential for that classic Creamsicle flavor profile, you could experiment with a milk chocolate coating for a richer taste. However, be aware that the orange flavor might be less pronounced.
How should I store these White Chocolate Orange Creamsicle Truffles?
These truffles are best stored in an airtight container in the refrigerator. They will keep well for about a week. For a firmer texture, especially in warmer weather, keep them chilled until ready to serve.
Can I make the orange filling ahead of time?
Yes, absolutely! The orange cream cheese filling can be made a day or two in advance and stored in the refrigerator. Just be sure to let it soften slightly at room temperature before rolling it into balls and coating.
White Chocolate Orange Creamsicle Truffles
Easy recipe for creamy white chocolate truffles infused with orange flavor, reminiscent of a classic Creamsicle.
Ingredients
-
8 oz. white chocolate, chopped into small pieces
-
5 tablespoons unsalted butter, cut into cubes
-
3 tablespoons heavy cream
-
Pinch of salt
-
1 teaspoon orange extract
-
Orange (or red and yellow) food coloring (optional)
-
1/3 cup powdered sugar
Instructions
-
Step 1
Melt the chopped white chocolate using a double boiler until smooth and glossy. Remove from heat. -
Step 2
Stir in the cubed unsalted butter until melted and smooth. Gradually whisk in the heavy cream until emulsified. -
Step 3
Incorporate the orange extract and a pinch of salt, stirring well to distribute evenly. -
Step 4
Optionally, add food coloring to tint the mixture orange or create a swirled effect. Stir gently. -
Step 5
Cover the mixture and refrigerate for 2-3 hours, or until firm enough to roll. Line a baking sheet with parchment paper. Scoop and roll the mixture into small balls. -
Step 6
Roll each truffle in powdered sugar until lightly and evenly coated. Place back on the prepared baking sheet. -
Step 7
Allow the truffles to set in the refrigerator for at least 30 minutes before serving. Store leftovers in an airtight container in the refrigerator for up to a week.
Important Information
Nutrition Facts (Per Serving)
It is important to consider this information as approximate and not to use it as definitive health advice.
Allergy Information
Please check ingredients for potential allergens and consult a health professional if in doubt.


Leave a Comment