

Monster Brownies are not just a dessert; they are an experience, a delightful challenge to your sweet tooth that promises unparalleled indulgence. These aren’t your grandmother’s modest squares, but rather colossal creations, packed with an abundance of chocolate and delightful mix-ins, designed to satisfy the most intense cravings and leave a lasting impression.
While the classic brownie has a storied past, believed to have originated in Chicago for the 1893 World’s Columbian Exposition, the concept of a ‘monster’ brownie represents the modern evolution of this beloved treat. It’s a testament to our collective desire for bigger, bolder, and more extravagant flavors, pushing the boundaries of what a simple brownie can be. This isn’t merely an upgrade; it’s a transformation into something truly legendary.
Why are these Monster Brownies so universally adored?
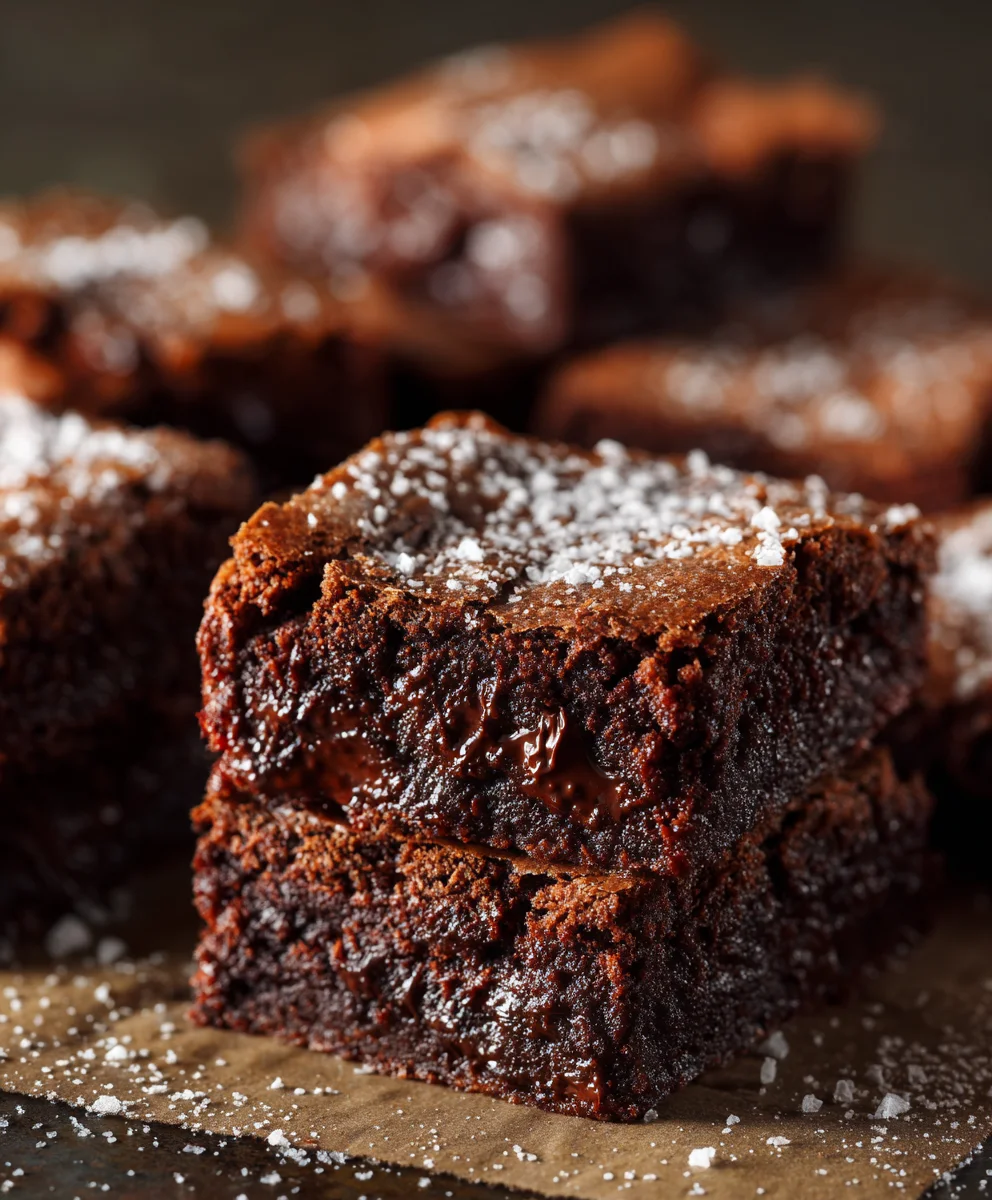
It’s their irresistible combination of textures and flavors. Imagine a dense, impossibly fudgy interior, glistening with rich, decadent chocolate, perfectly balanced by a slightly crisp, crackled top. Each bite delivers an explosion of chocolatey goodness, often enhanced by generous additions like gooey caramel swirls, crunchy toasted nuts, or luscious chocolate chunks, ensuring every morsel is a journey of pure bliss. I find myself constantly drawn back to these culinary giants because they don’t just fill a craving; they obliterate it with their sheer deliciousness and satisfying heft. This recipe will guide you to baking your own batch of these legendary treats, perfect for sharing – or perhaps, just for yourself.
Ingredients:
- For the Monster Brownies:
- 1 cup (2 sticks or 226g) unsalted butter, melted
- 2 cups (400g) granulated sugar
- 1 cup (200g) light brown sugar, packed
- 4 large eggs, at room temperature
- 2 teaspoons pure vanilla extract
- 1 cup (85g) unsweetened natural cocoa powder
- 1 ½ cups (180g) all-purpose flour
- 1 teaspoon fine sea salt
- 1 cup (170g) semi-sweet chocolate chips
- ½ cup (85g) milk chocolate chips
- ½ cup (85g) dark chocolate chunks or chopped bittersweet chocolate
- 1 cup (about 180g) M&M’s or other candy-coated chocolate pieces
- 1 cup (about 80g) mini pretzels, roughly crushed
Preparing Your Baking Station for Monster Brownies
- First things first, my friend, we need to get our oven ready to welcome these incredible Monster Brownies. Preheat your oven to 350°F (175°C). While the oven is warming up, grab a 9×13 inch baking pan. This size is crucial for getting the right thickness and chewiness for our brownies. I always recommend lining the pan with parchment paper, making sure to leave an overhang on the two longer sides. This little trick is a lifesaver! It acts as handles, allowing you to easily lift the cooled brownies right out of the pan, making cutting a breeze and ensuring not a single delicious crumb is left behind. If you don’t have parchment, you can grease and flour the pan, but trust me, parchment is the way to go for truly effortless removal. Setting up your workspace now will save you time and stress later, so take a moment to gather all your ingredients and tools.
The Foundation: Melting Butter and Sugar for Ultimate Fudginess
- Now, let’s get to the heart of what makes these Monster Brownies so incredibly fudgy and decadent. In a large, microwave-safe bowl or a saucepan over low heat, melt your 1 cup of unsalted butter. You want it completely liquid, but not boiling or browning. Once melted, transfer the butter to a very large mixing bowl – this recipe yields a generous amount of batter, so don’t skimp on bowl size! Into the melted butter, whisk in both the granulated sugar (2 cups) and the light brown sugar (1 cup, packed). This combination of sugars is key. The granulated sugar provides structure and that beautiful crackly top we all adore, while the brown sugar adds moisture, chewiness, and a subtle caramel note that deepens the overall flavor profile. Whisk vigorously for about 1-2 minutes until the sugars are well incorporated and the mixture looks shiny and glossy. You’ll notice the texture starting to thicken slightly and develop a beautiful sheen. This initial whisking helps to dissolve some of the sugar crystals, which contributes significantly to that coveted crinkly brownie top. Don’t rush this step; it’s fundamental for the texture of your finished brownies.
Incorporating Wet Ingredients for a Rich Monster Brownie Base
- Next, we’re building on our rich base. One by one, add your 4 large eggs to the butter and sugar mixture. This is where patience pays off! After each egg, whisk thoroughly until it is fully incorporated into the batter. This isn’t just about mixing; it’s about aerating the eggs slightly and emulsifying them with the butter and sugar. You’ll notice the mixture becoming lighter in color and increasing in volume, taking on a thick, ribbony texture as you whisk. This vigorous whisking of the eggs is another secret weapon for achieving that coveted shiny, crackly crust on top of your Monster Brownies. It creates a stable emulsion that traps air, which expands during baking to form the delicate, brittle layer we all crave. Once all four eggs are beautifully blended in, stir in the 2 teaspoons of pure vanilla extract. Vanilla is a flavor enhancer, and in a chocolate-heavy recipe like this, it truly shines, bringing out the depth of the cocoa without making the brownies taste explicitly like vanilla. Give it one last good whisk to ensure everything is perfectly combined and glossy.
Sifting Dry Ingredients: The Secret to Smooth, Even Monster Brownies
- In a separate medium bowl, it’s time to prepare our dry ingredients. This step might seem a little extra, but trust me, it makes a big difference in the final texture of your Monster Brownies. Sift together the 1 cup of unsweetened natural cocoa powder, 1 ½ cups of all-purpose flour, and 1 teaspoon of fine sea salt. Sifting isn’t just about removing lumps; it also aerates the dry ingredients, helping them to combine more smoothly and evenly into the wet mixture. This prevents you from overmixing the batter later, which can lead to tough brownies. Natural cocoa powder gives a classic, rich chocolate flavor. The flour provides structure, and the salt is absolutely essential; it balances the sweetness and enhances the chocolate flavor, making every bite taste richer and more complex. If you don’t have a sifter, a fine-mesh sieve works perfectly. Just make sure there are no visible clumps of cocoa or flour, as these can create pockets of dry ingredients in your finished brownies.
Gentle Combining: Bringing Your Monster Brownie Batter Together
- Now for the critical step of combining the wet and dry ingredients. Gently add the sifted dry mixture to your wet butter, sugar, and egg mixture. This is where you need to be very careful not to overmix! Switch from a whisk to a sturdy spatula or a wooden spoon. Fold the dry ingredients into the wet ingredients using a gentle, circular motion, scraping the bottom and sides of the bowl to ensure everything is incorporated. Mix only until no streaks of dry flour or cocoa powder are visible. The moment you see that all the flour is gone, stop mixing. Overmixing develops the gluten in the flour, which can lead to dense, tough, and cakey brownies – and we are aiming for the ultimate fudgy Monster Brownies! The batter will be very thick and glossy at this stage, almost like a rich, dark mud. It might seem a bit stiff, but that’s exactly the consistency you want for a truly decadent brownie. This careful combining ensures that your brownies will have that perfect, tender, fudgy crumb.
Unleashing the Monsters: Adding All Those Delicious Mix-ins
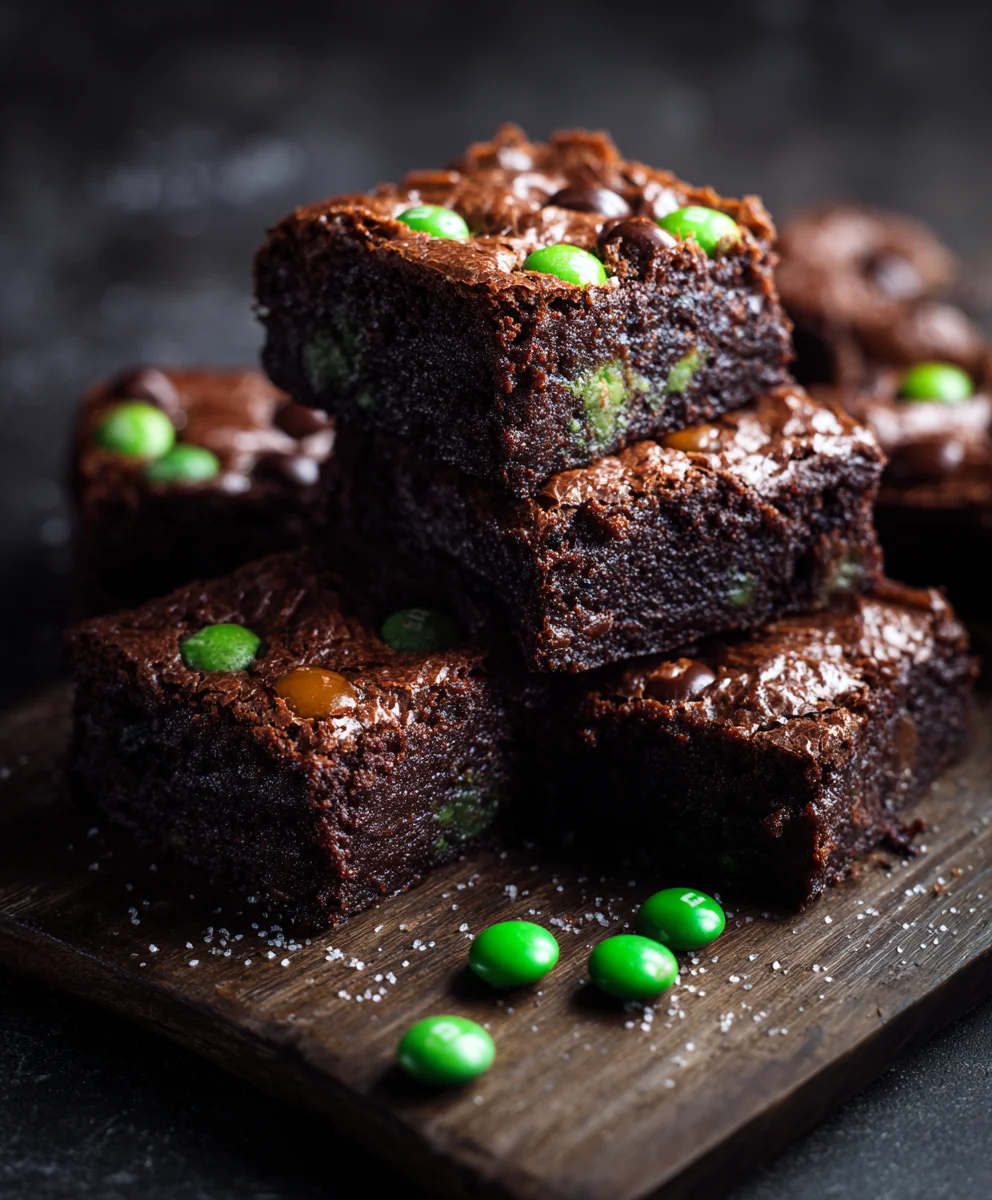
- Here’s where our Monster Brownies truly earn their name! It’s time to load up the batter with all those incredible mix-ins. Gently fold in the 1 cup of semi-sweet chocolate chips, ½ cup of milk chocolate chips, ½ cup of dark chocolate chunks (or chopped bittersweet chocolate), 1 cup of M&M’s (or your favorite candy-coated chocolates), and 1 cup of roughly crushed mini pretzels. I love using a variety of chocolate chips because it adds layers of chocolatey goodness – different melting points and flavor intensities create a dynamic experience in every bite. The M&M’s add a fun pop of color and extra crunch from their candy shells, while the crushed pretzels are a stroke of genius! They introduce a fantastic salty-sweet element and a delightful textural contrast that cuts through the richness of the brownie, preventing it from being too overwhelming. Make sure to distribute them as evenly as possible throughout the batter so that every slice of your Monster Brownies is packed with all these glorious treasures. Be gentle with your folding to avoid deflating the batter or crushing the pretzels into too fine a dust.
Baking Your Monster Brownies to Perfection
- With all those amazing mix-ins incorporated, carefully pour the thick, glorious brownie batter into your prepared 9×13 inch baking pan. Use your spatula to spread the batter evenly to all corners of the pan. Make sure the top is as smooth as possible – this helps with even baking and ensures a beautiful presentation. Place the pan on the middle rack of your preheated 350°F (175°C) oven. Now, the baking time! These Monster Brownies will typically bake for 30-35 minutes. However, oven temperatures can vary, so it’s always best to keep an eye on them. You’ll know they’re done when the edges look set and a toothpick inserted into the center comes out with moist crumbs, but not wet batter. If the toothpick comes out completely clean, your brownies might be on the drier, more cake-like side, which is fine if that’s what you prefer, but for maximum fudginess, those moist crumbs are key. Overbaking is the enemy of a truly fudgy brownie, so err on the side of slightly underbaked rather than overbaked. The residual heat in the pan will continue to cook them slightly as they cool. The top should have that beautiful, crinkly, slightly shiny crust that promises pure chocolate bliss beneath.
The Grand Finale: Cooling and Cutting Your Irresistible Monster Brownies
- Once your incredibly tempting Monster Brownies emerge from the oven, resist the urge to cut into them immediately! I know, I know, the aroma is absolutely intoxicating, but patience is a virtue here. Allow the brownies to cool completely in the pan on a wire rack. This is a crucial step for achieving the perfect fudgy texture and clean cuts. As they cool, the brownies continue to set and firm up, concentrating their flavor and moisture. This process can take anywhere from 2 to 3 hours, or even longer if your kitchen is warm. If you try to cut them while they’re still warm, they will likely be gooey and crumble apart, making a delicious mess, but not allowing for those satisfying, neat squares. Once completely cooled, use the parchment paper overhang to carefully lift the entire slab of brownies out of the pan and transfer it to a cutting board. Now for the moment you’ve been waiting for! Using a large, sharp knife, cut the brownies into squares of your desired size. For extra clean cuts, wipe your knife clean with a damp cloth between each slice. I find that a warm knife also helps, so you can run it under hot water and dry it quickly before slicing. You can make 12 large squares, 24 smaller ones, or even more if you’re feeling generous and want to share these glorious Monster Brownies with a crowd. Store any leftover brownies in an airtight container at room temperature for up to 3-4 days, though I doubt they’ll last that long! Enjoy every single decadent bite!
Conclusion:
And there you have it! We’ve journeyed together through the steps to create a dessert that is not just a brownie, but an ultimate expression of chocolatey indulgence. These aren’t merely baked goods; they are an experience, a statement piece for your dessert table, and a guaranteed crowd-pleaser that will have everyone asking for the recipe. I truly believe these Monster Brownies are a game-changer for anyone who loves a serious chocolate fix. The perfect crisp, slightly chewy edges, the unbelievably gooey and fudgy center, and the intense, deep chocolate flavor—it’s all here, meticulously crafted to bring you pure dessert bliss. Every bite is a symphony of textures and tastes, proving that sometimes, the simplest pleasures are indeed the most profound. Their rich, satisfying quality makes them stand head and shoulders above other brownie recipes you might have tried, delivering that deep cocoa comfort that we all crave from time to time, or perhaps, all the time!
Now, while these brownies are absolutely divine on their own, warm from the oven with a glass of cold milk, their versatility is one of their most charming attributes. Think about elevating your dessert experience by serving a warm square, nestled beside a generous scoop of your favorite vanilla bean ice cream. Imagine the delightful contrast as the cold, creamy ice cream slowly melts into the warm, fudgy brownie. For an extra touch of decadence, consider drizzling a touch of homemade caramel sauce or a sprinkle of flaky sea salt to really make those flavors pop. If you’re a coffee connoisseur, a scoop of rich coffee ice cream creates an unparalleled pairing, enhancing the chocolate’s depth and offering a sophisticated twist that your taste buds will thank you for. For a lighter, more refreshing take, consider serving them alongside a vibrant medley of fresh raspberries or sliced strawberries; the tartness of the berries beautifully cuts through the richness, offering a refreshing contrast that makes each bite feel balanced and utterly delightful. A dollop of lightly sweetened whipped cream can also elevate them into an elegant dessert, perfect for any special occasion or even just a regular Tuesday night when you deserve a little extra treat.
Thinking about variations within the recipe itself? Please, don’t be shy! This recipe is robust enough to handle your creative impulses. Feel free to fold in a cup of chopped walnuts or pecans for a delightful textural crunch that adds another layer of complexity. White chocolate chips can offer a different dimension of sweetness, creating beautiful swirls of color and flavor throughout the rich chocolate base. For a festive holiday twist, a handful of crushed candy canes or a dash of peppermint extract during the holiday season can transform these into a seasonal sensation that’s perfect for winter gatherings. You could even get truly creative and press some pretzel pieces into the top before baking for a salty-sweet crunch that is simply irresistible, offering that popular sweet-and-salty combination that so many of us adore. For the ultimate party treat or a fun activity with kids, why not cut them into playful shapes using cookie cutters once completely cooled? A heart-shaped brownie for Valentine’s Day, or star-shaped for a birthday celebration, adds a personal touch that makes them even more special and memorable. You could also crumble them over yogurt or oatmeal for a surprisingly decadent breakfast, or layer them into a trifle with pudding and fruit for a show-stopping dessert.
I’ve poured my heart into perfecting this recipe, and I genuinely cannot wait for you to experience the magic of these brownies for yourself. They are more than just a dessert; they are an experience, a moment of pure culinary joy that you absolutely deserve to create and savor in your own kitchen. So, roll up your sleeves, gather your ingredients, and prepare to create something truly spectacular that will undoubtedly become a new favorite in your household. Baking is an act of love, and these brownies are certainly made to be loved and shared.
Once you’ve baked your glorious batch of these incredible Monster Brownies, please, I implore you, come back and tell me all about it! Did you try a fun variation that turned out to be a hit? What was your favorite serving suggestion? Your feedback, your photos, and your personal twists are what make our cooking community so vibrant and inspiring. Sharing your experience helps others, too, who might be looking for new ideas or encouragement to try the recipe. I absolutely love hearing how my recipes come to life in your homes and seeing the wonderful creations you come up with. Don’t hesitate to share your triumphs, your clever adaptations, or even just a simple ‘yum!’ in the comments below. Let’s spread the chocolatey joy together, one perfect brownie at a time!
Best Monster Brownies Recipe – Fudgy, Chewy & Easy to Make!
Indulge in these colossal Monster Brownies, packed with an abundance of chocolate and delightful mix-ins for an unforgettable experience. Featuring a dense, fudgy interior, a crackled top, and an explosion of chocolatey goodness enhanced by mix-ins like M&M’s and pretzels.
Ingredients
-
1 cup (226g) unsalted butter, melted
-
2 cups (400g) granulated sugar
-
1 cup (200g) light brown sugar, packed
-
4 large eggs
-
2 teaspoons pure vanilla extract
-
1 cup (85g) unsweetened natural cocoa powder
-
1 ½ cups (180g) all-purpose flour
-
1 teaspoon fine sea salt
-
1 cup (170g) semi-sweet chocolate chips
-
½ cup (85g) milk chocolate chips
-
½ cup (85g) dark chocolate chunks
-
1 cup (180g) M&M’s
-
1 cup (80g) mini pretzels, roughly crushed
Instructions
-
Step 1
Preheat oven to 350°F (175°C). Line a 9×13 inch baking pan with parchment paper, leaving an overhang. -
Step 2
Melt 1 cup unsalted butter. In a large mixing bowl, whisk the melted butter with 2 cups granulated sugar and 1 cup packed light brown sugar for 1-2 minutes until glossy. -
Step 3
Whisk in 4 large eggs, one at a time, until fully incorporated. Stir in 2 teaspoons vanilla extract. -
Step 4
In a separate medium bowl, sift together 1 cup unsweetened cocoa powder, 1 ½ cups all-purpose flour, and 1 teaspoon fine sea salt. -
Step 5
Gently fold the sifted dry ingredients into the wet mixture using a spatula until just combined and no streaks of flour are visible. Do not overmix. -
Step 6
Gently fold in 1 cup semi-sweet chocolate chips, ½ cup milk chocolate chips, ½ cup dark chocolate chunks, 1 cup M&M’s, and 1 cup roughly crushed mini pretzels. -
Step 7
Pour the batter into the prepared 9×13 inch baking pan and spread evenly. Bake for 30-35 minutes, or until the edges are set and a toothpick inserted into the center comes out with moist crumbs (not wet batter). -
Step 8
Allow the brownies to cool completely in the pan on a wire rack for 2 to 3 hours. Once cooled, use the parchment paper overhang to lift them out, transfer to a cutting board, and cut into desired squares. Store any leftovers in an airtight container at room temperature.
Important Information
Nutrition Facts (Per Serving)
It is important to consider this information as approximate and not to use it as definitive health advice.
Allergy Information
Please check ingredients for potential allergens and consult a health professional if in doubt.


Leave a Comment