

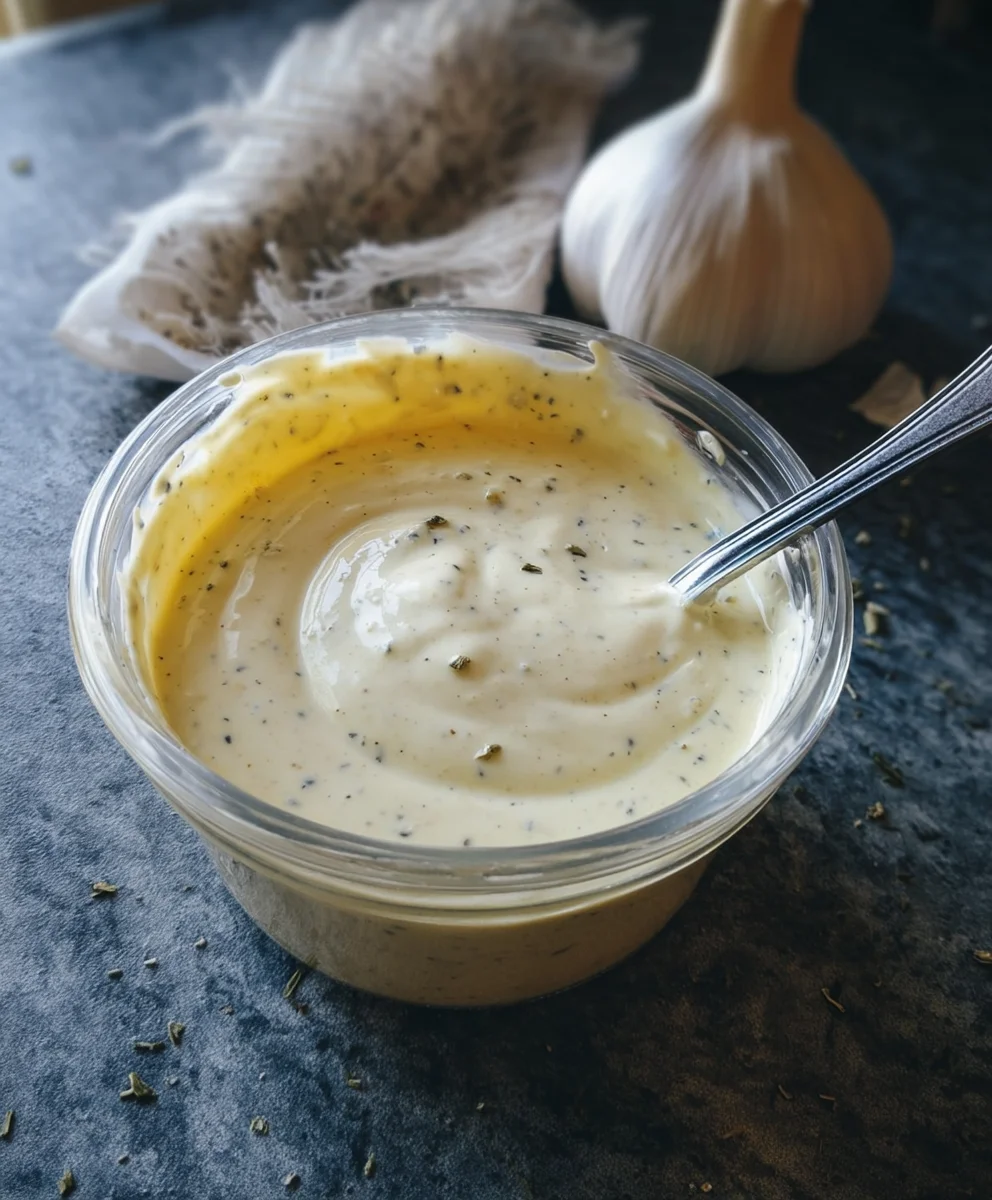
Garlic Aioli Sauce is more than just a condiment; it’s a culinary revelation. This creamy, dreamy emulsion of garlic, olive oil, and lemon juice has an almost magical ability to elevate even the simplest of dishes. Think about those perfectly crispy fries, those juicy grilled burgers, or even a delicate piece of grilled fish. What’s the secret ingredient that takes them from good to absolutely unforgettable? More often than not, it’s a generous dollop of this glorious Garlic Aioli Sauce. People adore it for its bold, garlicky punch that’s balanced by a rich creaminess and a hint of bright citrus. What truly makes this Garlic Aioli Sauce special is its versatility. It’s not just a dipping sauce; it’s a spread, a binder, and a flavour enhancer all rolled into one. Get ready to unlock a new level of deliciousness in your kitchen!
Ingredients:
- 1/3 cup mayonnaise
- 2 tablespoons olive oil
- 2 cloves garlic, minced (approximately 2 teaspoons)
- 1 teaspoon fresh lemon juice
- 1/4 teaspoon ground black pepper
Crafting Your Perfect Garlic Aioli Sauce
Creating a homemade Garlic Aioli Sauce is surprisingly simple and incredibly rewarding. Forget the store-bought versions; this recipe delivers a vibrant, fresh, and intensely flavorful condiment that will elevate everything from grilled fish and roasted vegetables to sandwiches and dips. The beauty of making your own aioli lies in its versatility and the control you have over the ingredient quality. We’re using just a few pantry staples, but the resulting sauce is anything but basic. The key is in the emulsification and the balance of flavors, which we’ll achieve step-by-step.
Phase 1: Preparing the Foundation
The base of our aioli is mayonnaise. For the best flavor and texture, I recommend using a good quality, full-fat mayonnaise. If you’re feeling adventurous, you could even make your own homemade mayonnaise, but for this recipe, a good store-bought option will work perfectly. The 1/3 cup of mayonnaise provides the creamy, rich backbone that holds all the other flavors together. It’s important to start with a mayonnaise that you enjoy the taste of, as its flavor will be prominent in the final sauce. Ensure your mayonnaise is at room temperature before you begin extract; this helps with a smoother emulsification, preventing any curdling or separation. Cold ingredients can sometimes shock the mixture and lead to an undesirable texture.
Next, we’ll incorporate the pungent heart of our aioli: fresh garlic. Two cloves, minced finely, will give us about 2 teaspoons of garlic. The freshness of the garlic is paramount here. Pre-minced garlic from a jar simply won’t deliver the same bright, assertive garlic flavor that fresh cloves provide. You can mince the garlic yourself using a sharp knife or a garlic press. If you’re a true garlic enthusiast and want an even more intense flavor, you could even add a third clove, but start with two to ensure a balanced taste. It’s crucial to mince the garlic very finely to avoid any large, bitter chunks in your sauce. A fine mince ensures the garlic flavor is distributed evenly throughout the aioli.
Phase 2: Building the Flavor Profile
Now, let’s add the liquid elements that will bring our aioli to life. We’re starting with 2 tablespoons of good quality olive oil. While mayonnaise already contains oil, the addition of olive oil contributes a distinct flavor profile and helps to create a smoother, more luxurious texture. Egin extracta virgin olive oil will lend a slightly fruitier, more complex note to the aioli, while a regular olive oil will be more neutral. The choice is yours, depending on the overall taste you’re aiming for. Drizzle in the olive oil slowly as you combine the ingredients; this technique aids in creating a stable emulsion.
Following the olive oil, we have 1 teaspoon of fresh lemon juice. This is where the aioli gets its necessary tang and brightness. Lemon juice cuts through the richness of the mayonnaise and olive oil, creating a perfectly balanced flavor. Don’t be tempted to skip this ingredient, as it’s essential for preventing the aioli from tasting too heavy or one-dimensional. Freshly squeezed lemon juice is always best; bottled lemon juice can sometimes have a metallic or artificial aftertaste. The acidity of the lemon juice also plays a role in the emulsification process, helping to bind the oil and other ingredients together.
Finally, for a touch of seasoning and to enhance the overall taste, we add 1/4 teaspoon of ground black pepper. While this might seem like a small amount, it provides a subtle warmth and depth that complements the garlic and lemon beautifully. You can adjust this to your preference, but starting with 1/4 teaspoon is a good baseline. If you enjoy a bit more heat, a pinch of cayenne pepper could also be a delightful addition, though it’s not part of our core recipe today. Ensure your pepper is freshly ground for the most vibrant flavor.
Phase 3: The Emulsification Process
This is where the magic happens! In a medium bowl, combine the mayonnaise, minced garlic, olive oil, lemon juice, and ground black pepper. Now, you have a couple of options for achieving a beautifully emulsified aioli. For a quick and easy method, you can use an immersion blender. Place the blender head into the bowl, ensuring it’s submerged in the mixture. Start blending on low speed, gradually moving the blender up and down until the mixture becomes thick and creamy. This process usually takes less than a minute. Be careful not to over-blend, as this can sometimes cause the aioli to break.
Alternatively, you can use a whisk. Vigorous whisking is key here. Start by whisking all the ingredients together in the bowl until they are well combined. Then, slowly drizzle in the olive oil while continuously whisking. Continue whisking until the mixture thickens and becomes smooth and creamy. This method requires a bit more effort and time, but it’s incredibly satisfying to see the ingredients transform into a luscious aioli through sheer manual power. The key is to add the oil slowly, allowing it to incorporate fully before adding more. If the mixture seems too thick at any point, you can add a tiny splash more lemon juice or even a teaspoon of water to loosen it up.
Once your aioli has reached your desired consistency, it’s ready to be tasted and adjusted. Dip a clean spoon in and give it a taste. Does it need more garlic? A touch more lemon for brightness? Perhaps another tiny pinch of pepper? This is your chance to make it perfect for your palate. Remember that the flavors will meld and deepen as the aioli chills.
For best results, transfer your homemade Garlic Aioli Sauce to an airtight container. It will keep in the refrigerator for up to a week. Before serving, give it a good stir. This simple, homemade aioli is your secret weapon for adding a gourmet touch to any dish!
Conclusion:
And there you have it – your very own homemade Garlic Aioli Sauce! This versatile condiment is surprisingly simple to whip up, and the results are incredibly rewarding. The creamy texture, infused with the pungent punch of fresh garlic, is a game-changer for so many dishes. We’ve shared a classic approach, but don’t be afraid to experiment and make it your own.
Serving suggestions abound! Drizzle this magnificent Garlic Aioli Sauce over grilled chicken or fish, spread it generously on burgers or sandwiches, use it as a dip for crispy fries or roasted vegetables, or even toss it with pasta for an instant flavor upgrade. The possibilities are truly endless!
We hope you feel inspired and empowered to create this delicious Garlic Aioli Sauce. It’s a fantastic way to elevate everyday meals and impress your friends and family with your culinary skills. Enjoy the process and savor every flavorful bite!
Frequently Asked Questions:
How long does homemade Garlic Aioli Sauce last?
When stored properly in an airtight container in the refrigerator, your homemade Garlic Aioli Sauce should stay fresh for about 5-7 days. It’s best to consume it within this timeframe for optimal flavor and safety.
Can I make Garlic Aioli Sauce without raw garlic?
Absolutely! If you’re sensitive to raw garlic, you can roast your garlic cloves before mashing them into a paste. Roasting mellows the garlic’s intensity and adds a delightful sweetness that works wonderfully in aioli. You can also use roasted garlic powder as a substitute, though the flavor will be less pronounced than fresh or roasted garlic.
What are some other variations of Garlic Aioli Sauce I can try?
The beauty of Garlic Aioli Sauce is its adaptability! You can easily add a kick by incorporating a pinch of cayenne pepper or a dash of hot sauce. For a herby twist, stir in finely chopped chives, parsley, or cilantro. A squeeze of lemon juice can add a bright, zesty note, and a touch of Dijon mustard can provide an extra layer of complexity. Get creative and find your perfect flavor combination!
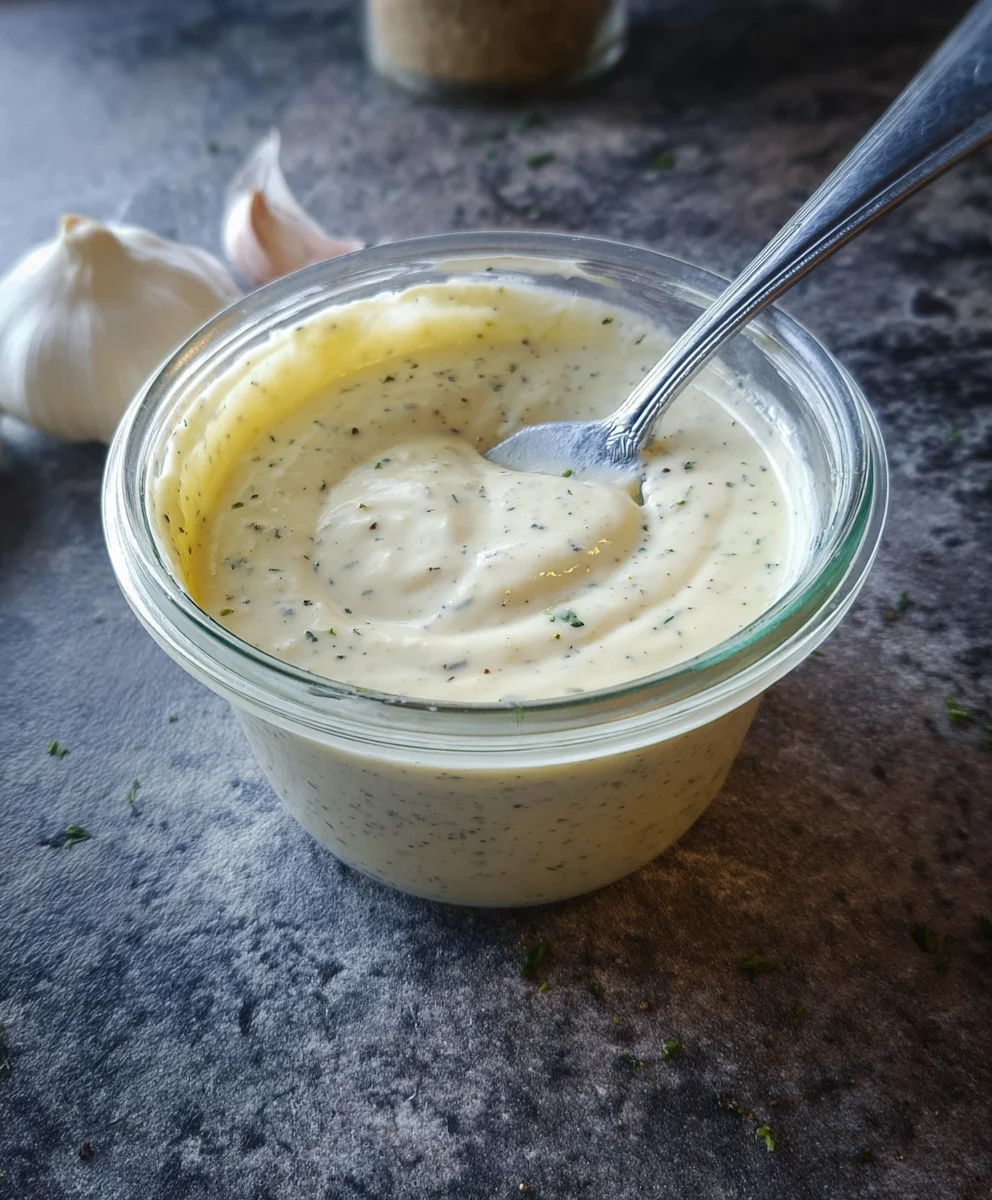
Easy Garlic Aioli Sauce
A simple, delicious, and intensely flavorful homemade garlic aioli that elevates any dish.
Ingredients
-
1/3 cup mayonnaise
-
2 tablespoons olive oil
-
2 cloves garlic, minced (approximately 2 teaspoons)
-
1 teaspoon fresh lemon juice
-
1/4 teaspoon ground black pepper
Instructions
-
Step 1
In a medium bowl, combine the mayonnaise, minced garlic, olive oil, lemon juice, and ground black pepper. -
Step 2
If using an immersion blender, place the blender head into the bowl, ensuring it’s submerged. Blend on low speed, moving the blender up and down until the mixture is thick and creamy. -
Step 3
Alternatively, whisk all ingredients together vigorously until well combined. Slowly drizzle in the olive oil while continuously whisking until the mixture thickens and becomes smooth and creamy. -
Step 4
Taste the aioli and adjust seasonings as needed. Add more lemon juice for brightness or a pinch more pepper for warmth. -
Step 5
Transfer the aioli to an airtight container. -
Step 6
Refrigerate for at least 30 minutes to allow flavors to meld. Stir well before serving.
Important Information
Nutrition Facts (Per Serving)
It is important to consider this information as approximate and not to use it as definitive health advice.
Allergy Information
Please check ingredients for potential allergens and consult a health professional if in doubt.


Leave a Comment