

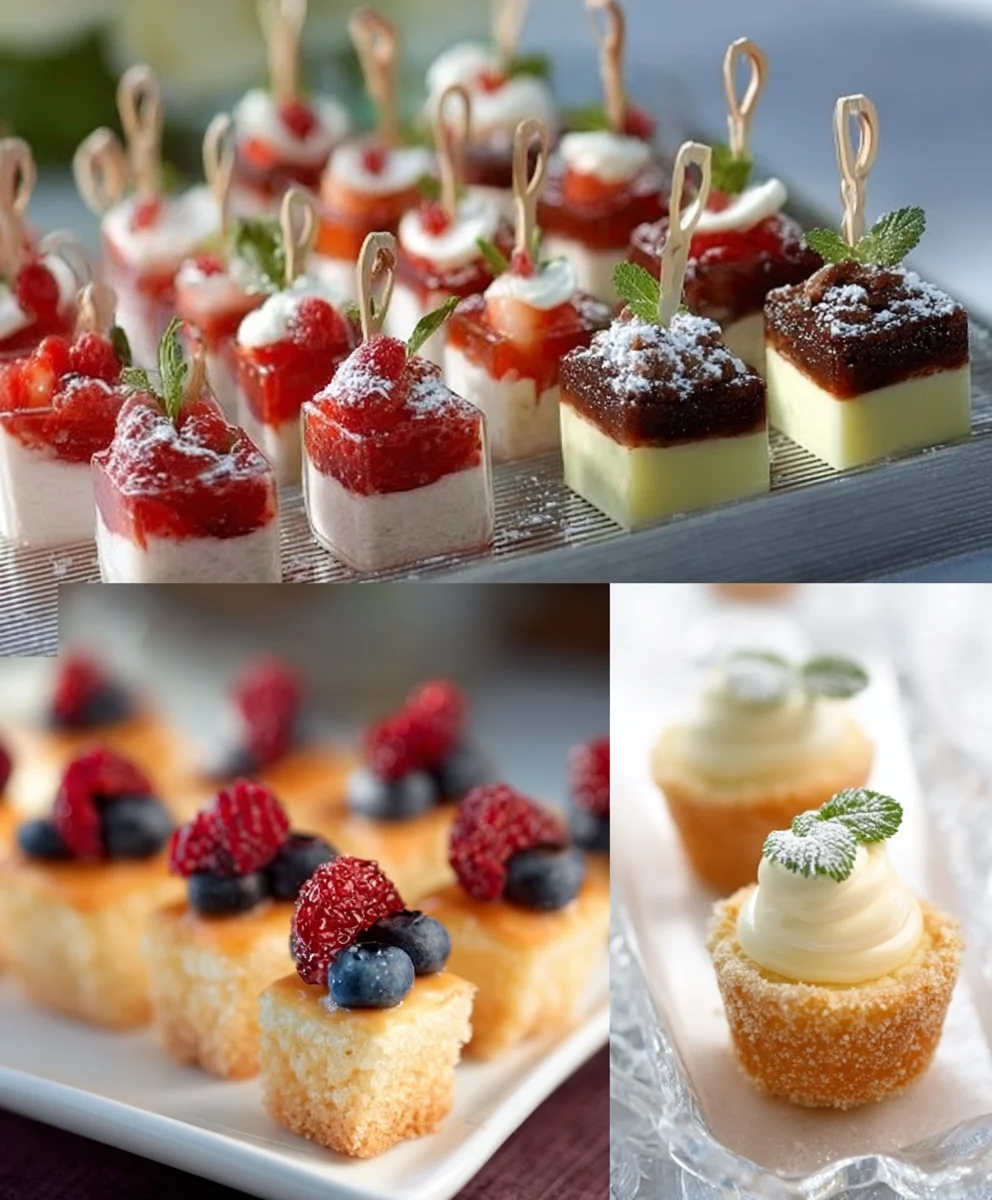
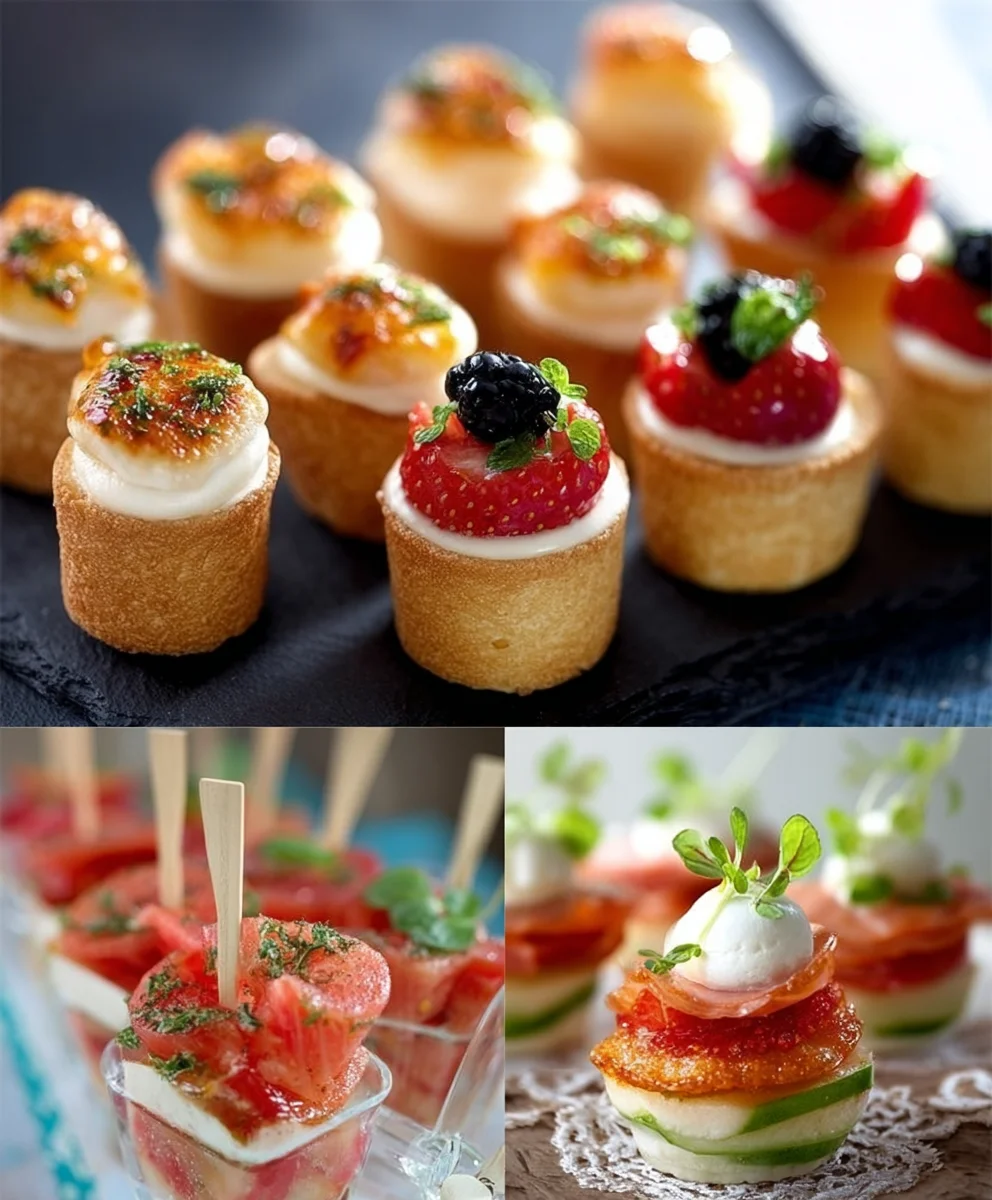
Mini Foods for Weddings, a Mini Guide to Serving Miniature Food, offers a delightful and sophisticated way to elevate your special day. Imagin extracte tiny, artfully crafted versions of your favorite gourmet bites, presented with elegance and flair. It’s no wonder couples are increasingly embracing this charming trend. People absolutely adore miniature food for weddings because it sparks conversation, encourages mingling, and provides guests with a playful and interactive dining experience. Unlike traditional plated meals or overwhelming buffets, these bite-sized wonders allow guests to sample a variety of flavors without commitment, making it perfect for cocktail hours or as elegant additions to your reception tables. What truly makes mini foods so special is the element of surprise and delight they bring. Each tiny creation is a testament to meticulous preparation and a celebration of flavor in a perfectly portioned package, adding a memorable touch of whimsy to your celebration.
Ingredients:
- 2 cups all-purpose flour
- 1 teaspoon baking powder
- 1/2 teaspoon salt
- 1/2 cup unsalted butter, softened
- 1 cup granulated sugar
- 2 large eggs
- 1 teaspoon vanilla extract
- 1/4 cup milk
- Assorted food coloring (gel or liquid)
- Small decorative sprinkles, edible glitter, or miniature candies for decoration
- Piping bags and small decorative tips (optional, for intricate designs)
Preparing the Dough
Step 1: Combine Dry Ingredients
Begin extract by preheating your oven to 350°F (175°C). Line baking sheets with parchment paper to prevent sticking. In a medium-sized bowl, whisk together the all-purpose flour, baking powder, and salt. This step ensures that all the dry ingredients are evenly distributed, which is crucial for consistent leavening and texture in your miniature cookies. Set this bowl aside for now.
Step 2: Cream Butter and Sugar
In a separate, larger bowl, use an electric mixer to cream the softened unsalted butter and granulated sugar together until the mixture is light and fluffy. This process incorporates air into the butter and sugar, which contributes to a tender cookie. Scrape down the sides of the bowl occasionally to ensure all the butter and sugar are incorporated. This should take about 3-5 minutes on medium speed.
Step 3: Incorporate Wet Ingredients
Add the large eggs, one at a time, beating well after each addition. This ensures that the eggs are fully emulsified into the butter and sugar mixture. Stir in the vanilla extract. Gradually add the milk to the mixture, mixing until just combined. The mixture at this stage should be smooth and creamy.
Coloring and Shaping the Mini Cookies
Step 4: Divide and Color the Dough
Now, divide the dough into as many portions as you wish to have different colors for your miniature wedding cookies. For instance, if you want four colors, divide the dough into four equal parts. Add a few drops of your chosen food coloring to each portion. Gently knead the coloring into the dough until it is evenly distributed. For more vibrant colors, you can add a bit more coloring. If using gel food coloring, it’s often more concentrated, so start with a small amount and add more as needed. It’s a good idea to wear gloves for this step to avoid staining your hands.
Step 5: Chill and Shape the Miniatures
Once your dough is beautifully colored, wrap each portion tightly in plastic wrap and refrigerate for at least 30 minutes. This chilling step is essential as it firms up the dough, making it much easier to handle and shape into tiny cookies without the dough becoming too sticky or spreading excessively during baking. After chilling, you can take small portions of each colored dough and roll them into tiny balls, about the size of a marble, or flatten them slightly. You can also create miniature swirls by combining small pieces of different colored dough. For more intricate designs, consider using a small cookie cutter to create miniature shapes like hearts or rings. Arrange these tiny creations on your prepared baking sheets, leaving about an inch of space between each cookie to allow for slight expansion.
Baking and Decorating
Step 6: Bake to Perfection
Bake the miniature cookies in the preheated oven for 8-12 minutes, or until the edges are lightly golden brown. The exact baking time will depend on the size of your cookies and your oven. Keep a close eye on them, as their small size means they can go from perfectly baked to burnt very quickly. It’s better to underbake slightly than to overbake. Once baked, remove the baking sheets from the oven and let the cookies cool on the sheets for a few minutes before transferring them to a wire rack to cool completely. This cooling process is vital for the cookies to set properly.
Step 7: Decorate Your Mini Masterpieces
Once your miniature cookies are completely cool, it’s time for the fun part: decorating! This is where you can truly bring your wedding theme to life. For simple elegance, you can dust them with a bit of edible glitter or a light dusting of powdered sugar. For more elaborate designs, use a piping bag fitted with a small tip to pipe delicate swirls, dots, or even tiny initial monograms onto the cookies using a simple icing made from powdered sugar and a tiny bit of milk or lemon juice. You can also use edible food pens to draw tiny details. Attach miniature candies, edible pearls, or small decorative sprinkles to add texture and visual appeal. Think about classic wedding colors or the specific pnon-alcoholic alette of the wedding you are celebrating when choosing your decorations. The goal is to create edible works of art that are as beautiful as they are delicious, perfectly suited for a celebration of love.
Conclusion:
As we wrap up our exploration of Mini Foods for Weddings, A Mini Guide to Serving Miniature Food, I hope you’re feeling inspired to bring these delightful little bites to your next event. We’ve covered a spectrum extract of ideas, from elegant canapés to playful desserts, proving that miniature food can be both sophisticated and incredibly fun. The key to successful mini food presentation is attention to detail and quality ingredients, ensuring each bite is as delicious as it is visually appealing. Remember, these small portions allow guests to sample a wider variety of flavors, making your catering experience memorable and interactive.
When serving these creations, consider elegant platters or tiered stands to maximize visual impact. For a wedding reception, think about complementing your mini foods with a signature cocktail or a selection of fine grape juices. Don’t be afraid to get creative with variations! For example, our mini quiches can be filled with spinach and feta for a vegetarian option, or smoked salmon and dill for a touch of luxury. The possibilities are truly endless, and the joy of creating these miniature masterpieces is a reward in itself. So go forth and create a culinary experience that your guests will talk about for years to come!
Frequently Asked Questions:
Q1: What are the most popular types of mini foods for weddings?
Some of the most popular choices include mini quiches, tiny gourmet sandwiches, bite-sized sliders, savory tartlets, individual fruit tarts, and miniature chocolate mousse cups. Guests often gravitate towards familiar flavors presented in an elegant, bite-sized format.
Q2: How much mini food should I estimate per guest?
A general guideline is to estimate 4-6 savory bites and 2-3 sweet bites per guest for a cocktail reception. If the mini foods are intended to replace a full meal, you’ll want to increase that number significantly, closer to 10-12 savory items and 4-5 sweet items per person, ensuring a good variety.
Q3: Can mini foods be made ahead of time?
Many mini foods can be prepared partially or entirely in advance. Items like dough for tartlets or quiche shells can be baked and stored. Fillings can often be made a day ahead and assembled closer to serving time. For delicate items like mini desserts, assembly is usually best done on the day of the event to maintain freshness and texture.
Mini Wedding Foods- Delight Guests with Miniature Bites
Delight guests with these charming miniature wedding bites. This recipe provides a base for creating colorful, bite-sized cookies perfect for any celebration.
Ingredients
-
2 cups all-purpose flour
-
1 teaspoon baking powder
-
1/2 teaspoon salt
-
1/2 cup unsalted butter, softened
-
1 cup granulated sugar
-
2 large eggs
-
1 teaspoon vanilla extract
-
1/4 cup milk
-
Assorted food coloring (gel or liquid)
-
Small decorative sprinkles, edible glitter, or miniature candies for decoration
Instructions
-
Step 1
Preheat your oven to 350°F (175°C). Line baking sheets with parchment paper. Whisk together flour, baking powder, and salt in a medium bowl. Set aside. -
Step 2
In a larger bowl, cream softened butter and sugar with an electric mixer until light and fluffy (about 3-5 minutes). Scrape down sides as needed. -
Step 3
Add eggs one at a time, beating well after each. Stir in vanilla extract. Gradually add milk, mixing until just combined. -
Step 4
Divide the dough into portions for desired colors. Add food coloring to each portion and knead until evenly distributed. Wear gloves to avoid staining. -
Step 5
Wrap colored dough portions in plastic wrap and refrigerate for at least 30 minutes to firm up. Roll small portions into marble-sized balls or flatten them. Create swirls by combining colors. Arrange on prepared baking sheets, leaving space between cookies. -
Step 6
Bake for 8-12 minutes, or until edges are lightly golden brown. Watch closely as they bake quickly. Cool on baking sheets for a few minutes, then transfer to a wire rack to cool completely. -
Step 7
Once completely cool, decorate. Dust with edible glitter or powdered sugar. Use piping bags with small tips for intricate designs with icing. Attach miniature candies, edible pearls, or decorative sprinkles.
Important Information
Nutrition Facts (Per Serving)
It is important to consider this information as approximate and not to use it as definitive health advice.
Allergy Information
Please check ingredients for potential allergens and consult a health professional if in doubt.


Leave a Comment